
Listen To This Article!
We enjoy growing a lot of herbs every summer, typically quite a few varieties.
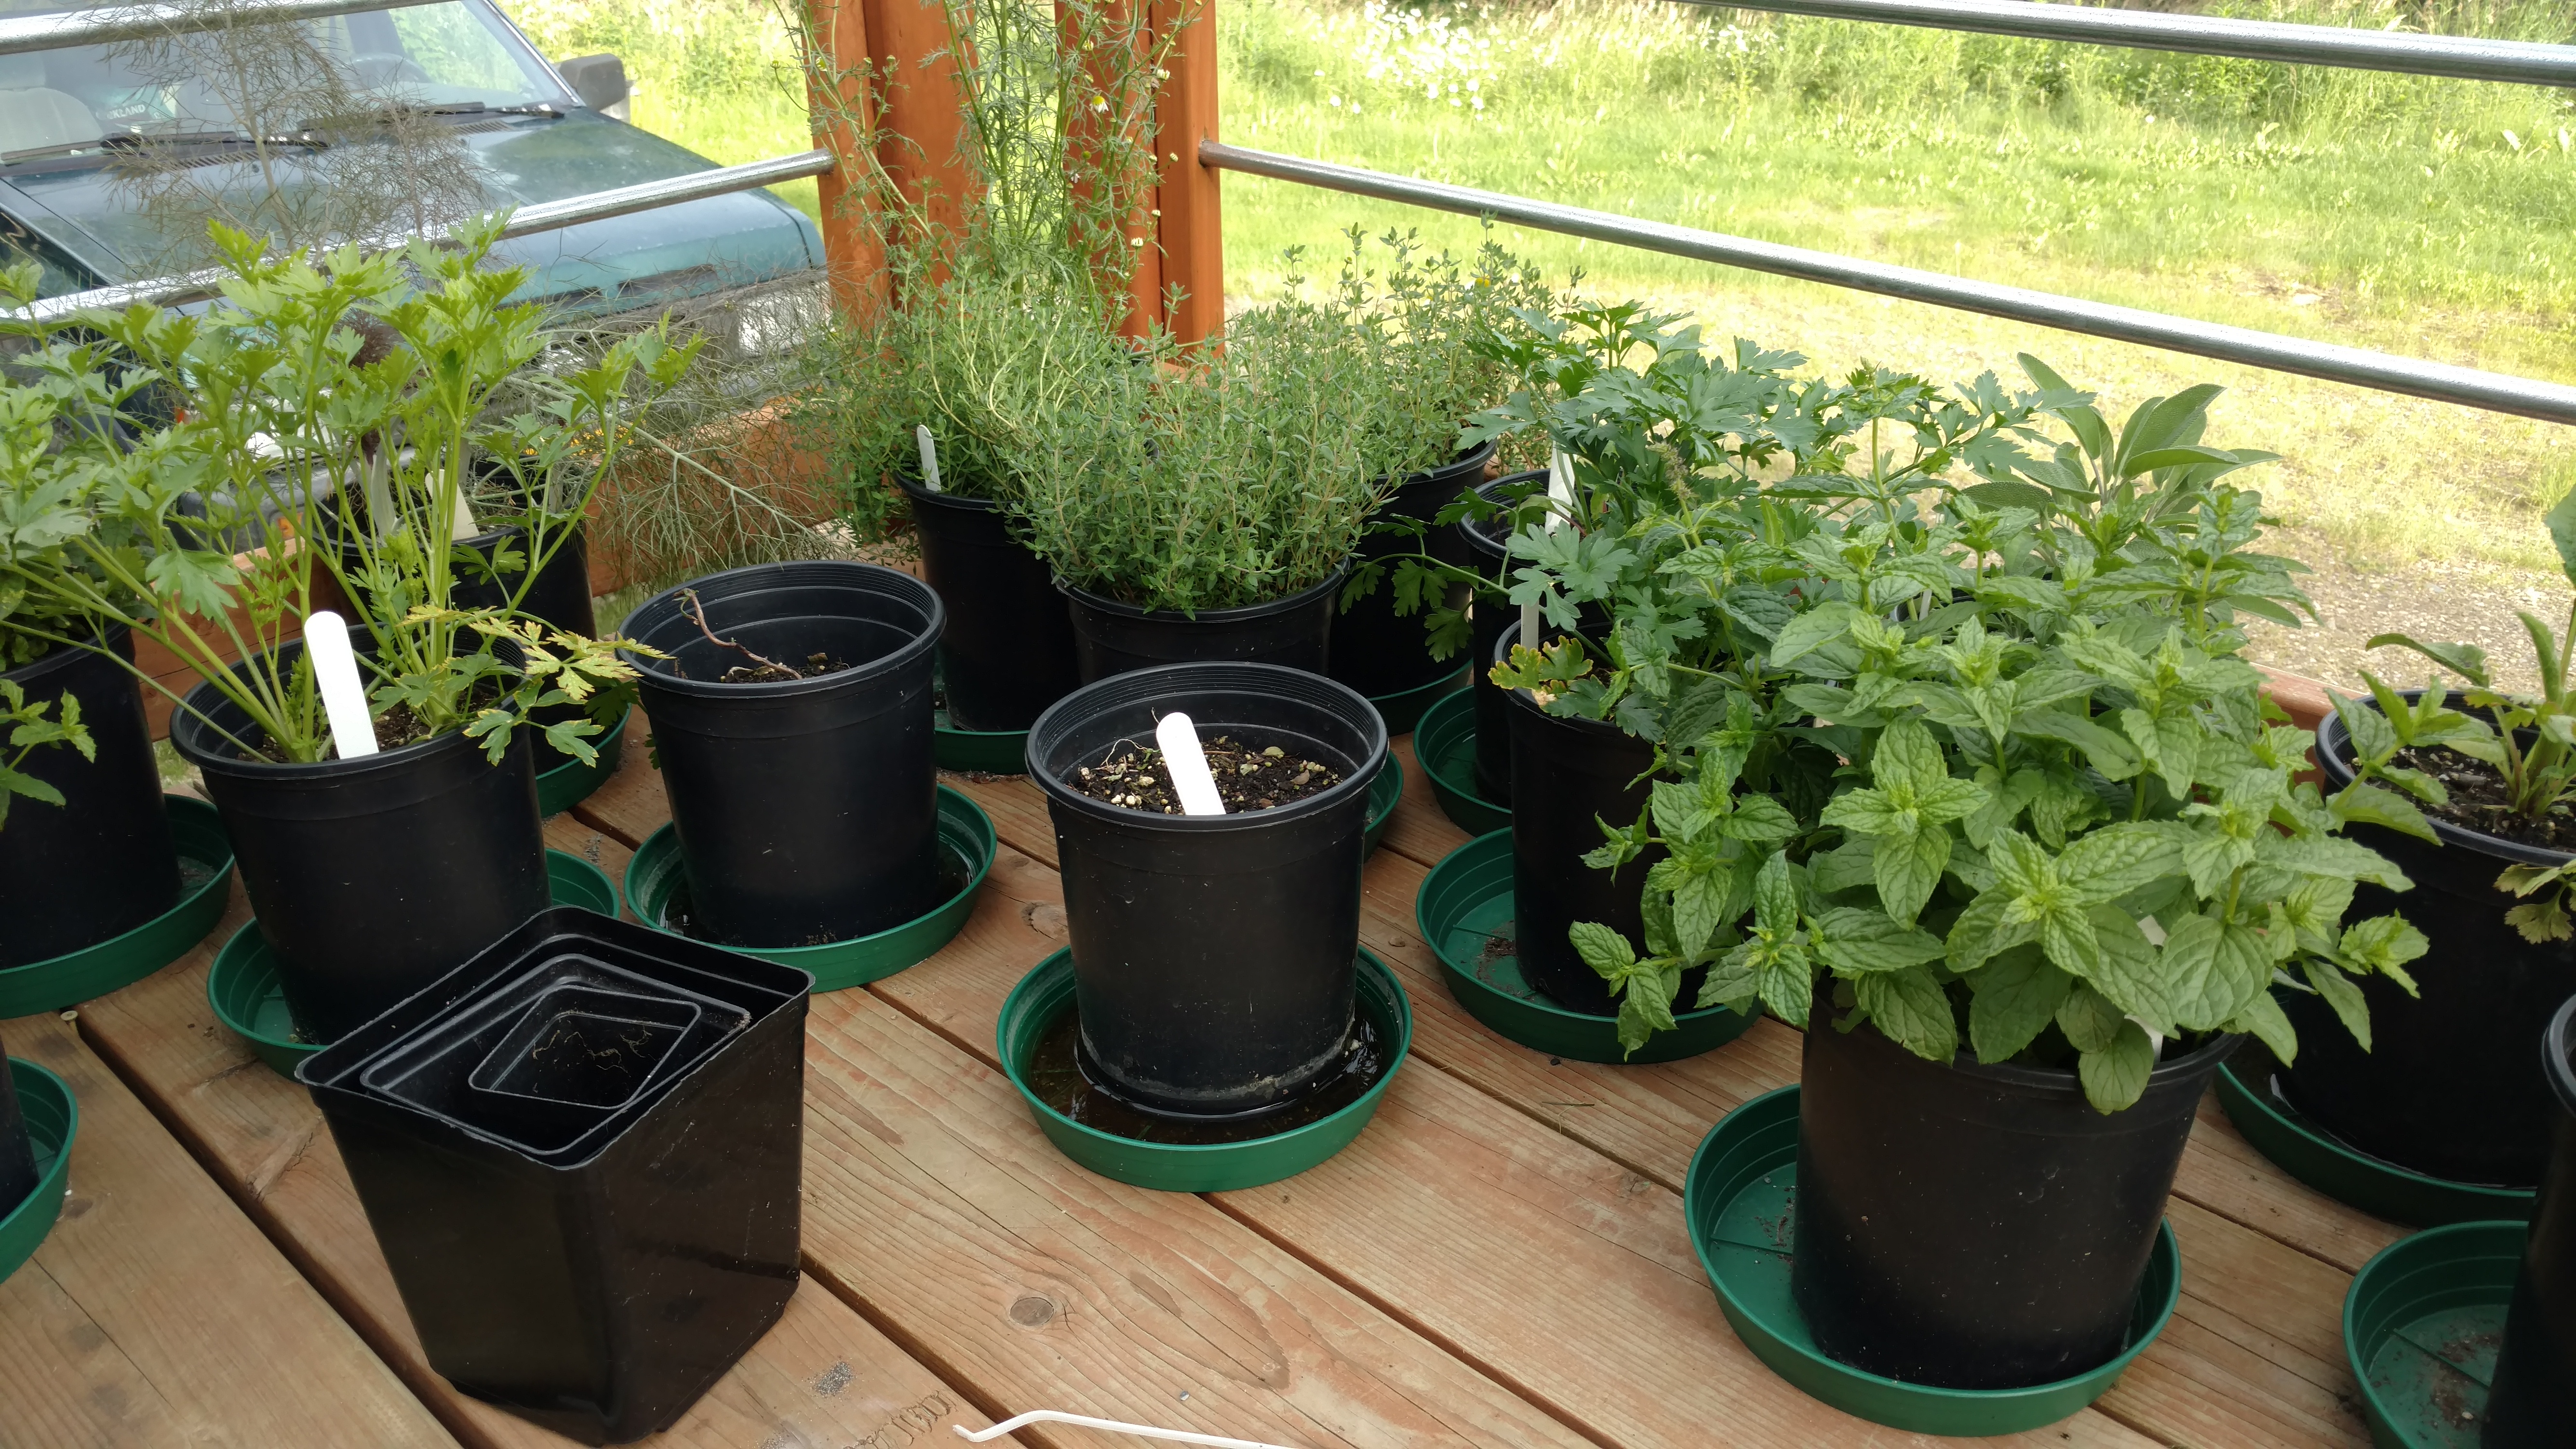
We usually grow our herbs in containers for easy harvesting and movement. Growing herbs in containers also allows easy overwintering, if desired, and allows you to space them out more as they grow larger.
We love the practice of having a relatively complete herb garden right outside our front door. We use them fresh, as much as possible, in our food throughout the summer.
While we really enjoy using our herbs fresh, as with most things we grow, we raise enough of them for the purposes of preservation. This allows us to enjoy our herb bounty over the entire year and even beyond.
Using Containers To Grow Herbs
We talk about using container gardens as one of our core subarctic gardening techniques. They are super valuable for growing in the subarctic and they excel for growing herbs in the subarctic as well.
For many years, we grew our herbs in 1-gallon pots. These were pretty easy to work with and are of adequate size for most herbs.
We have since graduated to using 5 gallon buckets for our herb containers. We opted for this as it allows us to grow our herbs more densely and with less overall effort. A bucket can often support four to five of the same herb.
We love this technique as we get massive herb clusters, which are great for harvesting from. We can also very easily perform our end-of-season harvest, all at once.
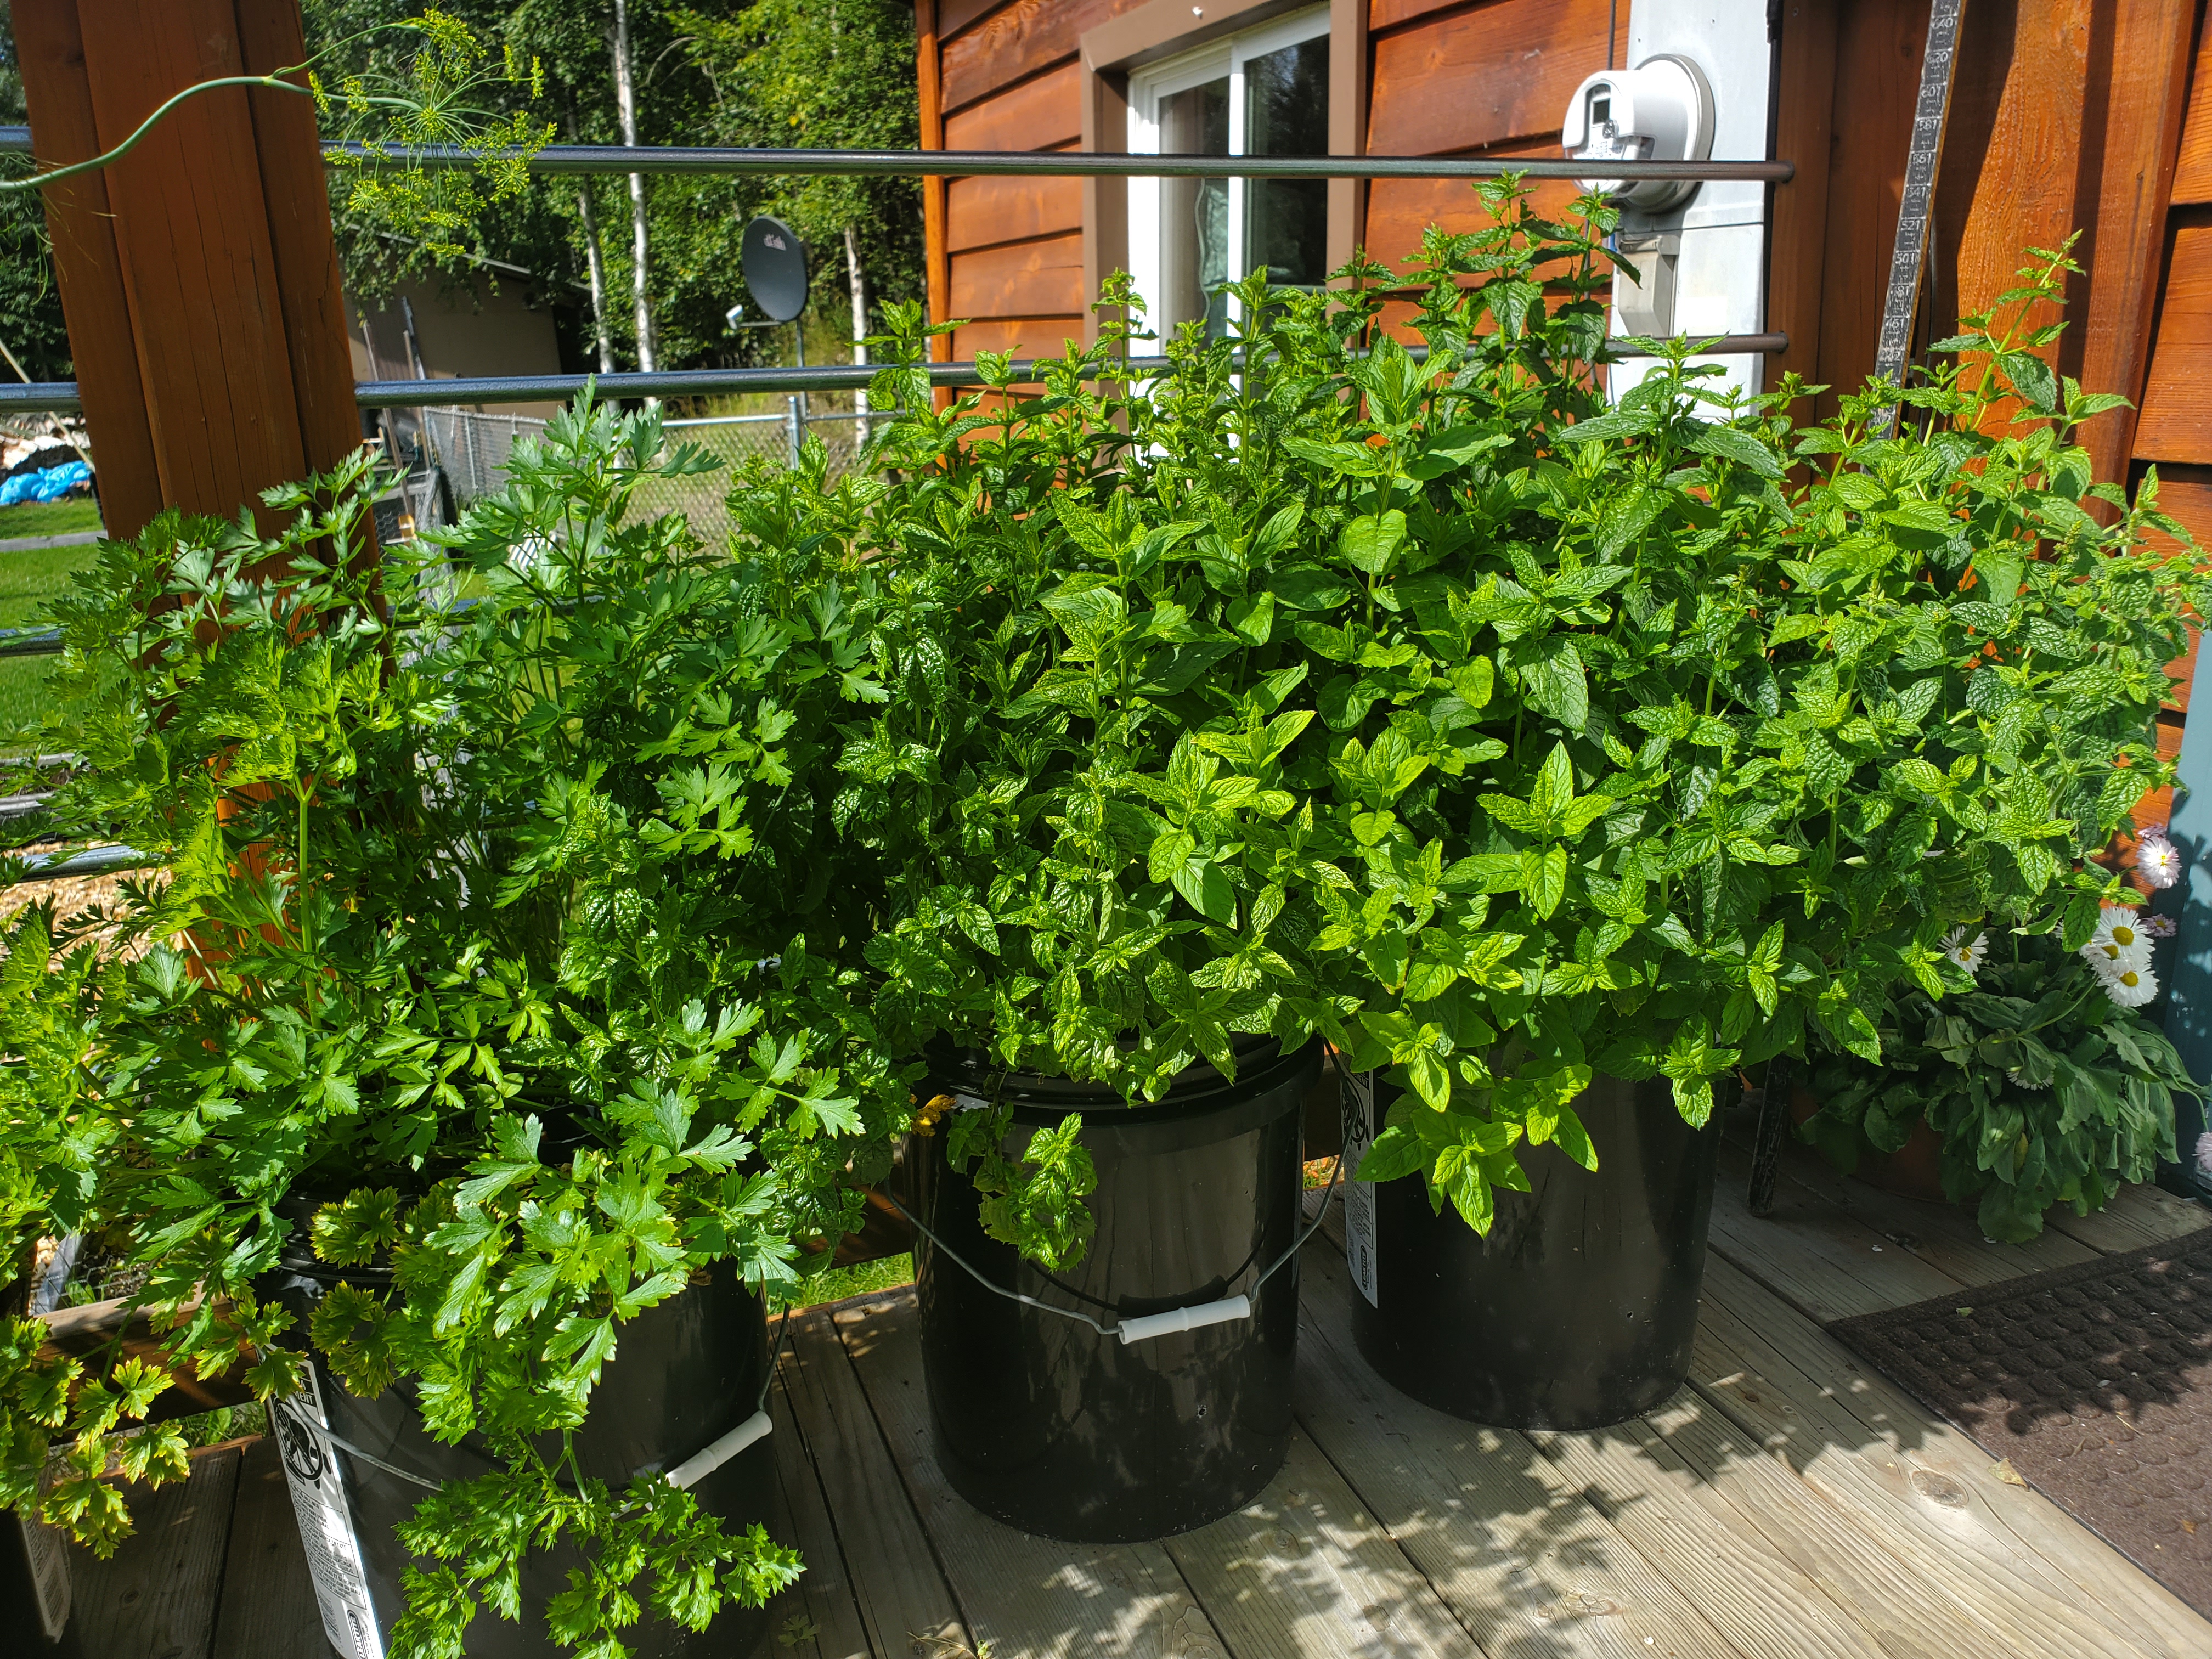
This is one of several herb clusters that we grow on our deck, right outside outside our front door. We can easily harvest needed herbs for cooking, which encourages us to use them frequently.
These days, we grow our herbs in sub irrigated buckets. This is a tremendous method for growing herbs and we get optimal production from them.
Selecting Your Must Have Herbs
When we started out gardening, we grew as many different kinds of herbs as we could get our hands on.
Part of that was out of interest. Most of it was us not knowing what we really wanted.
What we found out, though, was we really only used some of the herbs we grew. There is very little sense in spending the time, money and effort in growing things you rarely or never use.
Our core list of herbs we grow these days are:
- Thyme
- Marjoram (When needed)
- Oregano
- Sage (When needed)
- Chamomile
- Tarragon
- Rosemary (Typically treated as a perennial houseplant)
- Parsley
- Cilantro
- Mint
- Catnip (When needed)
- Dill
- Basil
As noted above, some herbs we don’t use as much of compared to others. We learned to grow these every two or three years in order to maintain adequate supply. When stored properly, herbs can last for quite some time.
If we see something interesting or different in the commercial greenhouses, we’ll often pick them up each year because we love our herbs!
What To Harvest From Your Herbs
If you are new to herb growing, it might be helpful to see what we are actually trying to achieve with our herb harvest.
With different herbs, the valuable part of the harvest can vary from herb to herb. This table generally describes most of the common herbs, when to harvest them and what to actually harvest.
| HERB | PART USED | HARVEST | STORE |
|---|---|---|---|
| Anise | Seeds | Before flowering | Dried seeds |
| Basils | Leaves | Before flowering | Dried leaves |
| Catnip | Leaves | Before & while flowering | Dried leaves |
| Chamomile | Flowers | After flowering | Dried flowers |
| Cilantro | Leaves | Before flowering | Use fresh |
| Coriander | Seeds | After seeding | Dried seeds |
| Dill | Leaves & Seeds | Before flowering | Dried leaves. Seeds are harvestable, but difficult to achieve in the subarctic. |
| Fennel | Seeds | Before flowering | Dried seeds |
| Horehound | Leaves | When budding | Dried leaves |
| Horseradish | Roots | Fall, 2nd year+ | Dried roots |
| Hyssop | Leaves | While flowering | Dried leaves |
| Lavender | Flowers | While budding | Dried buds |
| Lemon Balm | Leaves | Before flowering | Dried leaves |
| Marjoram | Leaves | Before & while flowering | Dried leaves |
| Mints | Leaves | Before & while budding | Dried leaves |
| Oregano | Leaves | Before & while flowering | Dried leaves |
| Parsley | Leaves | Before budding | Dried leaves |
| Rosemary | Leaves & Flowers | Before budding | Dried leaves |
| Sage | Leaves | Before & while flowering | Dried leaves |
| Savory | Leaves | Before flowering | Dried leaves |
| Tarragon | Leaves | Before flowering | Dried leaves |
| Thyme | Leaves | Before flowering | Dried leaves |
Subarctic Considerations For Herbs
Most common herbs are not native species to the subarctic. They were largely developed at lower latitudes.
Extreme northerners are acutely familiar with our vast sun cycles found in the subarctic. It’s not weird at all for us to have 24 hours of daylight. It is probably strange for many of your herbs, though.
Some herbs have evolved to use the amount of sunlight as an indicator for the time of year. At lower latitudes, peak summer is measured by 18 hour days. This skill helps the plant determine when to flower in the attempt to reproduce before winter sets in.
There are several types of herbs that misinterpret our subarctic midnight sun as an indicator that it’s nearing fall, when it fact it’s only the beginning of the growing season. After all, we lose darkness well before our last frost in the subarctic.
Herbs that are negatively influenced by the extreme subarctic sun cycles include oregano and marjoram. They will flower much earlier than expected.
In both cases, we see early signs of flowering only weeks after our last frost date. The plants quickly develop into further flowering, eager to reproduce. For both these plants, we want to make sure that we harvest them prior to heavily flowering.
We also can plant these herbs more intensively. Since we’re not expecting them to get large, you can double the planting density that would normally be used. This allows you to get a more meaningful harvest of these herbs.
Subarctic Perennial Herb Gardens
It might come as a disappointment that most perennial herbs can only be grown as annuals in subarctic climates. Most common herbs are simply not hardy enough to survive our subarctic winters.
Don’t despair, though, as you do have some options!
There are a number of hardy herbs that can survive, even within USDA zones 2 and 3!
- Horseradish (Zone 3)
- Wintergreen (Zone 3)
- Chives (Zone 2)
- Mint (Zone 3, usually zone 4)
- Lemon balm (Zone 4)
If you are interested in growing subarctic perennials, you should probably take a gander at this post.
Chamomile is extremely prolific in the subarctic. Wild chamomile is common in the subarctic. While not a true perennial, even domesticated chamomile will often reseed itself (sometimes annoyingly so) and continue growing, year after year.
Additionally, we often grow several herbs as a houseplant. We grow lavender and rosemary, bringing them inside for the long winter. We can often get several years of harvests from these plants.
Using the above houseplant technique, you can grow almost any perennial herb, so long as you bring them inside and care for them over the winter. This subject could be a post of its own, houseplants can be difficult in the subarctic.
When To Harvest Your Herbs
Inevitably, by late June or early July, we are all ready having to harvest some of our herbs.
As mentioned above, we grow a couple of herbs that tend to flower very early. We harvest these early as well. We don’t all of a sudden stop growing them, though.
Once you harvest the plant, it will basically cause it to cease flowering and try to continue getting bigger again. You can sometimes get two or even three harvests off of both oregano and marjoram in the subarctic.
Through mid summer, we will often pick fresh herbs for eating. We are continually keeping an eye out for flowering processes and make sure to harvest before they become too flower ridden.
When it is time to harvest, we generally take the entire plant. As with our fast flowering herbs, we usually continue to allow them to grow after the primary harvest. Most herbs tend to “bounce back” and start vegetating again after harvest.
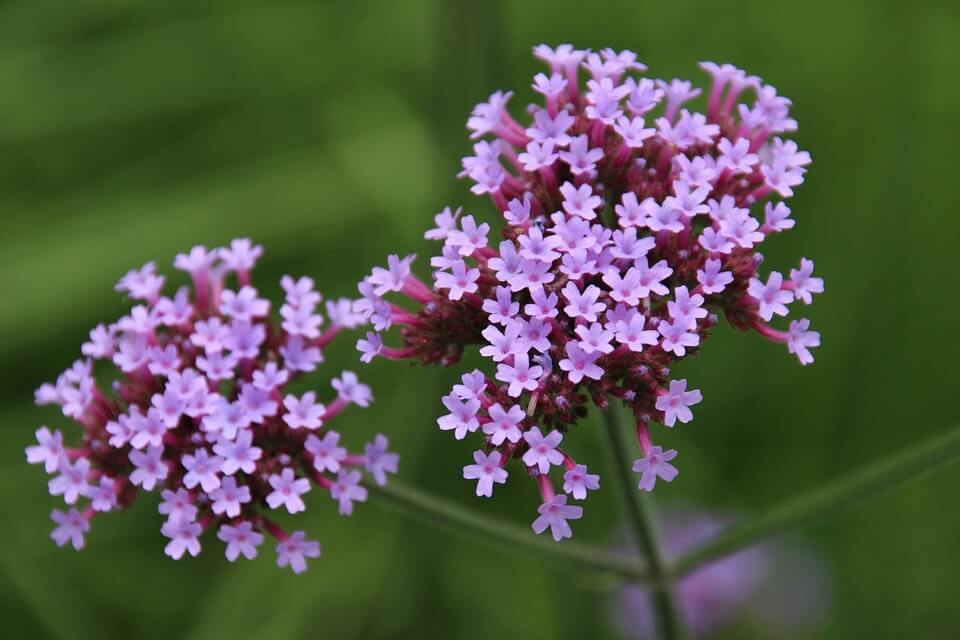
You also have the option of letting your herbs go to flower. Herbs are incredible pollinator attractors. If you want to attract pollinators, growing herbs for their flowers is definitely a great idea.
Preserving Your Herb Harvest
We preserve most of our herbs through drying. This is the easiest method for us and allows year-round bounty of our herb garden.
With most herbs, at harvest time, we will take the entire plant at once. We leave a bit of greenery in the pot in the event that it will grow back.
We simply snip the base of the herbs with a pair of kitchen shears. We then wrap the entire plant together with garden twine to create a bouquet of the herb.
You might want to label them if it’s your first few times growing them, especially if you’re harvesting several herbs at once. Herbs can be a bit more difficult to identify once they are dried.
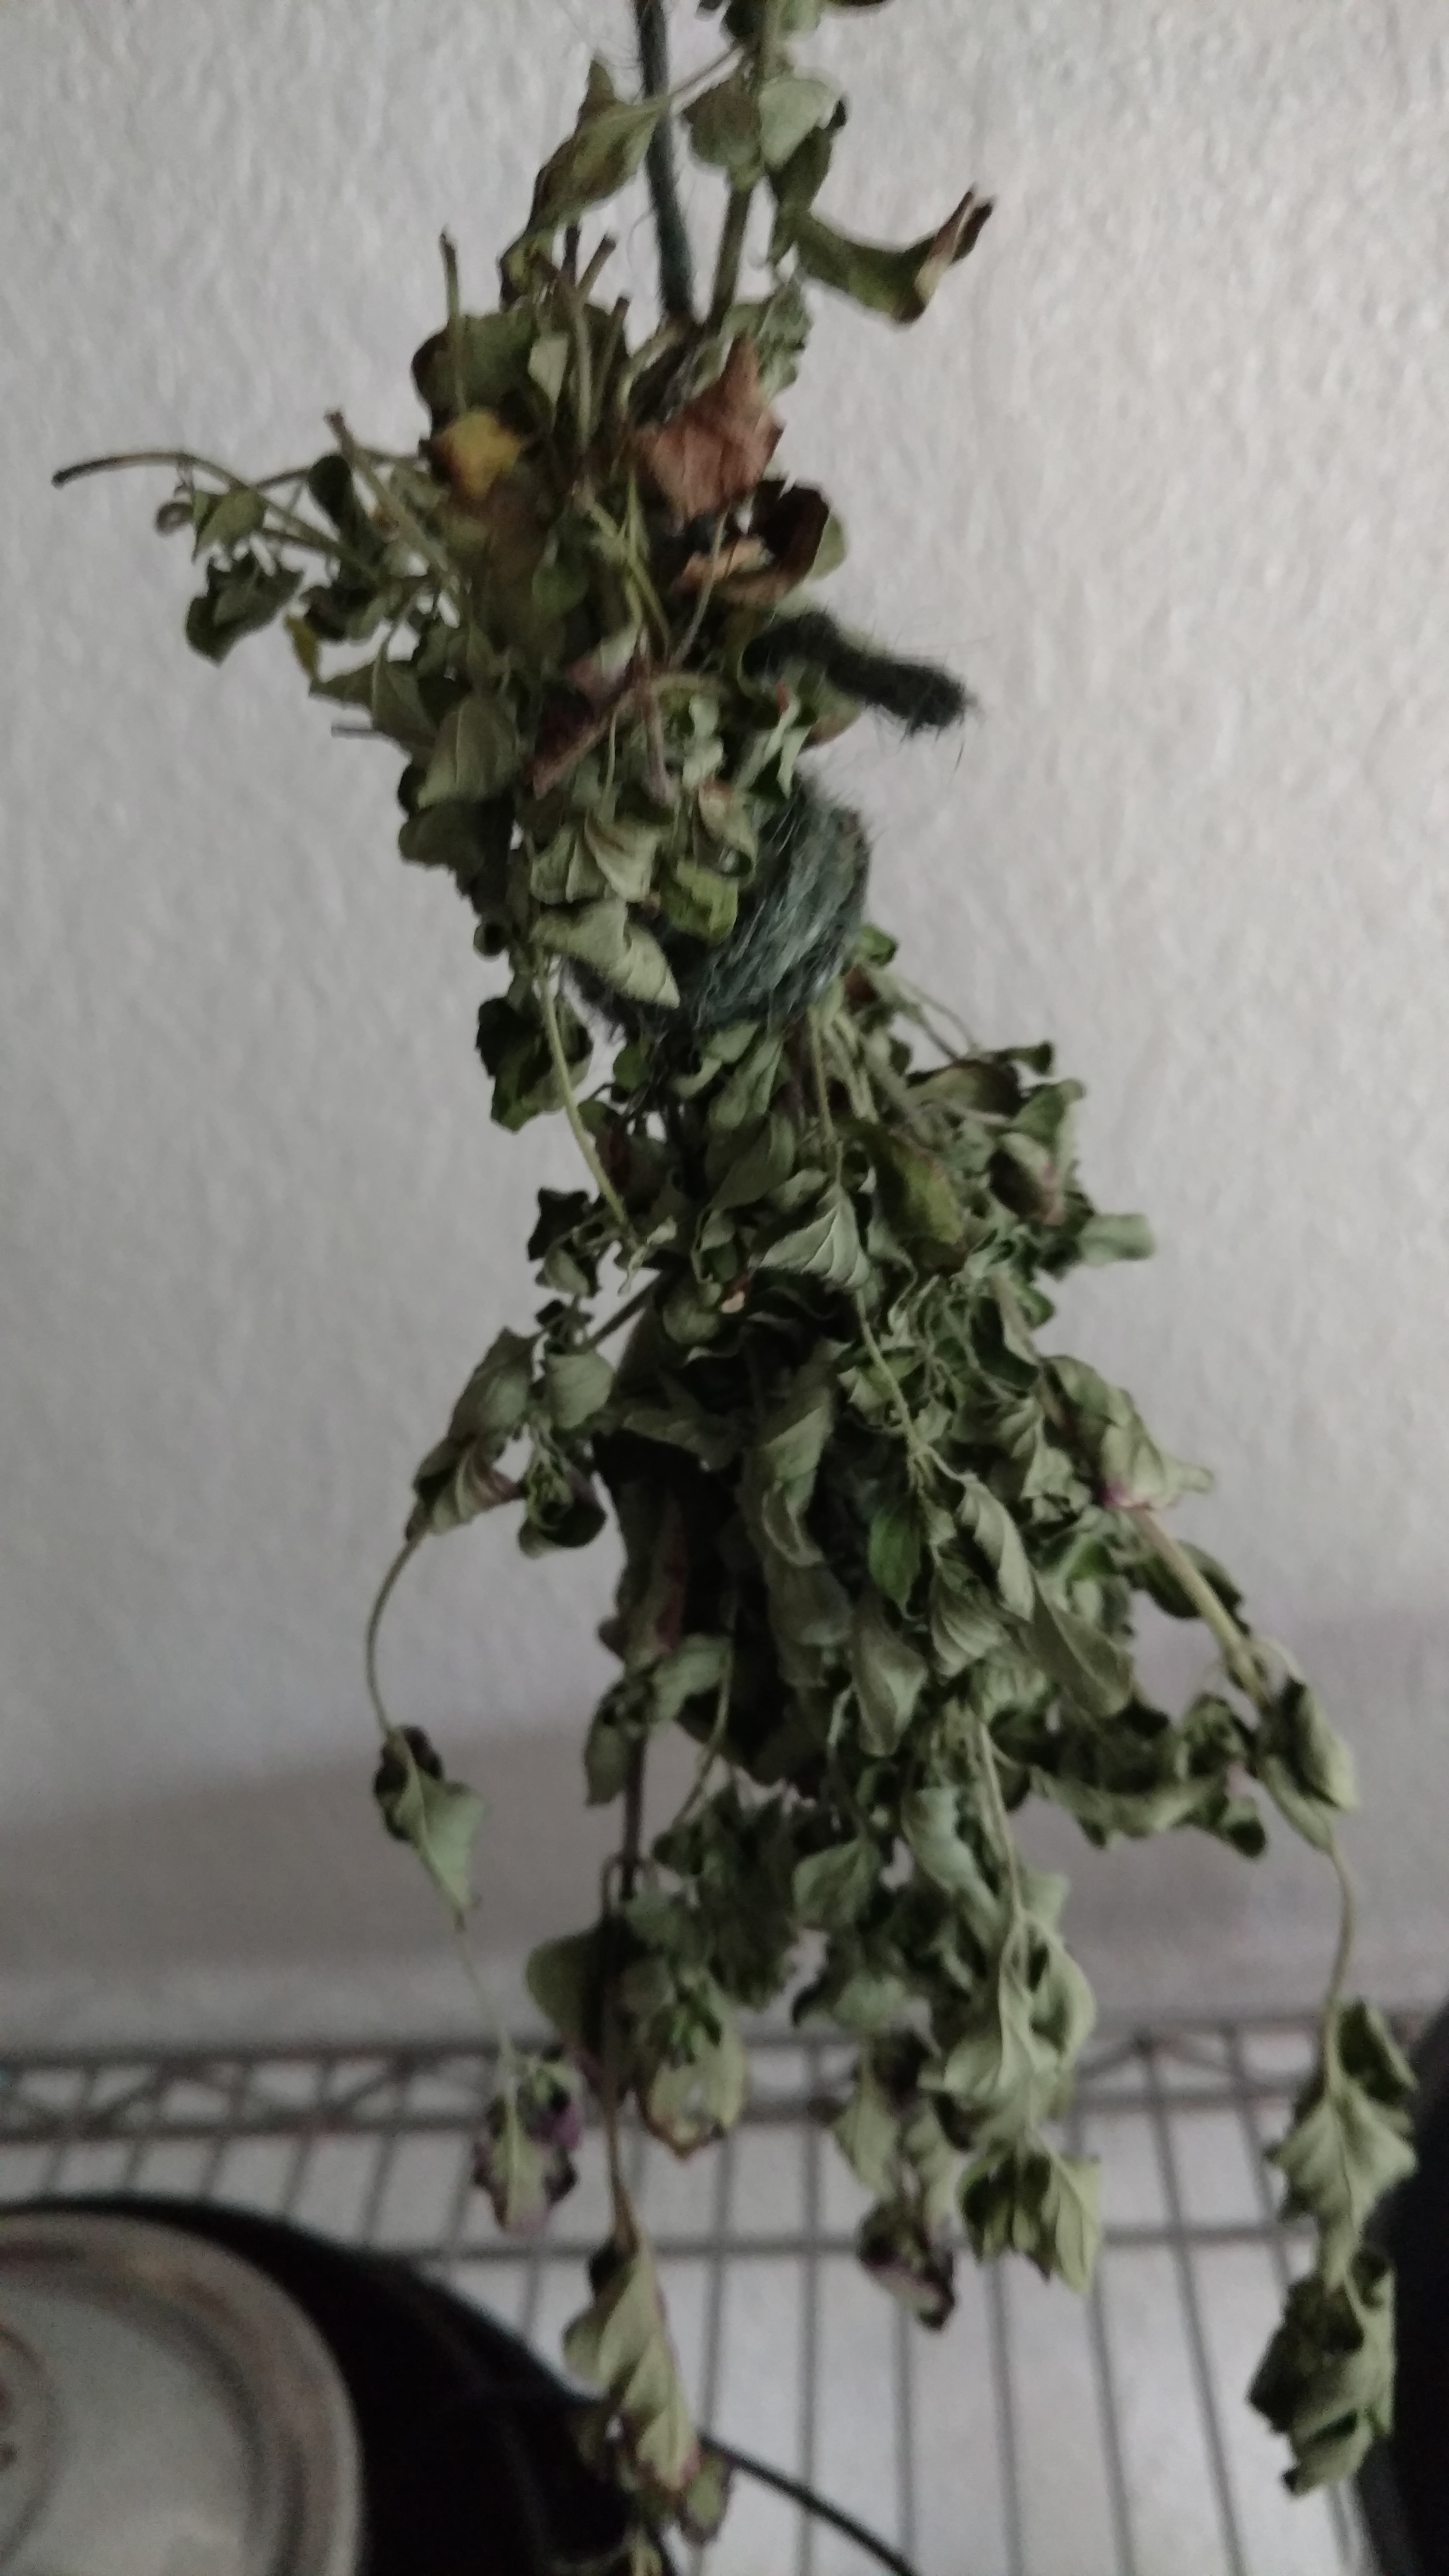
The “trick” to getting fragrant dried herbs is to hang them upside down while they dry.
This process creates a higher end product which is often better than what you can buy in the store.
You don’t want to use a common dehydrator for drying the herbs, unless you are really in a hurry. This will often create less-intense dried herbs and they are easy to over-dry.
Pick a place to hang your herbs that is generally cool and has good air ventilation. In general, if you can avoid light it’s a good idea, but light will not generally harm your harvest.
After hanging your herbs, you simply have to wait. You’re waiting for the herbs to become crisp to the touch and fully dried.
You don’t want to move to the next step with your herbs too early as you might see molds develop or general spoilage.
Preparing Your Herbs For Long Term Storage
When your herbs are fully dried, you generally want to prepare the herbs for storage. For most herbs, you will need to process them.
When you want to preserve the dried leaves, you will need to spend some time separating the dried leaves from the stems. If you’ve grown multiple herbs, keep them separate at this stage. Mixing them, for something like an “Herbs de’ Provence” will come later.
For most herbs, once you have removed undesirable parts, the next step is crushing the dried herb leaves into a course mixture. We use a mortar and pestle for this, but you could use any handy device that you have, such as a grinder.
You want to keep some of the original texture, so don’t over-do the crushing. Stop the preparation process well before the herbs become a fine powder.
For some herbs, like chamomile, you’ll want to preserve the entire flower. For these types of herbs, we just lay them out on a cookie sheet with a piece of wax paper or foil. Once the flowers are fully dried, then you can easily store them in a container.
Storing Your Herbs
The best type of container for storing herbs is usually glass. This will allow minimal absorption of the oils, is the best at preventing air exchange and will allow for the longest shelf life.
If you can get an airtight seal, this will be best. These days, we really like vacuum sealed mason jars as our primary herb storage method.
There are attachments for food vacuum sealers that can evacuate the air from a standard canning jar. There are both narrow and wide mouth jar sealers. This technique gives you the longest shelf life possible. We typically will store the bulk of our herbs with this method.
For daily use, we like top use old glass herb containers to store our herbs. We make sure to clean and sanitize the containers before in between uses.
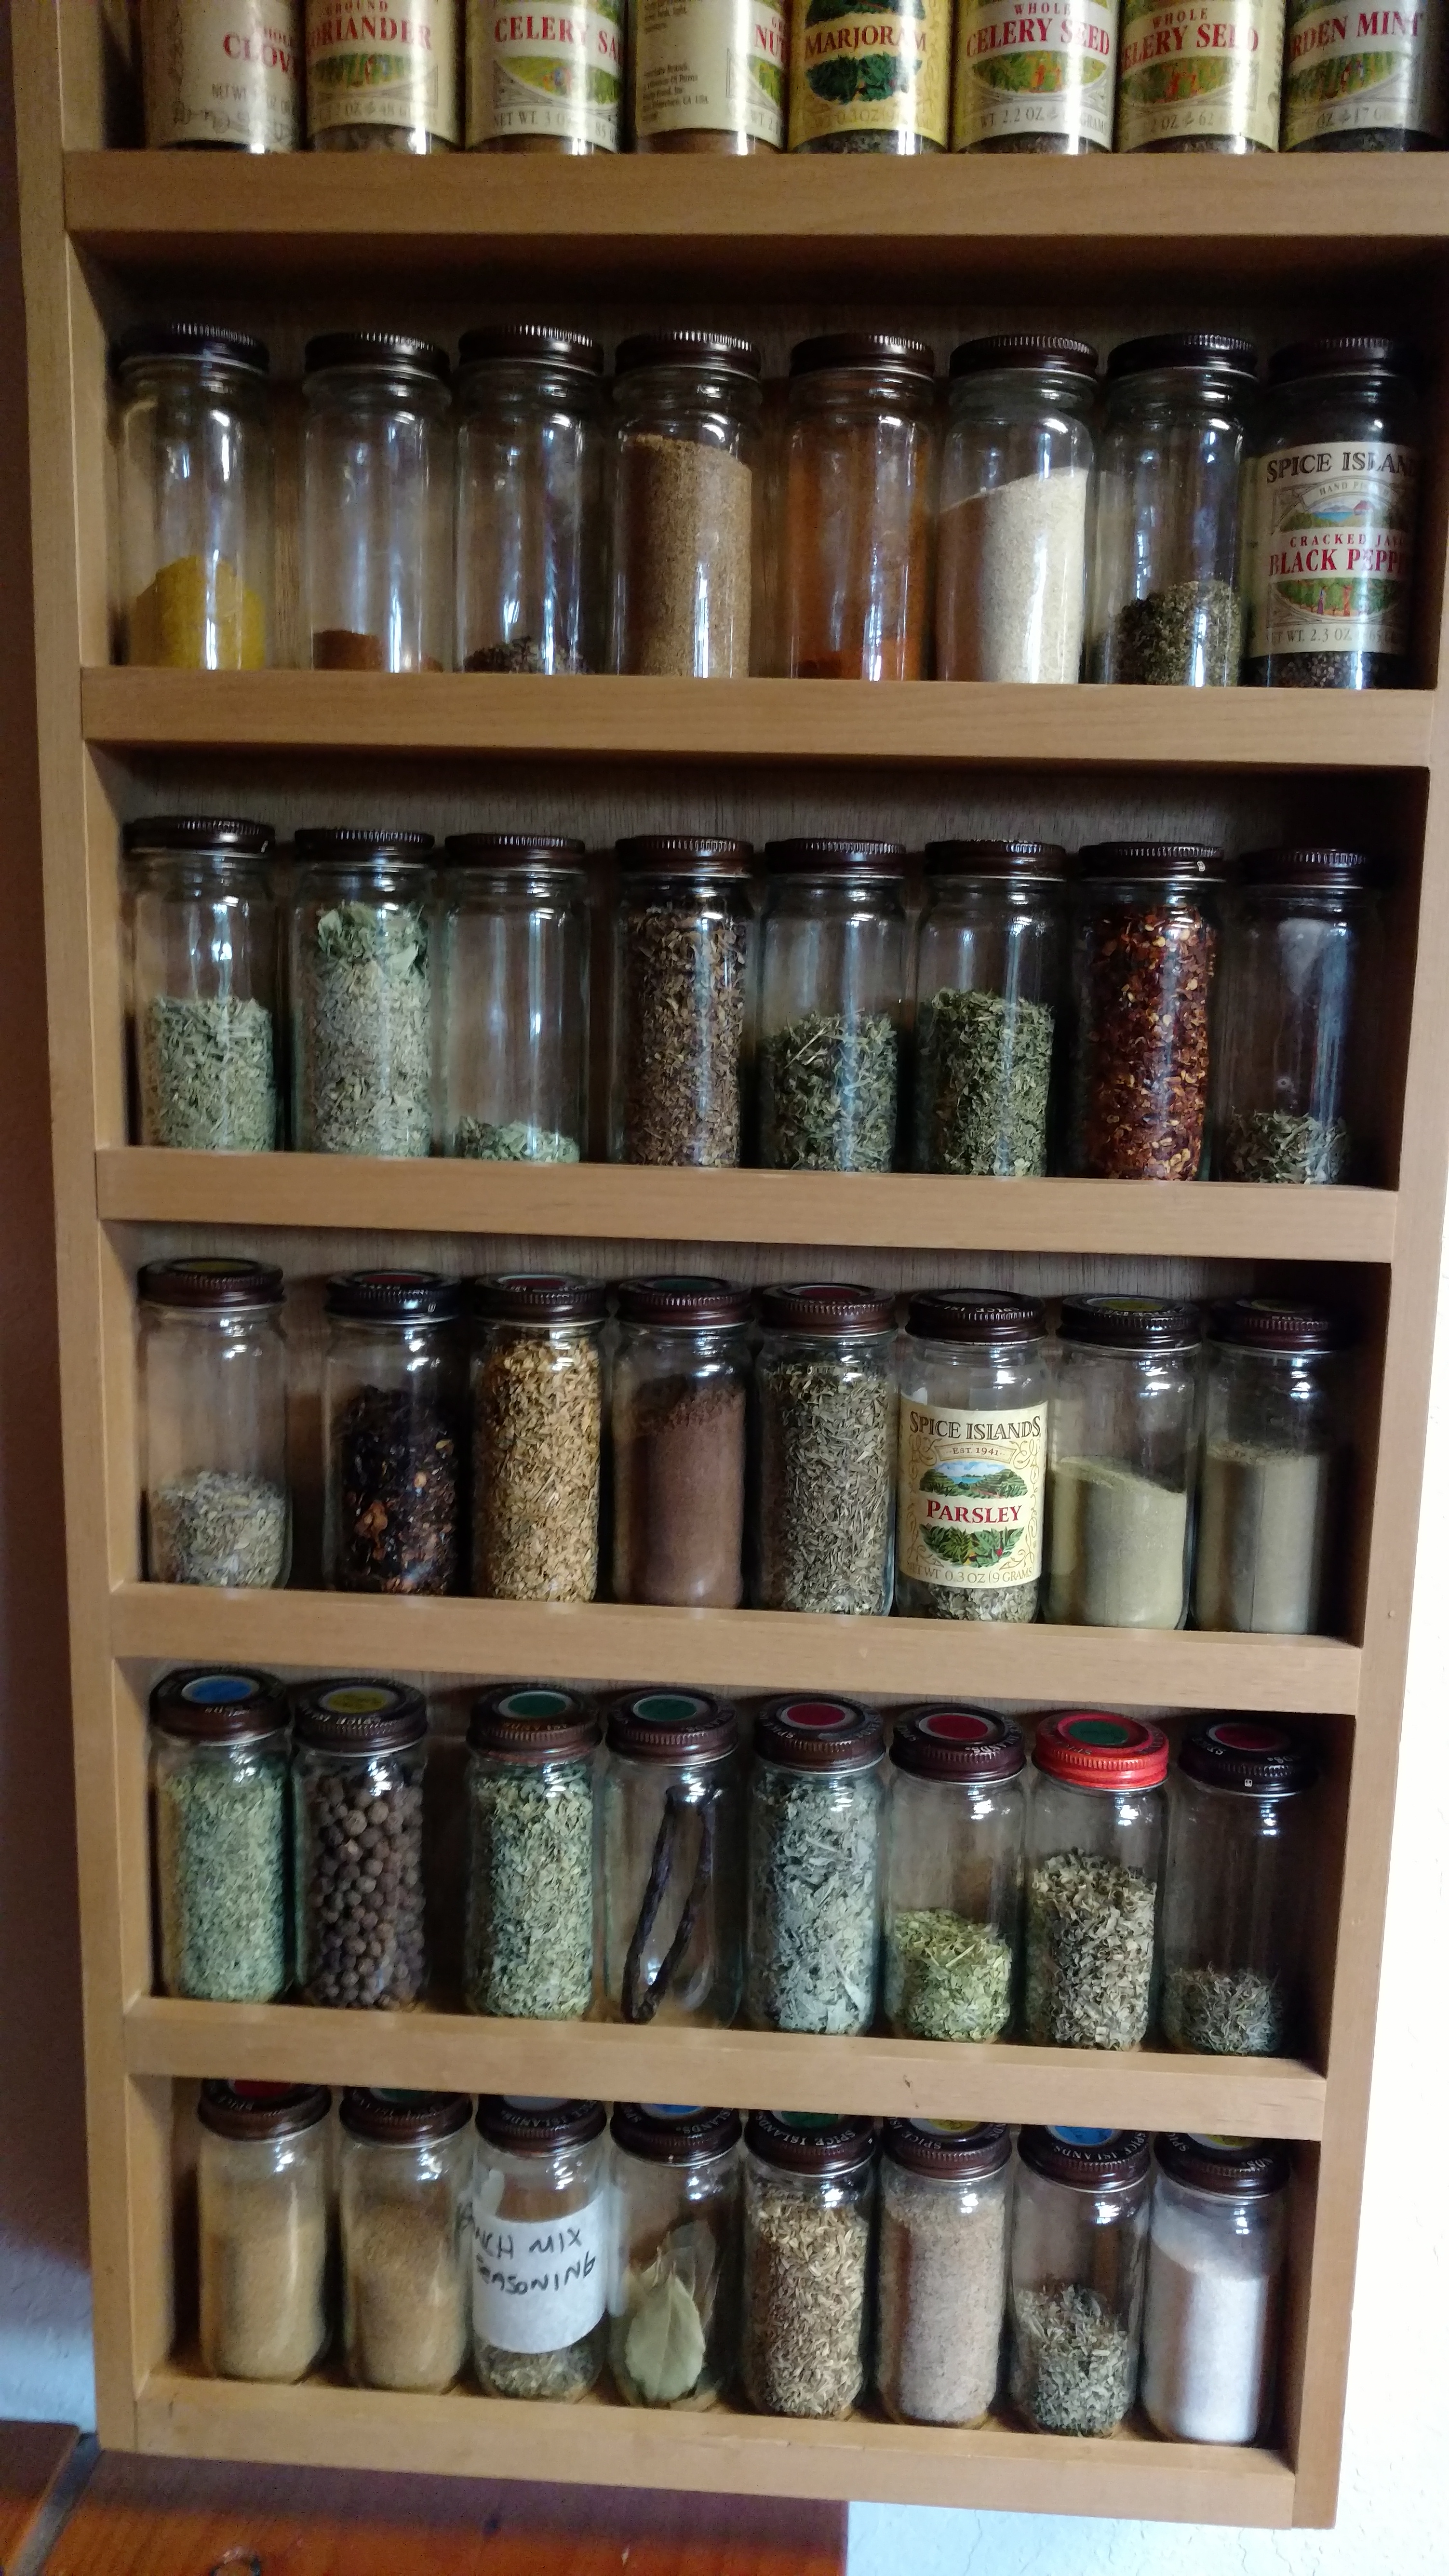
This photo shows our DIY spice rack, decked out with various herbs and spices that we regularly use. We have many of the “Spice Islands” jars that we’ve outfitted for our regular herb and spice storage. We have since developed a better labeling system.
For best results, keeping your herbs out of the light will be best. This, again, will extend the shelf life.
We enjoy “showing off” our herbs and have built a custom herb holder. This obviously doesn’t keep the light away from the herbs, but we generally use vacuum sealed jars for the bulk of our herb storage.
Using Your Home Grown Herbs
This is the best part! Herbs can enhance almost any type of dish, even if the recipe doesn’t call for it.
If your recipe calls for fresh herbs and you need to use dried, you want to use about half of what is called for.
If your recipe calls for dried herbs and you want to use fresh, you’ll need to (at least) double the amount.
That’s about the only “rule of thumb” you need to follow. Oh, and using more than is called for usually won’t hurt anything!
We heavily use thyme and oregano in virtually everything, not just Italian dishes! You can fancy up even the most simple of dishes like potatoes and eggs with a dash of your herbs. We like to eat robust, flavorful food and our herbs help us with that all year long!
We won’t go into the complexities of how to cook with herbs, but have generally found that if you stick to some basics, it’s hard to go wrong.
The trifecta of thyme, oregano and marjoram always work well together in most dishes. Sage is great on chicken dishes and other meats. Chamomile and mint make for great tea in the winter time.
You can also make your own custom herb mixtures with many recipes that you can find online. You might need to buy some herbs or spices that you don’t grow, but it’s fun to create your own spice mixtures. We often do this for things like ranch seasoning or a home-made Herbs de Provence mix.
Alternate Techniques For Preserving Fresh Herbs
Many years, we try to come up with some alternate preservation techniques for our fresh herbs.
We often use our herbs in butters and oils that we can then use throughout the winter. These often include combining several ingredients. The preferred storage technique is freezing them, where you can get six to twelve months of safe food storage quite easily.
Herbed butters are literally as simple as combing butter and various desired fresh herbs. We like to use room temperature butter and combine our herbs in our Kitchenaid mixer. From here, we’ll usually create “butter balls” which are then frozen for longer storage.
These are really easy to use for things like pastas and other savory butter additions. You can also warm up a few herb butter balls for spreading on fresh baked bread.
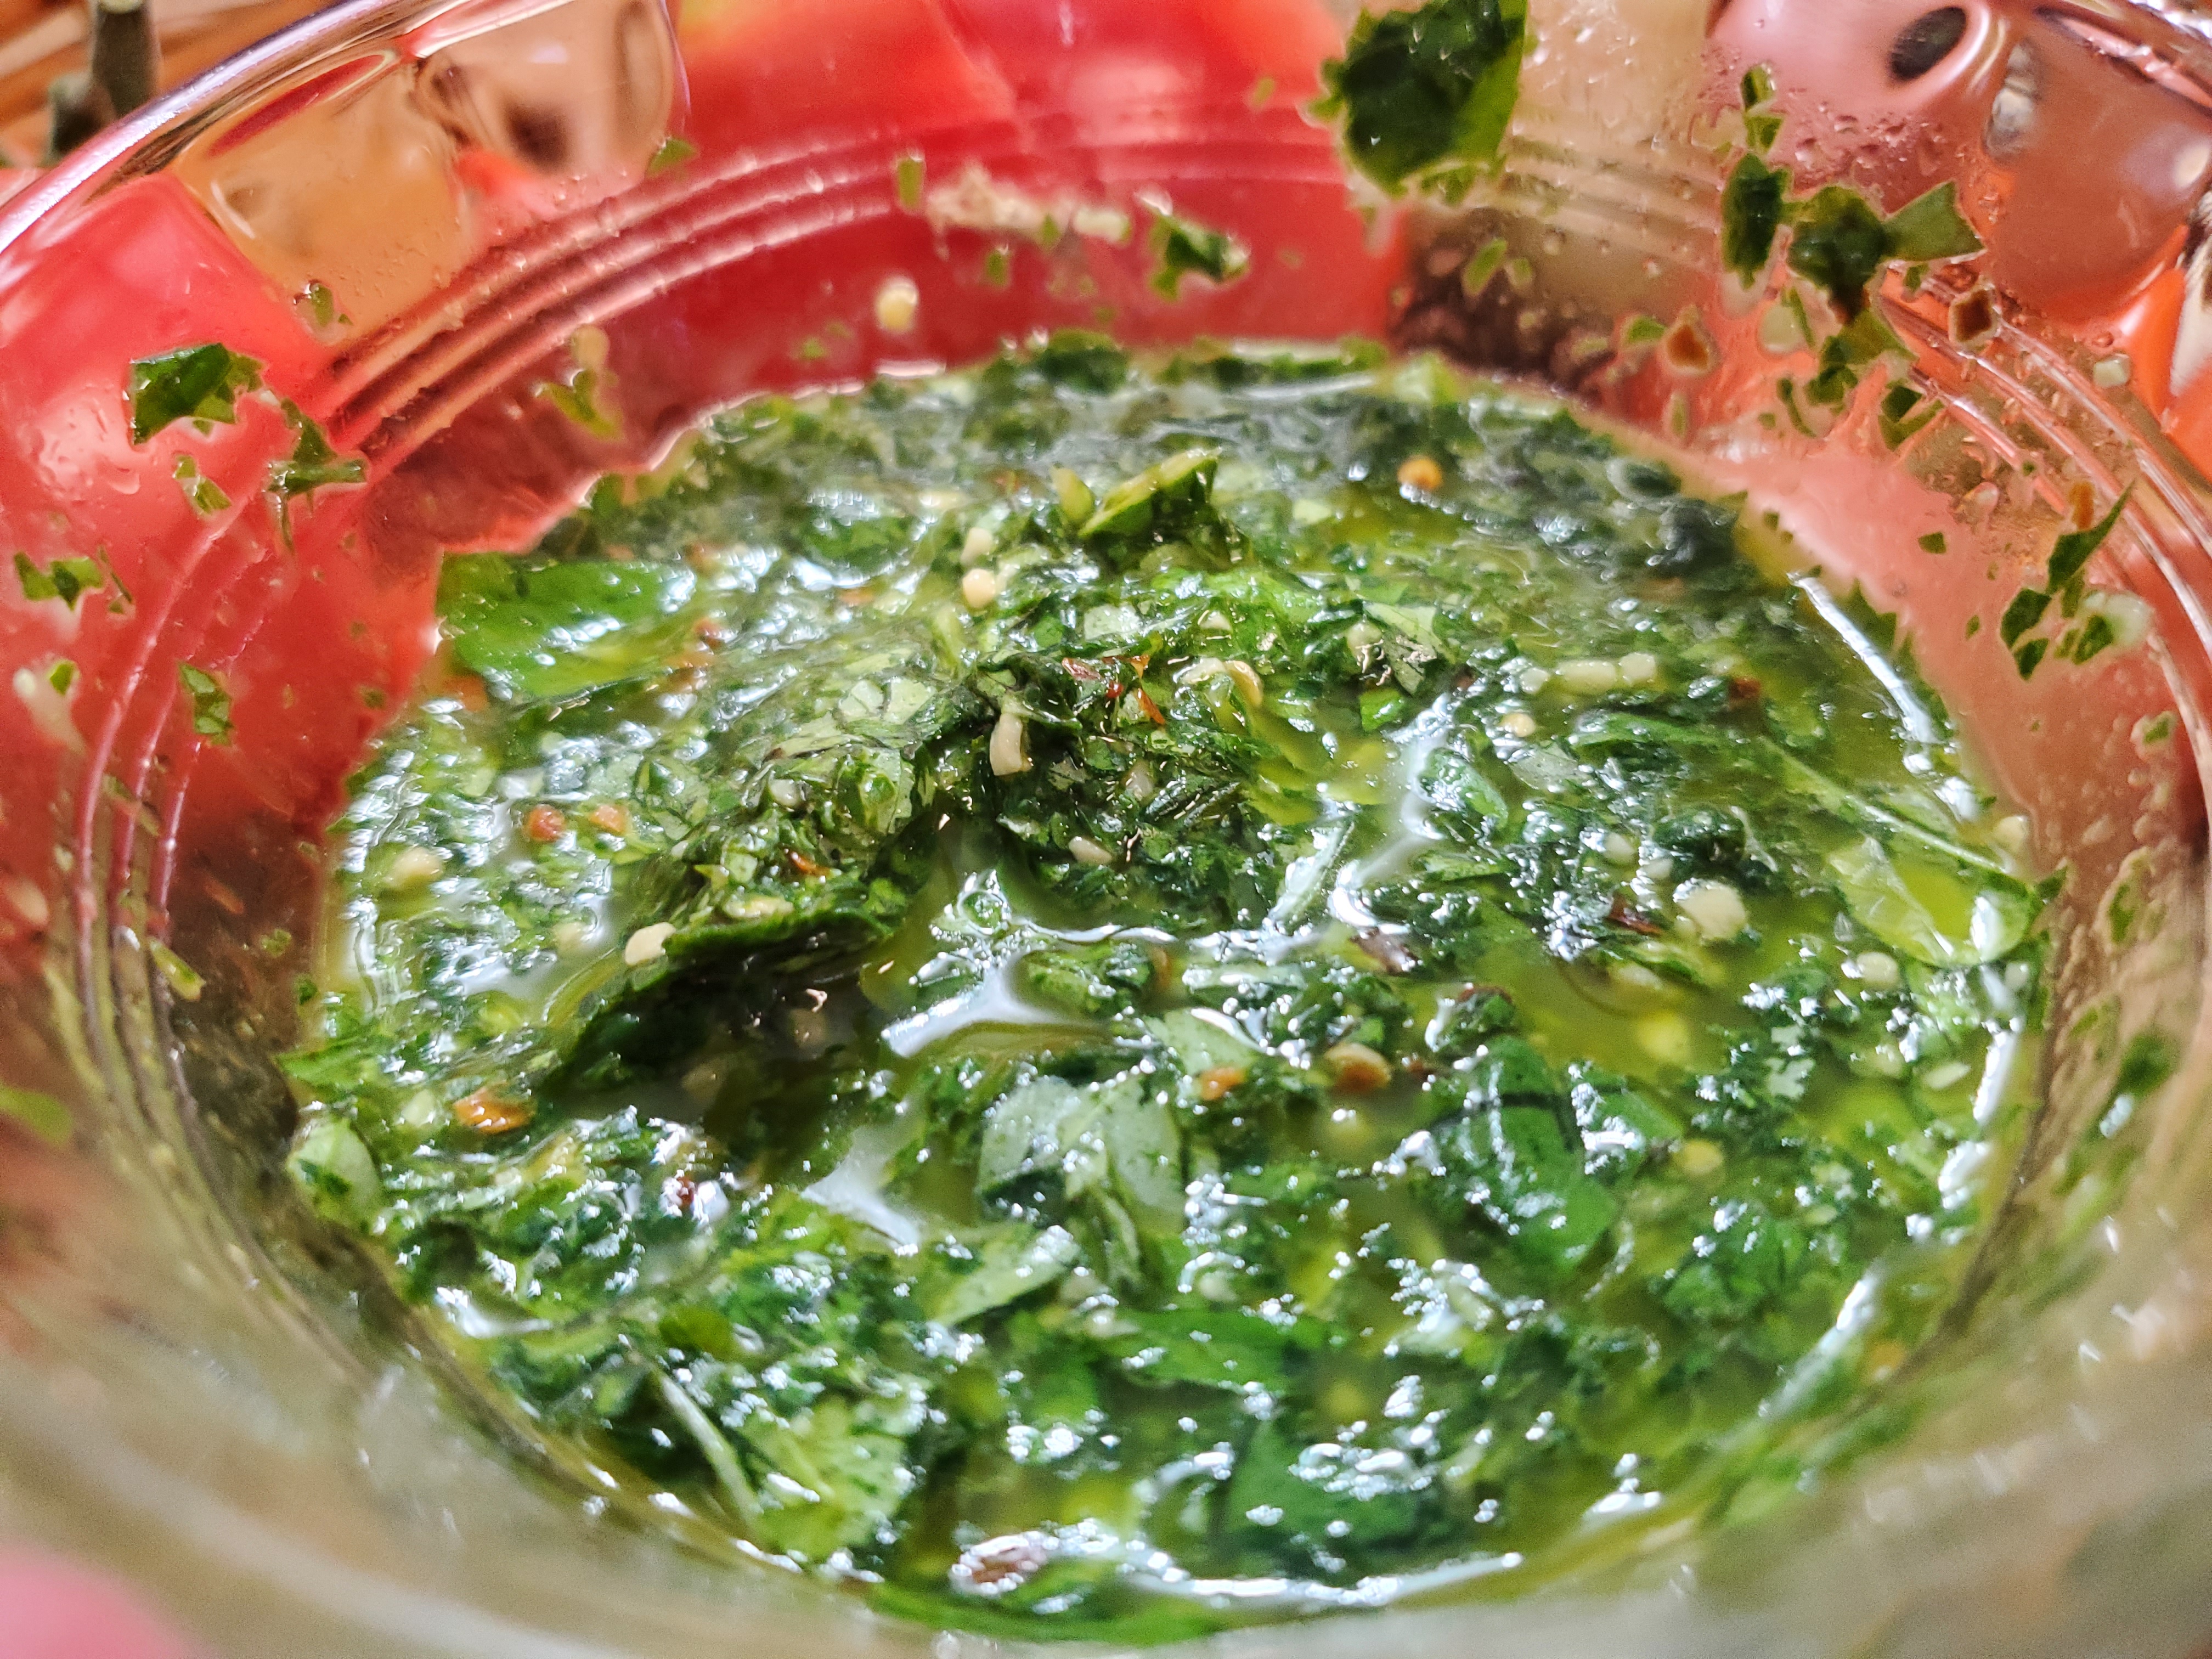
When it comes to oils, this is a favorite of ours for basil that we grow.
Simply combine your favorite cooking oil, basil, garlic, pepper flakes, other herbs and spices to create a summer flavor bomb.
We like to put this into ice cube trays and freeze them. We then separate the cubes and store them in a gallon freezer bag.
These frozen oil cubes can be used in pestos, pasta dishes, marinades, bread dip and other creative combinations all winter long.
We have also made our own salt mixtures. DIY garlic salt can also incorporate various dried herbs and other ingredients to make complex and flavorful additions to future dishes.
That’s All We Wrote!

Having a good time? Learn something? We have an ever growing list of insightful and helpful subarctic & cold climate gardening articles, just like this one!
- Cold Climate Gardening Basics 👉
- Growing Your Garden From Seed Indoors 👉
- Advanced Cold Climate Gardening Techniques 👉
- Plant Specific Cold Climate Growing Guides 👉
- Subarctic Perennial Food Forests & Foraging 👉
- Indoor Garden Lighting & Grow Rooms 👉
- Greenhouses & Temperature Control 👉
- Harvesting & Food Preservation 👉
- Solving Cold Climate Garden Problems 👉
- 700+ 1 Minute Reads 👉
- 180+ Gardening Topics! 👉
FrostyGarden.com is 100% ad-free, junk free and we do not use affiliate links or sponsorships! This resource is voluntarily supported by our readers. (Like YOU!) If we provided you value, would you consider supporting our mission?