If you’ve been following along, you know that we extensively use container gardening techniques here in Alaska.
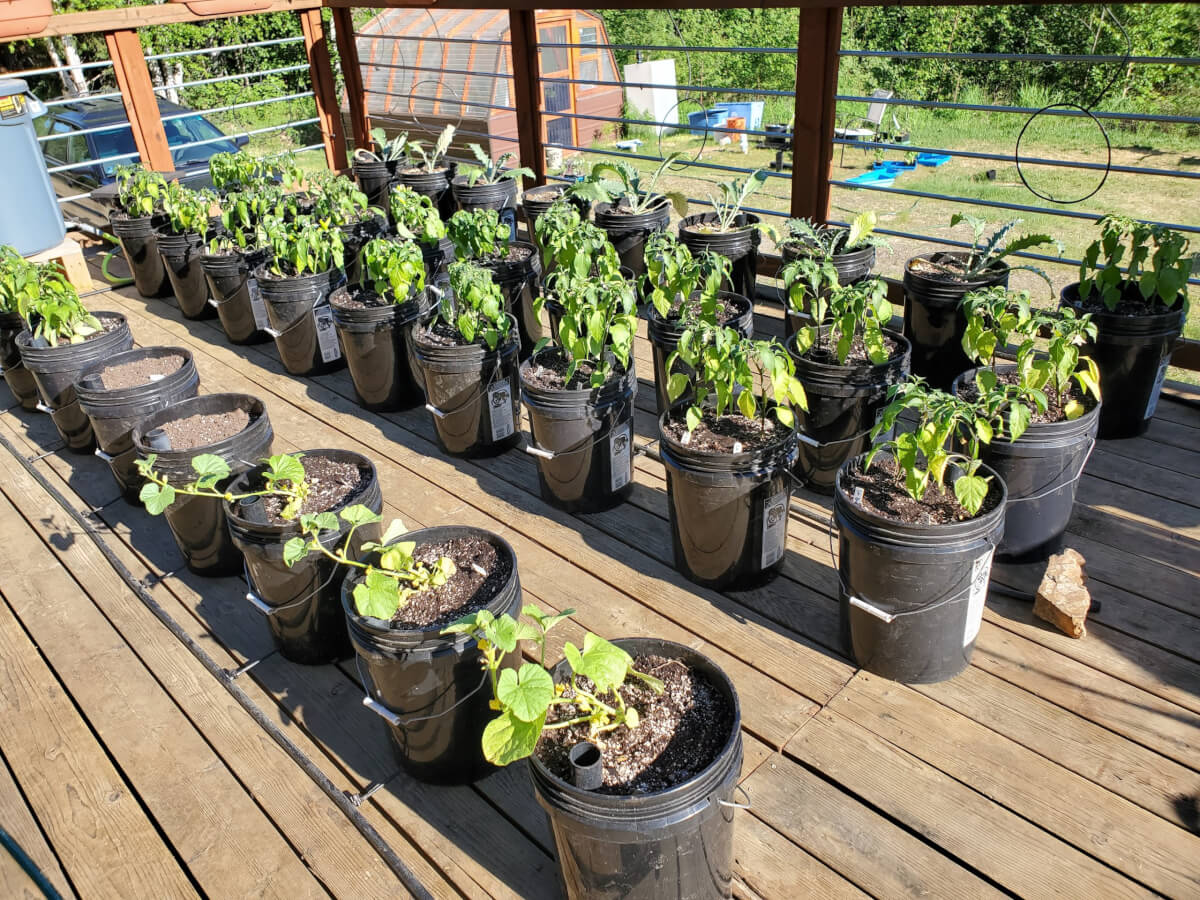
You might have also picked up that we pursue off-grid gardening techniques as this is a reality of Alaskan Frontier gardening.
In 2018, we re-evaluated our entire container gardening approach. In this process, we settled on the sub irrigated GroBucket system from GroTech Garden Products.
This post details why we made the change to sub irrigated systems and the benefits that we’ve seen from this system.
We also put together a brief video on our container garden, in case you like that kind of thing!
Why Do We Use Container Gardens In Alaska?
Container planting has always been part of our gardening strategy in Alaska.
In our cold climate and cold soils, container gardening is a highly beneficial way to improve the results of virtually all warm weather crops.
In 2016, our first year of subarctic gardening, we did a side-by-side trial of every variety of pepper and tomato we grew outdoors, in both containers and raised beds.
It wasn’t even a contest. The container gardens won, by far.
The soil in Alaska is just too cold, even in a raised bed, for warm weather plants like tomatoes and peppers to thrive. Putting these plants into containers allows the soil to warm more quickly and we get much improved results.
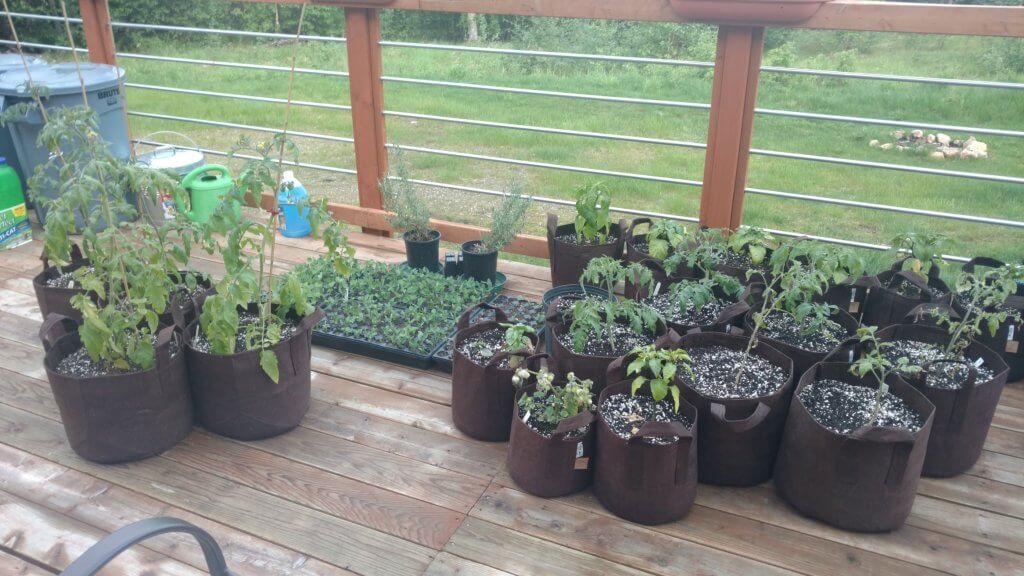
This picture shows some of our fabric grow bag containers that we primarily used for growing warm climate crops in the subarctic.
With this testing, we decided to integrate container gardening into one of the core gardening techniques that we use in our subarctic gardens.
For a few years, we raised some of our plants in our fabric grow bags and they worked great for us.
Why Did We Need To Make A Change?
One of the biggest disadvantages of traditional container planting is inefficient use of water, especially when using fabric based grow bags.
Not only do you experience evaporation and overspray when you’re watering, a lot of water is wasted by draining right through the container.
As we expanded our gardens on our off-grid homestead, we began to struggle with water utilization.
It’s probably important to further explain that our subarctic home’s water system is entirely off grid. We have a water tank that feeds our home, which has to be filled on a regular basis. While this is a fairly common thing in the Alaskan Frontier, it might come as strange to some of our readers.
Our home water is extremely expensive since it is trucked to our home on a bi-weekly basis. It’s also incredibly finite. We try to avoid using our home water for our gardens as it significantly raises the cost of gardening for us.
We did some research and analysis on our water losses using traditional container gardening methods. We discovered we were experiencing extremely significant water losses. The kinds of losses that would add up to thousands of dollars over the years.
When we bought our home in the Alaskan Frontier, our first priority was to invest into a capable rain water catchment system. We knew that any garden will place a significant demand on your water systems.
The problem is, such a system is also finite. We can’t just make it rain whenever we need water.
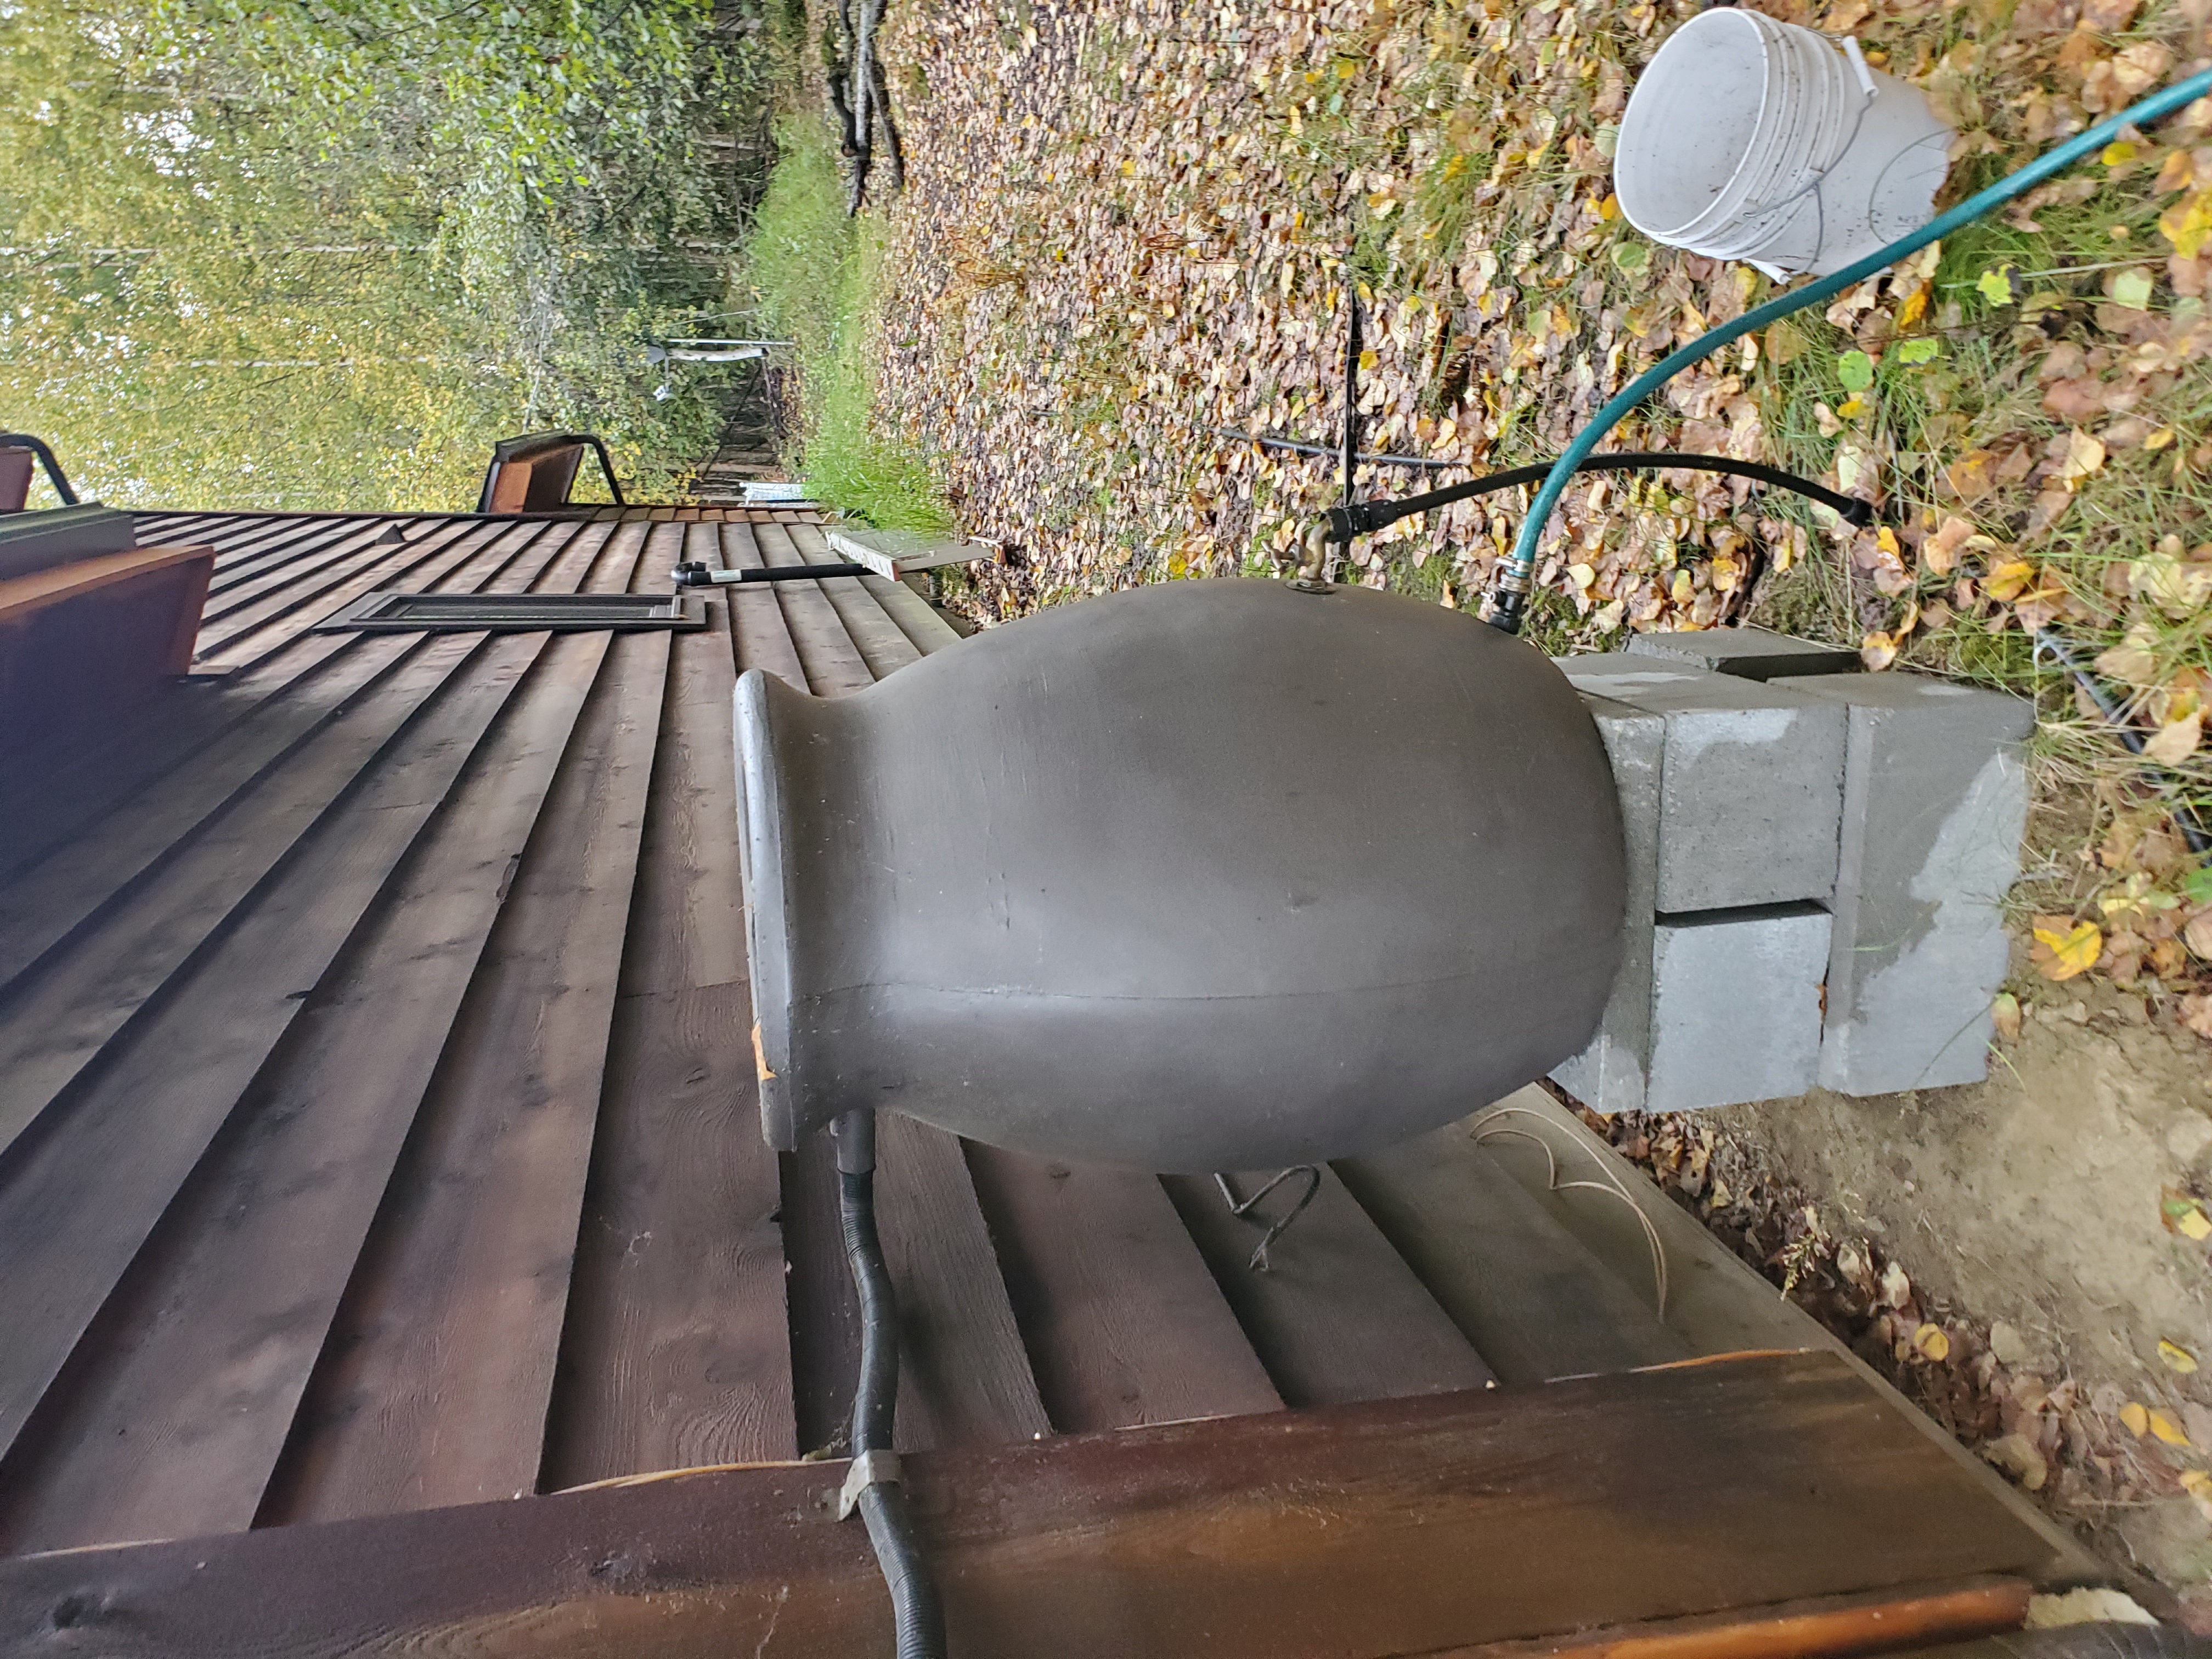
So, with our research, we were incentivized to make a change towards a more water efficient gardening solution. Queue the research!
Choosing The Right Subarctic Container Garden
Fabric grow bags weren’t going to cut it for us growing on an off grid system.
We did some research on what some of the options were. As we did our research, we came up with a few options:
- Drip irrigation techniques
- Hydroponic systems
- Sub irrigated growing systems
These are all fairly well known to achieve more optimal water utilization. All of them could be adapted to our environment and gardening situation.
Unrelated to our current problem, I had previously come across a Kickstarter for a product called the GroBucket, from a company called Low Tech Engineering, LLC.
It was basically a kit that could easily turn a standard 5 gallon bucket into a sub irrigated container. As we looked into them again, I noticed that the product was now available on Amazon.
Cool, a successful Kickstarter product.
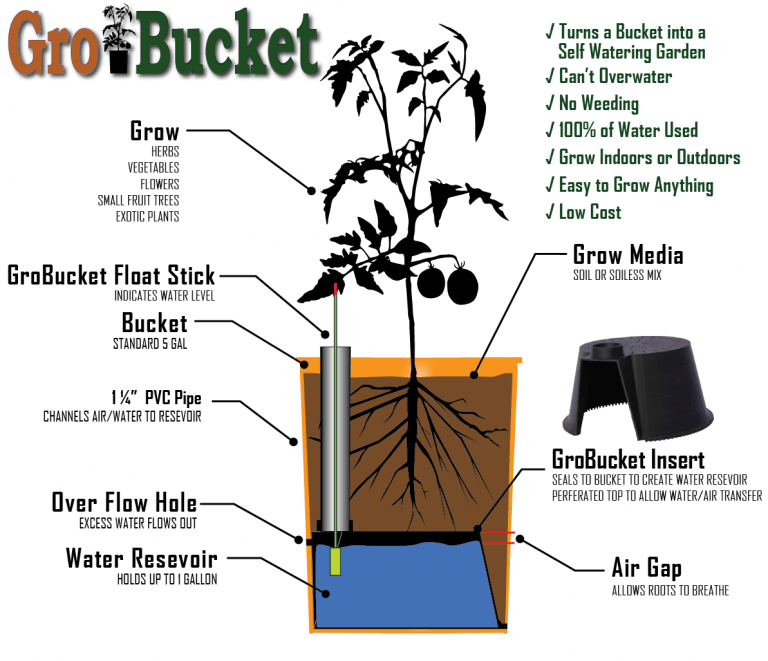
The more research we did into this solution, the more we liked it. They had really thought it through.
- Easily made from commonly available products (5 gallon buckets)
- Very simple to put together
- Easily stored (stackable) for winter storage
- Very scalable, based on how many we wanted to buy
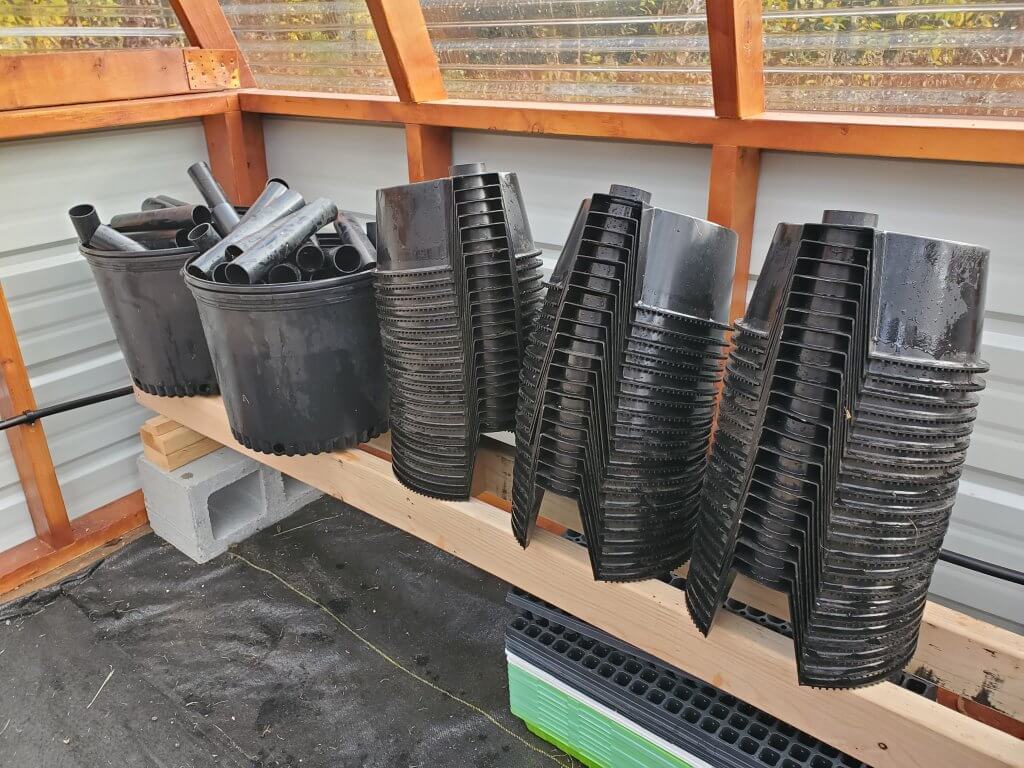
This is our entire GroBucket system, stored for the winter. (Except for the buckets) As you can see, it takes up very little space due to the fact they were designed to be stacked.
The product was somewhat expensive, but not totally out of line pricing wise. When we compared it to other gardening solutions, it was right around the same price.
As I considered the other options, the GroBucket became the obvious choice for an initial trial.
Our Initial Trial Of 30 GroBucket Sites
Ultimately, we settled on trying out the GroBucket solution.
Initially, we put in for 30 GroBucket units and would assess our future purchases based on the initial trial. We also continued to use our fabric grow bags, side by side.
We wanted to see what we could do with the GroBuckets, so we planned several types of plants to grow in them. Our initial trial comprised of:
- Tomatoes
- Peppers
- Eggplants
- Ground Cherries
- Brassica (Brocolli & Cauliflower)
- Potatoes
Needless to say, it didn’t take long until we were completely sold on the product.
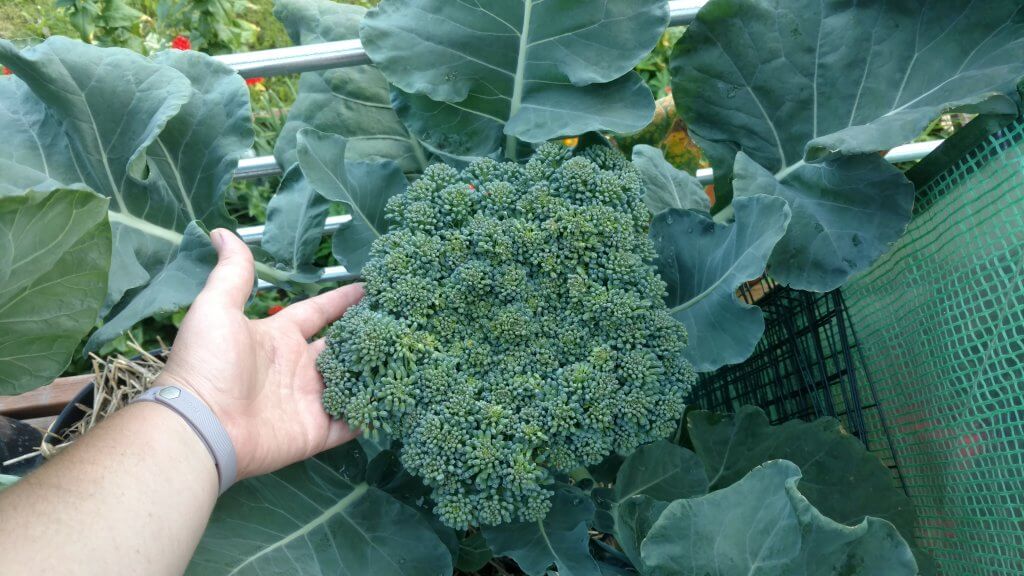
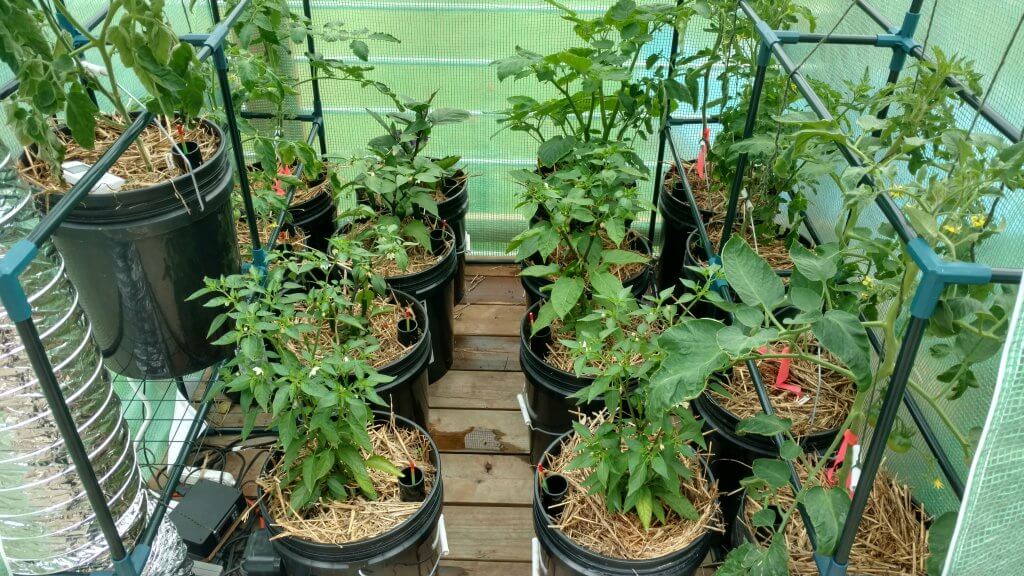
Everything we grew in the GroBuckets was far and away better. Our harvests were larger, our plants were healthier and we had very few problems with the system.
It was also immediately apparent how much more work we had to put into our fabric grow bags. For every one GroBucket watering, we had to do three or four waterings of the fabric grow bags.
As for water utilization, we got exactly what we wanted. Our water usage went way down and for the first time, we didn’t have to use our expensive home water on our garden.
Even our root vegetable test with potatoes worked out! We were able to harvest around a dozen potatoes, which is about average for a 5 gallon bucket. They tasted fine and were super easy to harvest.
Expanding The GroBucket Growing System
We quickly became “fans” of the GroBucket system.
The following year, we decided to replace almost all of our container growing with GroBuckets. This brought our total GroBucket system up to around 70 containers.
Again, we had a great year. We loved how easily we could expand the system. We could just decide to spend the money and increase the container garden’s size.
The following year, we again expanded. We were now above 100 GroBuckets, we had replaced all our container growing sites with them!
Even as we approached this many GroBuckets, we were still well within our rain water catchment systems capabilities. We do have occasional problems during periods of drought, that’s the risk with rain water catchment. We can easily get through these situation by self-delivering 150 gallons of water to our homestead, though.
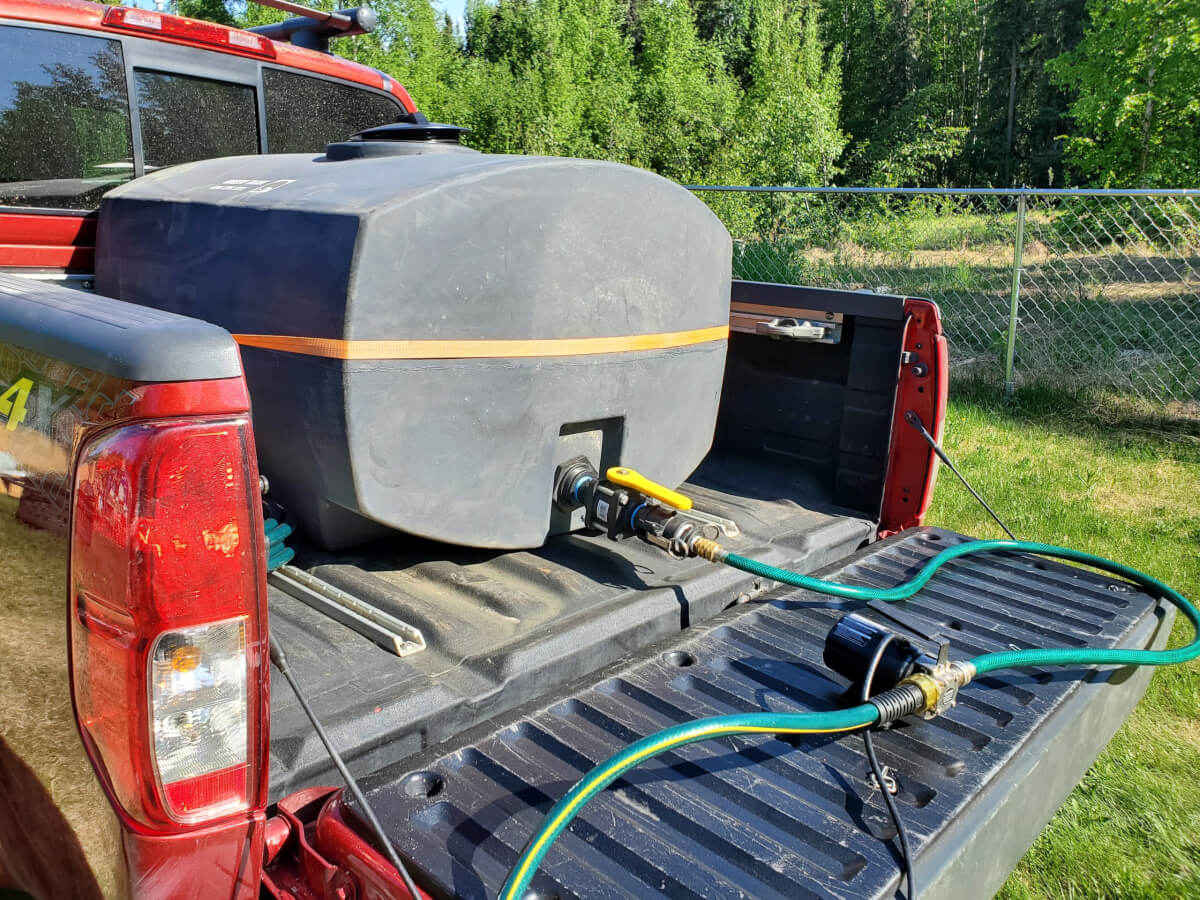
We found it essential, being off the water grid, to outfit ourselves with the ability to self-deliver 150 gallons of water. This is critical during periods of drought and sometimes to “kick start” our water supply in the very early season.
As we got above 50 buckets, though, another problem started to emerge. It became a bit cumbersome to water all those buckets.
We began to research how we could centrally irrigate the system. The GroBucket system lends itself rather well to central irrigation, mostly because it requires you to level the water between the vessels.
Centrally Irrigating Our Off Grid GroBucket Garden
We have an in depth article on this subject, but we decided to centrally irrigate our GroBuckets.
Conceptually, what we wanted to achieve was a way to fill a singular reservoir and have this replenish the water levels in the individual buckets. We wanted to go weeks in between watering, if possible.
With a little bit of ingenuity, and honestly not very much cost, we were able to achieve exactly that! It was overall rather easy to centrally irrigate, and effectively automate, our GroBucket gardens! It’s also 100% off-grid compatible!
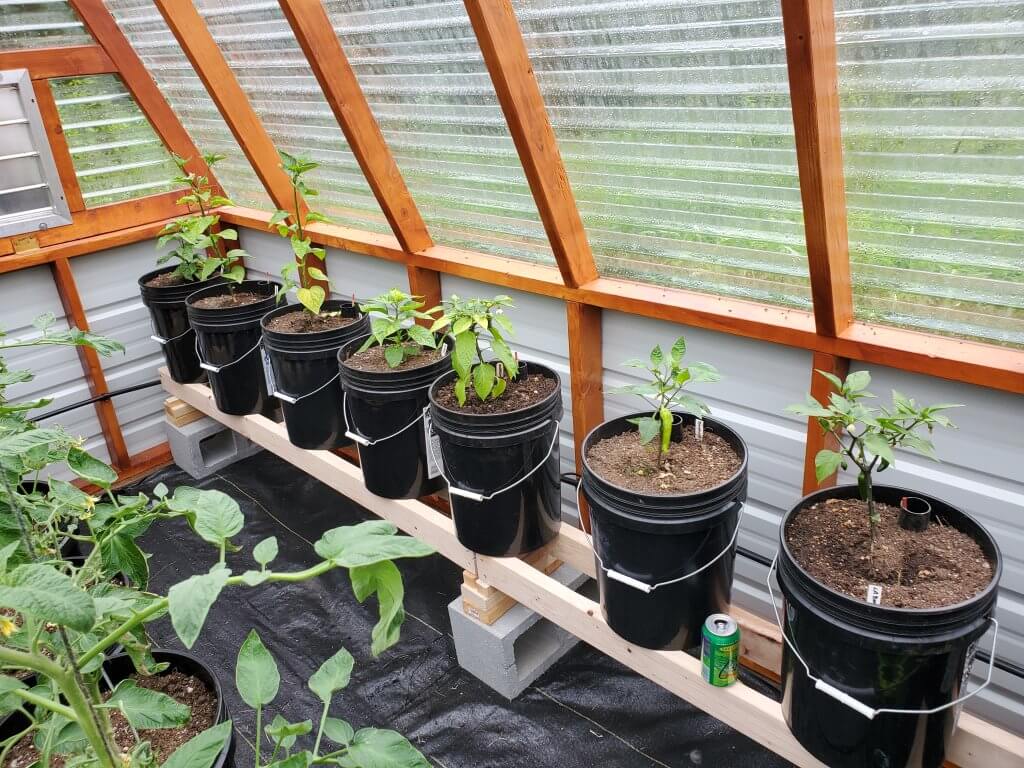
This is our centrally irrigated greenhouse GroBucket garden. It was worked flawlessly and can grow some amazing plants!
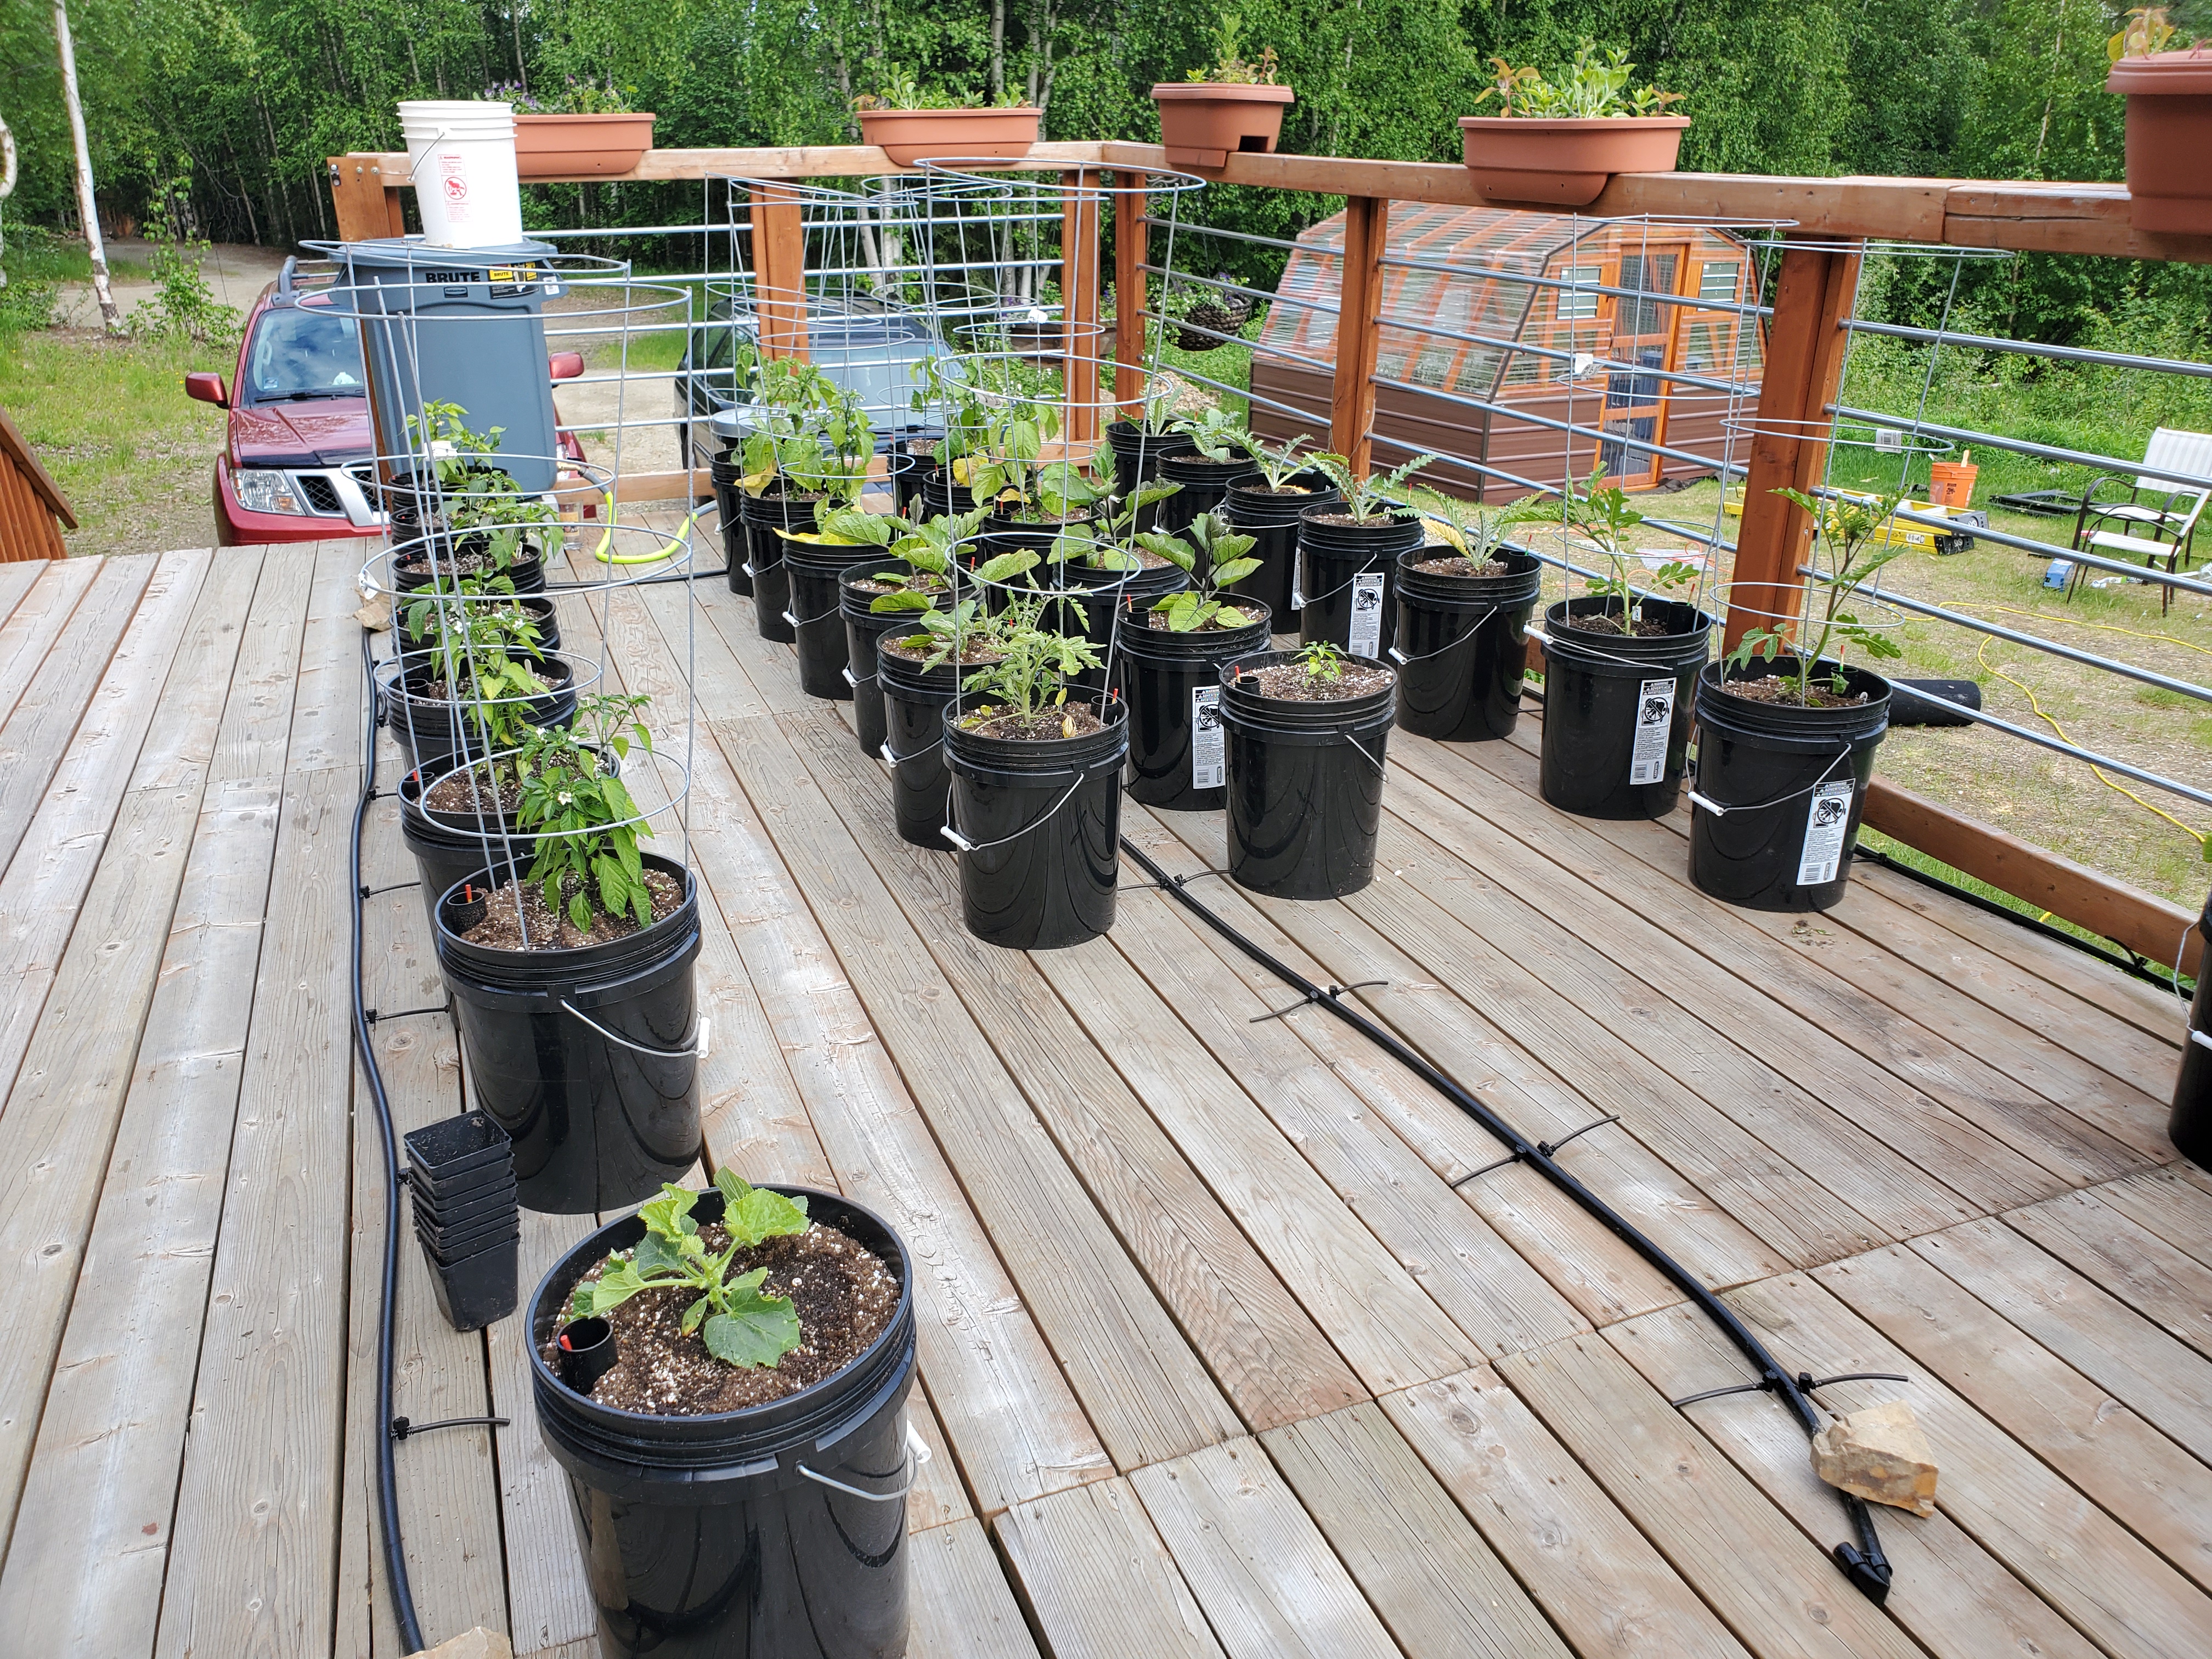
We also off-grid irrigated our GroBucket garden that we use on our deck. This has been a fantastic system that can often go weeks in between watering!
I’ve had the desire to create a fully automated, mostly hands off garden for a very long time. This central irrigation has essentially fulfilled that dream! It is absolutely a dream to use this system.
We still operate a number of GroBuckets in the “traditional” fashion, watering them by hand. We do this for our herbs and other plants that don’t tend to drink a lot of water.
Exploring Fertilization Techniques With GroBuckets
We have done some experimentation with fertilization and our GroBuckets over the several years that we have operated them.
In our container gardens, we have to be a bit concerned about our container soil’s fertility. We re-use our soil from year to year, meaning it often is depleted in nutrients at the end of the year. This means we have to put some focus on revitalizing our soil for use the following year.
The GroBuckets can be fertilized using traditional techniques (top fertilization), infusion of fertilizer with the soil and even techniques that look more like hydroponics systems.
We tried all of the above experiments to find out what we liked. We have settled on treating them similarly to hydroponics systems. This technique is also called fertigation. We use our standard non-organic and liquid soluble fertilizer, the JR Peters brand of fertilizer.
The JR Peters fertilizer features a “constant feed rate” which basically is the amount of fertilizer you would use if you fertilize with every watering. Essentially, this is about one quarter of the normal fertilization rate.
Instead of intermittently feeding our GroBuckets, we always feed them. In our centrally irrigated setup, we simply add the appropriate rates of fertilized water and we never have to worry about whether our plants have sufficient fertilizer.
This technique has performed absolutely tremendously for us and has sent our food production through the roof. We have been able to achieve significant improvements in growth, maturity rates and plant health.
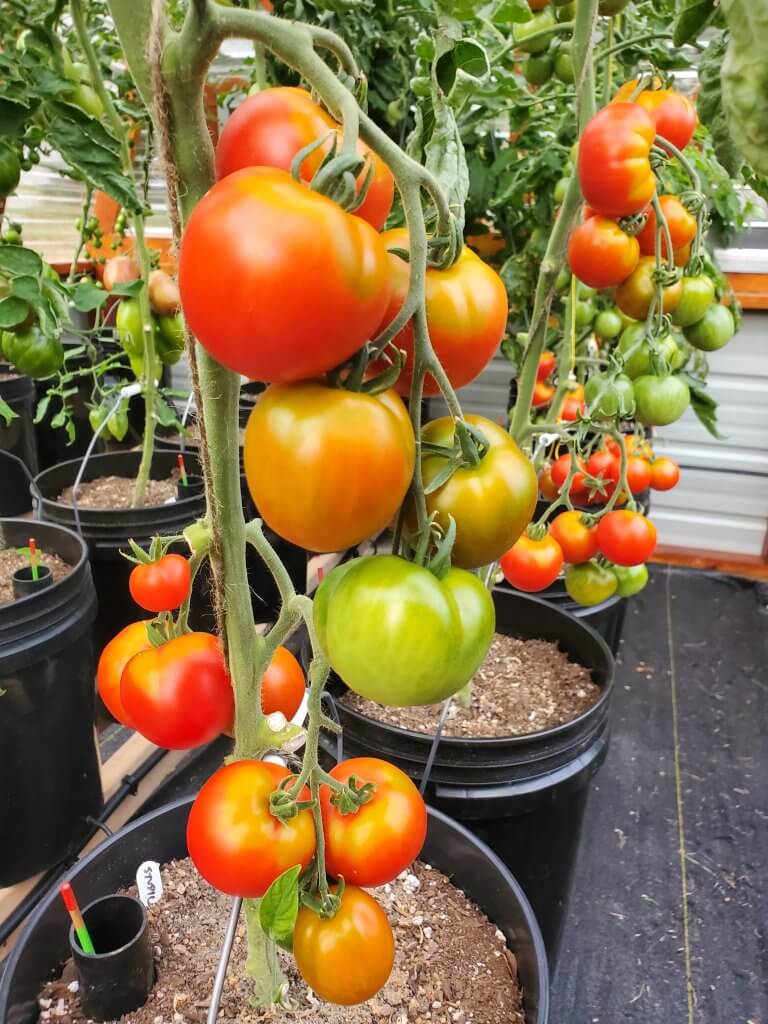
With this technique, you only have to worry about plants that don’t handle heavier fertilization rates very well. Fortunately, these are few and far between. If you are growing these kinds of plants, it’s best to keep them separate so you can treat them differently.
Is the GroBucket System Right For You?
If you are looking for an excellent off-grid container growing system, the GroBuckets are well worth your time to further research.
We know they aren’t super cheap and DIY, but we absolutely love ours. The central irrigation systems we built have transformed our garden into a vision we’ve had since we started gardening.
Hands off. Fully automated!
If you are insistent on a DIY alternative, there are some viable options. We’d point you in the direction of the Alaska Grow Buckets. For us, though, a DIY alternative wouldn’t scale as large as we needed it to.
Our systems have held up through multiple years and we have few concerns about the long term use of them. Our system is getting to the point where we need “spare” equipment and such, so we have pursued that.
The people behind GroBucket are also great. We’ve been in contact with the company several times and they are great to work with. They even tracked us down to get in touch, which was really sweet of them!
That’s All We Wrote!

Having a good time? We have an ever growing list of insightful and helpful subarctic & cold climate gardening articles, waiting out there for you!
- Cold Climate Gardening Basics 👉
- Growing Your Garden From Seed Indoors 👉
- Advanced Cold Climate Gardening Techniques 👉
- Plant Specific Cold Climate Growing Guides 👉
- Subarctic Perennial Food Forests & Foraging 👉
- Indoor Garden Lighting & Grow Rooms 👉
- Greenhouses & Temperature Control 👉
- Harvesting & Food Preservation 👉
- Solving Cold Climate Garden Problems 👉
- 1 Minute Reads On Tons Of Garden Topics 👉
FrostyGarden.com is 100% ad-free and we do not use affiliate links! This resource is voluntarily supported by our readers. (Like YOU!) If we provided you value, would you consider supporting us?

I have 10 GroBuckets, 9 Tomatoes and 1 for peppers (2 plants). It’s my first go-round with them, and so far, so good. I am toying with the idea of filling the reservoir, once a week, with my organic fertilizer, as my fruits have started. I am also finding that I am filling them at least 2 times every 3 days, but we have had a stretch of 90 degree days.
Cool, we really like ours as well! We find that filling ranges from every 2 days (squash) to almost a week plus (peppers/tomatoes). We don’t usually get that hot here. We have also started using liquid soluble fertilizer in the buckets for high demand plants, such as squash and tomatoes. The most challenging for us has been squash, because they drink so much, but I’ve never seen better growth from squash either! We will likely consider more of them, we like them so much!
Any idea how many seasons the GroBucket will last before it needs to be replaced?
The product is made from a reasonably high grade plastic. I’d suspect at least 10 years if you take good care of them, but there’s no reason they couldn’t last much longer. We haven’t seen any reliability issues thus far.
Hi Jeff,
Really like your article a lot!
Can you share with me what soil/soiless mix you use for the hydroponic fertilizer solution? Do you start with soiless grow medium and apply liquid fertilizer from the start?
Thanks!
Hi Camille. Thanks for your kind comment. We decided to go soil in ours and I still think that’s best for the moisture wicking capabilities that this system needs. We actually make our own soil, it ends up a fair bit cheaper at our scale. (100+ buckets & containers.) We detail our soil processes fully here, we use the “Frosty Garden Secret Weapon” recipe about a third of the way down the page. Most store bought soils would also work and this is definitely cheaper for smaller systems and gardening efforts. If I was going that route, I’d probably use Promix in them. For fertilizer, we use Jack’s (aka JR Peters) line up. We like this lineup because they provide a “constant feed” rate, which is helpful when you start to blur the lines between soil and hydroponics like we are with this system. Hope that helps!
Great post! How deep do you plant your tomatoes in the grobucket system? I have 10 of these and not too sure how deep to plant my determinate tomatoes.
We typically will plant our tomatoes as deep into the bucket as is possible that still allows some greenery to be above the soil. The specific depths depend on when we start the tomatoes and how big they are at the time of transplant. Tomatoes will grow roots on stems that are submerged under the soil, no different in this system! We do one plant per bucket. No matter what you do, the plant will grow!