

We got our raised beds prepped today! It was a good feeling to get dirty and work the soil! We’re going to let you in on how we prep these beds for the season.
Our general preparation goals with these beds? We start with removing any old plants and sending them to the compost piles. We tend to let the winter kill off our previous season’s garden, so there’s plenty of detritus to remove. We also remove any perennial weeds that managed to establish themselves from the previous fall. Inevitably, we find things like birch bark that doesn’t belong either, typically a result of our snow thrower kicking stuff into the garden.

From here, we cultivate the soil. We try to disrupt the top 4 to 6 inches of soil, which helps get us a nice, “fluffy” soil to get our plants into. We do this with a simple cultivator, or even by hand. We are really glad we put premium soil into our beds, the soil is really easy to work. If you want to know what we did soil-wise, there’s a link down in the comments with our recipe. “Frosty Garden’s Secret Weapon” is the one! Expensive, sure, but we have zero regrets!
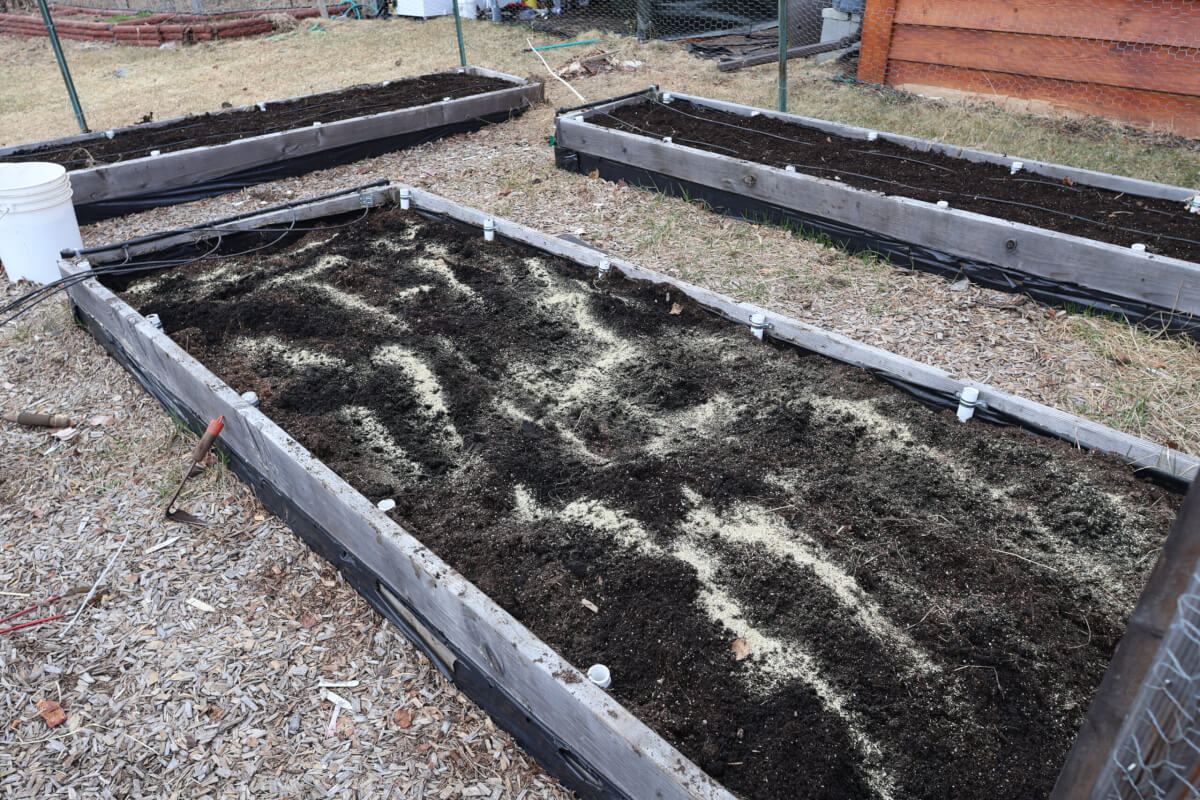
Once we’ve disrupted the beds, then it’s time to add in our amenities. We add back in some compost each season, which is usually an effort since it’s still frozen into clumps this early! Our soil doesn’t need much, it’s extremely rich in organics all ready. We also add in granular fertilizers to these beds. Our preferences are towards Down To Earth’s BioLive and usually a little Azomite. Between these two, we get a good balance of NPK, minerals, micronutrients and mycorrhizae. These beds are exclusively used for intensive growing practices, so we have to play a strong game with our nutrition profile each season to support it.
The amenities are worked back into the soil, again typically the top 4 to 6 inches. We try to get things into as even a distribution as we can. Our goal is to let this sit for a week or so before we get plants into the ground. This allows the fertilizer to break down a bit and the mycorrhizae gets started with their thing. You can plant into freshly prepped beds, too, so don’t worry if that’s what you gotta do.
We finish everything up be reinstalling our irrigation drip line into the beds. We use drip line with emitters every six inches and each line is 12 inches apart across the beds length-wise. This allows us to fully saturate the beds and has worked well for the intensive planting that we practice here. And, at this point, the beds are ready to accept transplants or direct sows!
We’re glad to have this major project checked off the list! There’s so much more for us to get done! But, it’s happening! (Oh, and for the record, we don’t put our snow shovels away until June for good luck!)
