
Listen To This Article!
This post is all about how we crafted raised beds with landscape timbers.
In 2021, we wanted to build a few smaller raised beds for our annual cut flower garden and a few perennials we wanted on our property.
If you were building anything around this time (2021), you know that lumber prices were through the roof at this time. Landscape timbers were one of the cheapest materials we could find.
We were quite pleased with the end result, they should make for fine long term beds.
What Are Landscape Timbers?
Landscape timbers are a building material that can often be found at local home improvement stores.
They are about 3.5 inches in diameter and 8 feet in length. Landscape timbers feature flat spots on the top and bottom of the “log.” They are typically pressure treated and suitable for use in ground contact situations.

These are the landscape timbers we purchased. In our case, we purchased them from Home Depot. They are a comparatively inexpensive material to traditional dimensional lumber.
Landscape timbers are basically “Lincoln Logs” for adults. They can be used to craft everything from raised beds to garden edging to retaining walls.
In our case, we paid about $6 for each timber. We needed a few of them!
Getting A Raised Bed Plan Together
We knew roughly where we wanted these new raised beds.
It was an area that wasn’t particularly useful to us, but featured great sun exposure. Our new beds would be installed along one of our northern fence lines inside our fenced-in dog yard.
It wasn’t exactly a straight or level area, so we knew we had a bit of work ahead of us.
We decided that we wanted our beds to be about 2 feet wide, which is a good depth when you only have access to one side of the beds.
The trickiest part of the project was that we wanted our beds to align with the fence line. The fence featured about a 45 degree angle before it jetted further north. This was a really awkward space, so we wanted to put perennial plants there instead.

This was the area where we wanted to put our landscape timber raised beds. It was right along the fence line at the northern extents of our property. The beds needed to align with the right most fence post in this case, for aesthetic purposes.
The entire area was a little over 25 feet long. It slightly dropped in elevation, so we knew we’d have to a little bit of terracing to deal with the slight slope.
Overall, we had a basic idea of what this might look like. But, in the end, we sort of just figured out how to do it as we went along.
Preparing The Site For Raised Beds
One of the very first steps in putting in raised beds is to prepare the site.
First, we marked the general areas where the raised beds would go. This is basically a very simple “survey” type of thing. In our case, we use some cedar stakes that we made years ago to mark our corners and general lines.

Projects like this always start with a bit of brush clearing and establishing “survey markers” where corners and lines will soon exist.
We then cleared out as much of the vegetation and grass as we could. We had a plan to use heavy duty weed fabric under the beds, so it wasn’t essential that we removed everything.
Then comes the hard work!
We used our pick axe, shovels and rakes to “sort of” level out the space. We defined the lines where the landscape timbers would go.

A pick-axe, shovels and rakes were used to prepare the ground for our new raised beds.
Fortunately, this was a bit easier than some of the other projects we’ve tackled. Leveling our main raised beds and our greenhouse was significantly harder on our bodies!
We used the un-cut timbers to get an idea of where we wanted them to lie. We carved little “grooves” into the dirt to give the timber a good place to “sit” once we started laying them down.
Some soil was moved from higher parts to lower parts to get “better level” than what we started with.
These are raised beds. We didn’t need them to be architecturally perfect. A few bumps and imperfections here and there wasn’t a major problem for us.

Our landscape timbers were “roughly placed” to get an idea of the level and fit of the raised bed’s walls.
Once we had our ground generally prepared, we cut and laid in some heavy duty 4 ounce weed fabric. This would keep native plants (weeds & grass) from growing up into our raised beds.
This is essential if you don’t want your raised beds to become a home for native grasses and plants.

We’ve found it to be very important to line our beds with heavy duty weed fabric. This prevents native plants and grasses from growing into your nice, new raised beds.
Starting On The Landscape Timber Raised Beds
As we mentioned above, using landscape timbers is sort of like using “adult Lincoln Logs.”
We figured we’d start with the easy part. First, we had a few rectangles that we needed to make.
We measured and cut our desired lengths, as needed. Whenever possible, we tried to use full length landscape timbers.

This was the easiest part of of our raised bed project. Just a couple of simple rectangles and multiple layers of landscape timbers.
To temporarily secure the landscape timbers, we screwed them together with 4 inch wood screws. We had a plan to secure them even further, but this would allow us to build the beds without having the timbers tip over constantly.
We really like the “criss cross” look of landscape timbers at the corners. So we made sure we did this.
Our dirt work wasn’t perfect, so we used rock to even out some of the humps and valleys. We “sort of” leveled them. Bottom line, the plants aren’t going to care if things aren’t perfectly level.

We used gravel to help level out our ground. This offers the beds good under support, helping the builder get somewhat level even if your ground work isn’t perfect.
We needed to lightly terrace the landscape timbers to deal with the land’s slope. This was much preferred over using a pick-axe to fully level the ground.
With our primary raised beds, we fully leveled them. This is back breaking, hard work. We cheated a bit when we built these beds.
Deal with it.
Awkward Angles & Landscape Timber Raised Beds
With the bulk of the raised beds complete, it was time to tackle the more difficult section.
As mentioned above, we had sort of an awkward space to deal with.
We wanted a nice “clean” line to our raised beds, but our fence line angled back a bit. This would make it easier to mow in this area and also provide function for a relatively unusable area.

We completed the majority of the beds by adding in this awkwardly shaped bed. This was more about getting us straight lines that we can easily mow against.
We really just eyeballed the angles. We aimed for “close enough” – a protractor was NOT involved! Just remember, when you’re cutting wood, you can’t add it back on after you cut it off!
As mentioned above, we secured the timbers initially with 4 inch wood screws. This worked well enough.
We originally planned and built the raised beds three landscape timbers tall. We eventually decided that a fourth landscape timber would be beneficial for just a little more depth to the raised beds.

Adding the fourth layer of timbers was pretty easy. We just cut additional timbers, laid them on top and secured them with 4 inch wood screws. This offered us about a foot of depth across the beds.
Creating Smaller Raised Beds From Larger Raised Beds
As mentioned, we wanted to plant some perennials in this bed.
We decided to install a few “separators” that would define unique beds from the larger beds.
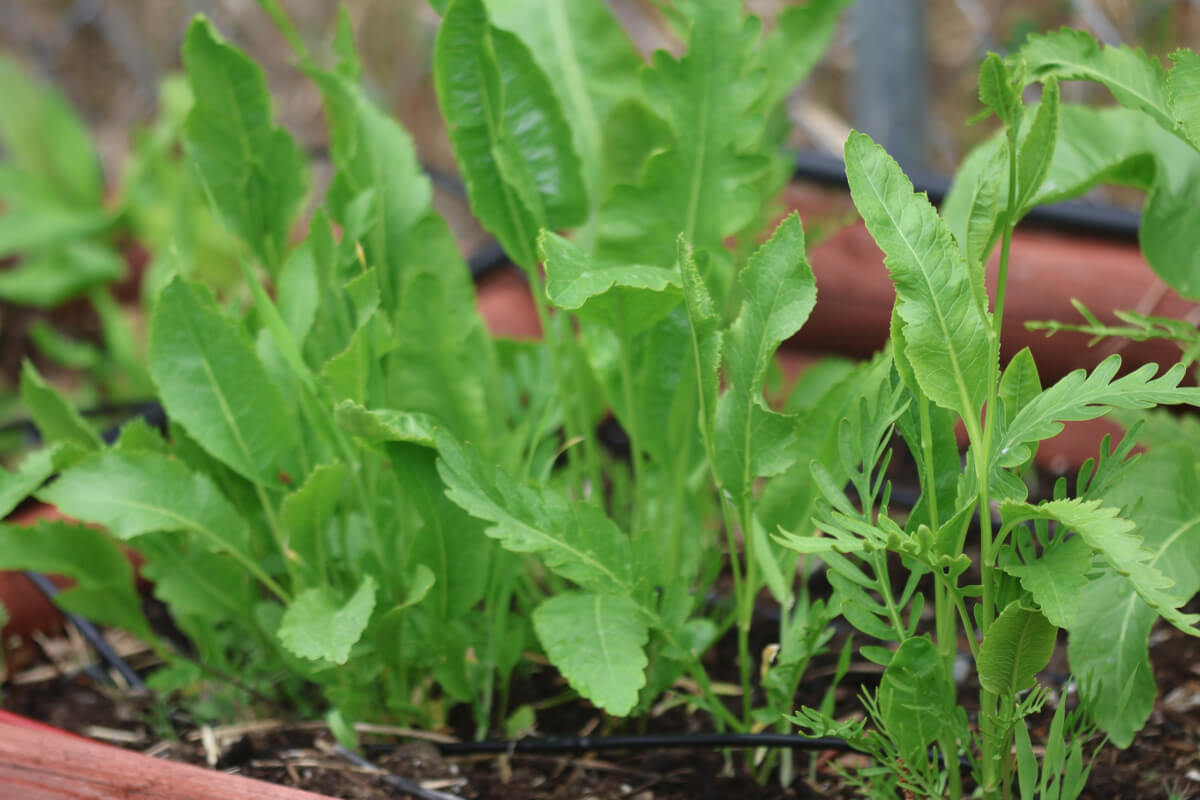
This particular section would home our horseradish, chives and asparagus. All of these are prone to spreading, so it was important to help prevent that where we didn’t want it to happen. We needed three sections, with the largest being dedicated to asparagus.
It was easy to cut and install the separators. Again, we laid the timbers in and secured them temporarily with 4 inch wood screws.

We divided some of the larger beds into multiple beds. This allows us to create distinct sections for growing specific plants. Some of the plants we’ll grow here will “creep”, so this will help prevent the plants from over-reaching into areas we don’t want them.
Permanently Securing Landscape Timber Raised Beds
As discussed previously, we were temporarily securing everything with wood screws.
This really isn’t an ideal “permanent” solution, but it gives the builder a way of temporarily gaining structure. Landscape timbers are slightly awkward to work with.
To gain more stability, we drove 2 foot rebar through each section of the raised beds.
This is the point of no return for your beds, they can’t be easily changed or moved once you secure them. Hopefully you’re mostly happy with the layout by the time you get to this step.
First, you need to determine and mark your locations for the rebar. From here, we used a paddle drill bit to drill a hole through all the timbers. We tried to secure the timbers every two feet or so.
A corded drill is ideal for this step, it takes a lot of energy to drill out these timbers.
The next step was using a large mallet to drive the rebar through those holes and into the ground. It’ll make your arm burn, but it’s highly satisfying manual labor.
This step fully secures all the landscape timbers together. It also secures the beds into the ground.
It might be a little hard to see, but you can now see the rebar that has been driven through the holes in the landscape timbers. We can stand on the sides of the landscape timbers, they don’t go anywhere.

We used 2 foot sections of rebar, pounded through the landscape timbers, to permanently secure them to each other and the ground.
All of the landscape timber sections were secured in this way, including the bed separators. We went through quite a few pieces of rebar!
Filling Your Raised Bed With Soil
We discuss our soil building techniques in this post, but the gist is we like to make our own soil here at Frosty Garden.
This is a much more cost effective way to get large volumes of soil like you need with raised beds and container gardens.
We made up quite a few batches of the “Frosty Garden Secret Weapon” soil we discuss in our soil building page. This combines perlite, vermiculite, compost and peat moss in a specified quantity.
In our case, we like to mix our soil on a tarp. We can then pick up this tarp, bring it to the bed and dump all the soil in at once.

We absolutely love this crafted soil and it’s extremely performant for all kinds of plants. It’s a little bit more costly than using other soil recipes, but we’re about quality here at Frosty Garden.
Once we had made all our soil and filled the beds, we were ready to go.

Using The Fruits Of Our Hard Labor
We were excited to get started! Cleanup can happen later! Plus, at this time, we really needed to get our plants in the soil.
Our first inhabitant of our new raised beds was a couple of horseradish plants. These will eventually spread throughout this bed. In a few years, we expect to harvest several horseradish roots per year.
Horseradish are hardy down to zone 3, a perfect perennial for some subarctic areas.

Next up, we had been raising quite a few asparagus plants that year. These were planted fairly densely in one of the larger beds. Again, these will sort of spread and “do their own thing” over the years.
Asparagus is also perennial down to zone 3. We decided to grow our own asparagus starts as opposed to using asparagus crowns.

The “awkward angled area” was purposed for growing several rhubarb plants. We divided our extremely large rhubarb at our community garden. It really needed to be divided, it’s a good process for rhubarb health.
Rhubarb are hardy down to zone 2, making it an excellent subarctic perennial.
We were able to fit five rhubarb plants in this space. For the first year, we interplanted a few flowers, too. In future years, we hope the rhubarb will fully engulf this entire space.
Since this was a somewhat large bed, rhubarb was a good choice. It’ll be easier to harvest rhubarb in this larger bed than other plants.
The largest of the rectangular beds was dedicated to a cut flower garden. We really wanted a dedicated area to grow our annual cut flowers.
This has high “wife approval factor” and is important for funding projects like this!

The final step was moving our chives over. We had a several year old chive that was originally planted in our primary raised beds. It made more sense to keep that garden entirely annual, whereas our perennials could live here.
The chives really didn’t mind being dug up and moved halfway through the season!

Next Step, Centralized Irrigation
Our plan was to these beds into our drip irrigation system. This was originally in the plans for 2021, but it slipped due to other priorities.
In 2022, we used some of our favorite drip tape to fully irrigate these beds. We used pressure compensating drip emitters for our rhubarb plants. Our chives received stake emitters.
Different drip emitters are easily integrated into the same irrigation system. Our choices reflect how much water is needed and general water distribution strategy.
This was all tied back into our home’s centralized, rain water catchment system. We use a submersible pump and irrigation lines to get water where we need it through the season.
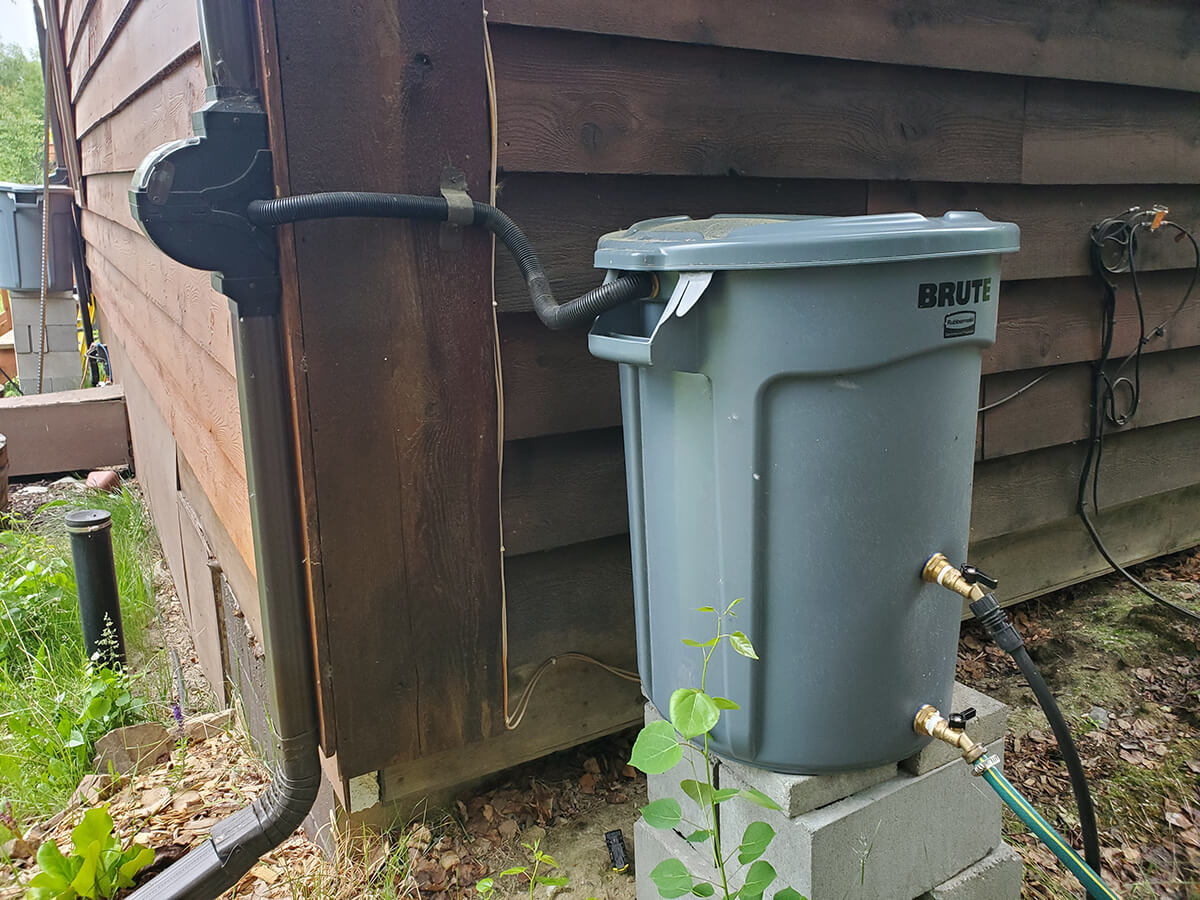
This bed was established in its own “zone” separate from our primary raised beds and deck railing planter irrigation. It’s important that your irrigation system can supply the entire zone, so that’s why it is separate.
One of the main things we’ve learned about managing larger gardens is anything you can do to simplify ongoing maintenance (like watering your plants) is a great thing to invest in!
Overall, Mission Accomplished!
We were pretty happy with how our landscape timber raised beds turned out.
There were some imperfections. Building with landscape timbers is a bit more difficult than we had anticipated originally. It wasn’t “really hard” on the spectrum of things, but slightly challenging.
In hindsight, we would have done a few things different if we had it to do over again. That’s typical with all the DIY projects we’ve tackled. The point is to actually do and try things.
As a final word, we thought we’d share some of the cut flowers we produced in our initial season using these landscape timber raised beds!


That’s All We Wrote!

Having a good time? Learn something? We have an ever growing list of insightful and helpful subarctic & cold climate gardening articles, just like this one!
- Cold Climate Gardening Basics 👉
- Growing Your Garden From Seed Indoors 👉
- Advanced Cold Climate Gardening Techniques 👉
- Plant Specific Cold Climate Growing Guides 👉
- Subarctic Perennial Food Forests & Foraging 👉
- Indoor Garden Lighting & Grow Rooms 👉
- Greenhouses & Temperature Control 👉
- Harvesting & Food Preservation 👉
- Solving Cold Climate Garden Problems 👉
- 700+ 1 Minute Reads 👉
- 180+ Gardening Topics! 👉
FrostyGarden.com is 100% ad-free, junk free and we do not use affiliate links or sponsorships! This resource is voluntarily supported by our readers. (Like YOU!) If we provided you value, would you consider supporting our mission?