
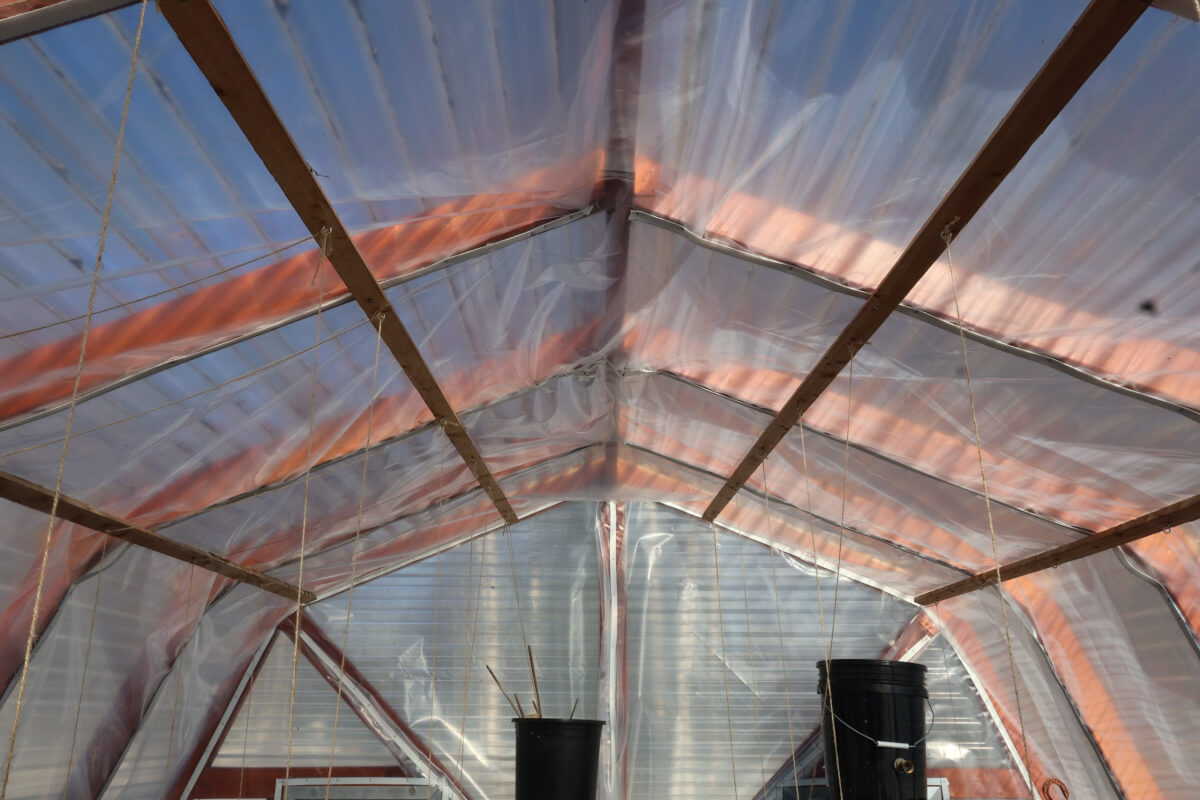
Many of you will observe the plastic layer that we have on the inside of our greenhouse and might be curious of what its about. You might come to a number of conclusions about it, but, what you are observing is how you go about insulating a greenhouse!
Your immediate impression might be that we’re “sealing” the greenhouse, or trying to trap the outside air from getting in and also vice versa. And you’d be mostly correct and you can certainly describe it that way. It does, in fact, provide us with a degree of air tightness.

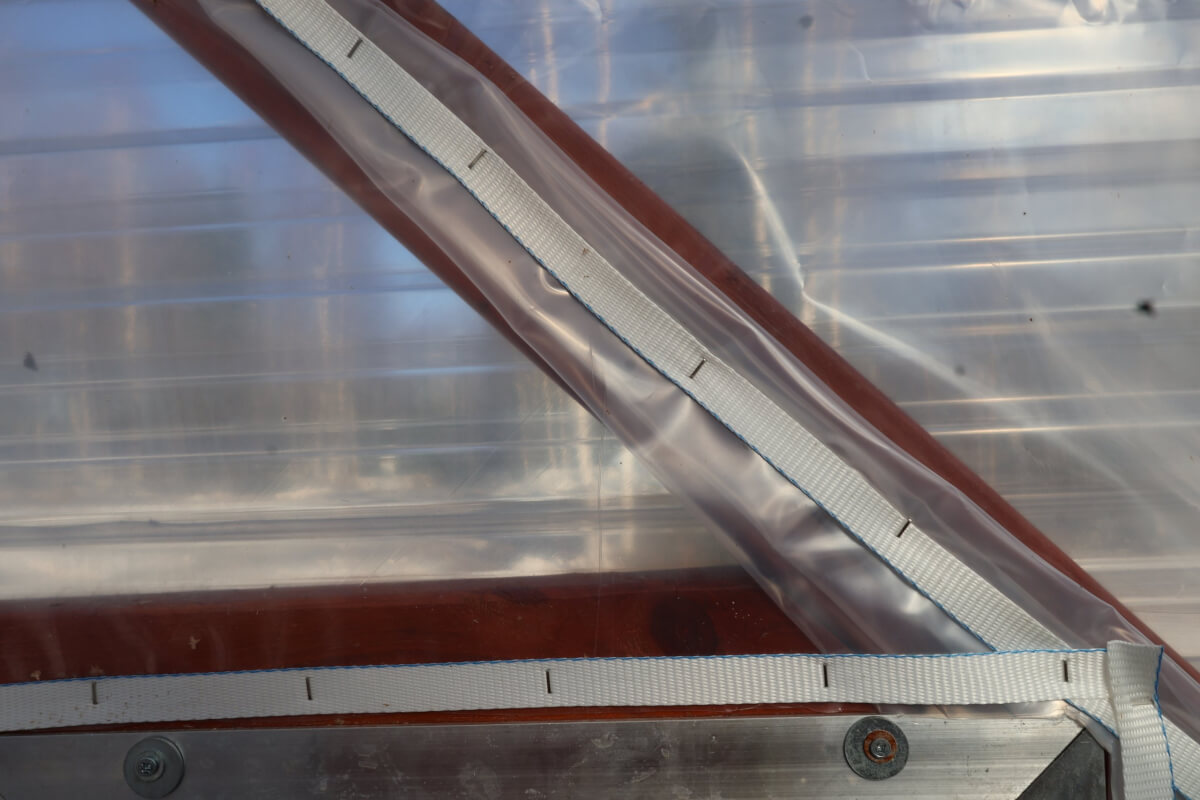
But, the “real” magic, with this method is not the layers themselves, but rather the air gap in between! In our case, our outer shell is fairly common corrugated greenhouse plastic, well suited for snow loads and general weather protection. The inside layer is basic, UV rated 6 mil plastic that has been stapled to the studs using woven nylon cording that’s typically used for securing pallets.
How this works as insulation is not via the materials themselves. Both plastic layers are quite miserable at insulative value, allowing easy transfer of thermal energy across each layer. But, air is surprisingly slow at transferring thermal energy! That “air gap” has to warm up, or cool down, based on the conditions both inside and outside of the greenhouse. It’s exactly this slow transfer of thermal energy that causes this layering to provide insulative value. This is very similar to how building insulation works, too, but many don’t fully appreciate how it works.
Each layer that you add provides roughly two weeks of season extension on each side of the season, or about a month overall. If you’re using your greenhouse for perennials, you’ll get an entire extra growing zone with each layer you add. As you might imagine, that makes an significant difference, pushing us from a three month growing season to a four month growing season! You can also do three layers, four layers and so on to get similar benefits. Now, this isn’t an infinite life hack. You can’t just add 10 layers and be growing in the tropics. But, to a certain scale, this layering system works in this kind of linear way.
As for performance, we’ll tell you what! This is, hands down, the very best thing we’ve ever done to our greenhouse. It makes it possible for us to use it for seedlings in the spring, along with cost effectively heating it against relatively cold outdoor temperatures. In the summer, we get much faster warm up times, slower cool down times and generally more even, warmer temperatures. This decidedly helps with growing performance since our plants have much less temperature variation to deal with. It improved our ripe tomato production by probably 30-40% alone compared to when we didn’t have it. So, incredibly worth it.
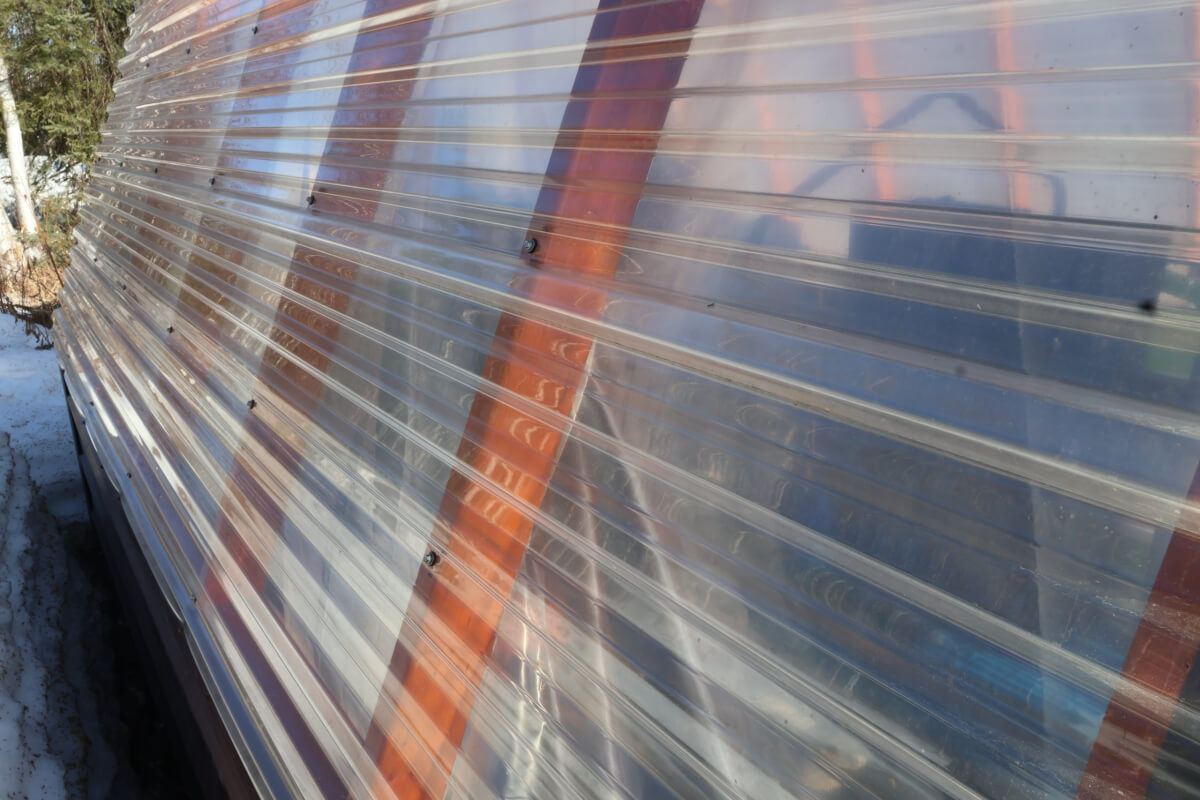
In our case, we only applied the UV rated plastic to the top parts of our greenhouse and not the lower walls. There’s a number of reasons we didn’t bring it all the way down and honestly, it’s totally sufficient as-is. One of the upgrades we’re strongly considering this year is to put some closed cell foam in our wall’s stud bays, which will further the insulative value even further. Once we get a bit more data on it, we’ll let you know if that seems to make a difference.
We do have a more full guide on this down in the comments and you might want to check it out. This talks more about the mechanics of how we did it and also offers a fair bit more performance information. If you couldn’t tell from our post, we definitely recommend the technique and it’s an awesome way to really make your greenhouse perform.
