
Listen To This Article!
We came up with an idea to try and improve the general performance of our subarctic greenhouse. The idea was to “seal” our greenhouse, similar to how one would “seal” a home with a vapor barrier.
We never could have anticipated just how much of an improvement the process made! The final results truly blew us away.
This post details the why and how about our project to seal our greenhouse, in case you’re thinking about a similar project.
Why You Might Want To Seal Your Greenhouse?
When we built our greenhouse, we used corrugated plastic that is very commonly used when building greenhouses.
This material isn’t a perfect one. There are many opportunities for air exchange with the outside air. This reduces the general performance of our greenhouse, limiting the amount of heat retention we can see from it.
We weren’t unhappy with our greenhouse, it worked quite well. But, we wanted to see if we could get a little bit more out of it.
Specifically, we were interested in using our greenhouse for early season seedling production.
While we’ve worked with many small, temperature controlled greenhouses over the years, our larger greenhouse could simplify the overall process for us.
In its current form, though, it couldn’t realistically be heated. Most of the heat would simply escape through the various places where air could exchange.
That’s a sure fire way to spend a lot of money on heating costs!
We also thought that reducing the outside air exchange would improve the general performance of the greenhouse over the summer.
Lastly, if we could use it for early season seedling production, it also seemed reasonable we could heat it in the late season to get a few extra weeks of production.
This may not seem like much, but if you can get two weeks of season extension on both sides of the season, that’s an entire extra month of growing season!
This can dramatically improve your overall results in a short season climate like the subarctic.
Being Realistic About Greenhouse Heating In The Far North
Let’s be clear about the scope of this post. We aren’t trying to get “year round” production here.
The materials and designs that would be required to heat against temperatures we experience in the far north are simply not the target.
If you want to achieve heating against temperatures like negative 30 to negative 40, you’ll be spending a lot more on both heating costs and general construction materials.
If that’s your goal, this isn’t the post for you.
The general goal here is to work with the temperatures we might see about a month before and a month after our first and last frosts. To get a useable greenhouse in the shoulder seasons.

Typically, the outdoor temperatures we are wanting to heat against are going to be in the range between around 15 and 30 degrees Fahrenheit.
Also, our general goal is to heat to relatively low minimum temperatures. We don’t have any desire to create an 80 degree oasis when it’s 20 degrees outside.
Our general target is minimum temperatures around 40 degrees Fahrenheit, mostly to eliminate the risk of frost damaging our plants.
Also, we wanted to avoid the use of wood, oil or propane based heating. This adds a lot of complexity and cost.
If possible, we wanted to use a standard electric based space heater to heat our greenhouse. This is easily temperature controlled and features unlimited fuel!
Greenhouse Sealing Is Surprisingly A Rare Concept!
We spent a fair bit of time in the early days of our plan trying to research methods people have used previously to accomplish this goal.
Surprisingly, however, we found almost no examples of anyone ever doing this.
We weren’t quite sure if this was because it’s not needed as much in warmer zones or if it’s just something people haven’t considered. Or maybe, it was a terrible idea that didn’t work. And thus, no one was talking about it.
Fairly quickly, we came to the conclusion we were sort of “on our own” in this matter.
While people may have done it previously, there certainly wasn’t a lot of public information out there on it! Thus, why we decided to write about it!
Considering Various Methods Of Greenhouse Sealing
We thought about several different ways to approach our greenhouse sealing project.
We certainly could have considered engineered greenhouse panels. However, these are generally quite expensive and require a fair bit of supporting infrastructure.
The most logical and easiest to implement of the considered options was to use a technique similar to a vapor barrier on a house.
This is where plastic is attached to the home’s studs (on either the interior or exterior of the wall studs, depending on location) to control moisture traversing from one side of the wall to the other.

We decided to combine this concept with materials you usually see on a hoophouse. Hoophouses typically use heavy duty UV rated plastic to contain radiant heat.
Conceptually, the idea we settled on was to create a sort of hoop house within our greenhouse. We wanted to line the interior studs of our greenhouse with UV rated plastic, giving us the best of both worlds.
We could have a “hard” outer shell that is resilient against snow loads and a fairly “airtight” interior that would help retain heat much better than rigid greenhouse panels!
The Real Struggle With Sealing A Greenhouse
Where we encountered a lot of general difficulty with our plan was how we’d attach the UV rated greenhouse plastic to our greenhouse.
In our case, our greenhouse is framed using standard dimensional lumber. This was generally good as it opened a number of potential options for attachment.
We came up with a few ideas:
- Staple the plastic. But, this would be inclined to tear the plastic and wouldn’t likely be very resilient
- We could attach furring strips (1×2 dimensional lumber) and use screws to wedge the plastic to the studs. This, however, would be a somewhat expensive approach.
- We could use some sort of adhesive. We didn’t like this idea as the plastic will need to be replaced from time to time and adhesive would be messy.
- Typical greenhouse plastic clamps work great on a hoophouse, but not on the interior of a wood framed greenhouse. Plus, they’re also expensive.
- We looked for various commercial options out there, but really there wasn’t anything out there designed to do what we wanted.
So, we started looking at various raw materials that we might be able to do what we wanted.
We really liked the idea of using furring strips, as it would be secure and effective. But, we wanted to get the overall cost down.
We found a material called “woven strapping cord” that is used for securing stuff on pallets, creating bales and that kind of thing.

We figured we could use this similar to the furring strip idea and secure the cord against the plastic with staples to secure it to the inside of our greenhouse.
It was synthetic, so it would hold up to the elements. The cording had really high tensile strength. It could easily be penetrated with a staple, meaning the cord would take the bulk of the tension instead of the plastic.
Best of all, it was cheap and readily available!
Figuring Out How Much UV Plastic To Buy
We desired a single, contiguous piece of UV rated plastic. This would reduce overall areas where we would need to join the plastic together, which create less opportunities for air exchange.
The overall process involved simply measuring the walls of our greenhouse that we intended to cover.
We measured both the width and the length of the walls, which gave us rough dimensions that we’d need. We added a little bit of extra, just in case.
In our case, the closest fit we could find was 24′ x 25′ foot plastic.
This plastic wasn’t terribly expensive, but it was one of the more costly aspect of the project. If you’re looking to do a similar project, your dimensions will likely be different. For a large greenhouse, you might need to use multiple pieces.
We opted to purchase 6mil UV rated plastic. Our desire was the go with plastic that was relatively heavy duty that would stand up to the sun.
We didn’t need to go super crazy with strength (like 12mil) as the plastic would be relatively protected by the exterior greenhouse panels.
Installing UV Rated Plastic To The Inside Of The Greenhouse
We wish that we had pictures of this process.
Unfortunately, it was a windy and rainy day when we decided to do it, adding an immense amount time sensitivity to the project. Plus, it was an all-hands-on-deck kind of project.
Basically, we laid out the plastic on the ground to make sure we had our orientation right.
We needed to determine the relative center point of the plastic “close enough”, as this would translate to the center of our greenhouse.
To find the center, we folded the plastic in half. And then in half again the opposite way. Similar to how you might find the center of a piece of paper without actually measuring anything.
We marked the center of the plastic with a large dot, using a permanent marker. We needed to be able to see it well, as we’d be underneath the large plastic sheet when installing it inside the greenhouse.

It was also important to mark the relative directions to the plastic edges. We wanted to know which way was left, right, back and forth so we’d know the general orientation of the plastic when we were installing it. We marked this with a couple of lines. It doesn’t have to be perfect, just “close enough” so you don’t install the plastic diagonally.
We then folded the plastic enough so it would fit through our greenhouse door.
Once the plastic was in the greenhouse, one of us shimmied ourselves under the plastic.
In case you’re wondering, we had established an “escape plan” just in case we had problems with oxygen under the plastic. It turned out this wasn’t actually of concern or necessary.
Attaching The Plastic To The Inside Of The Greenhouse
We had pre-cut a few measured pieces of our strapping cord. We also pre-staged our staple gun with a full load of stainless steel staples.
These were placed near the center of our greenhouse, where we intended to start, prior to bringing in the plastic.
With one of us under the greenhouse plastic, we found the center of the plastic. We used our orientation markers to make sure we installed the plastic relatively close to how it was intended.
The first line of strapping cord was then stapled to our greenhouse studs.
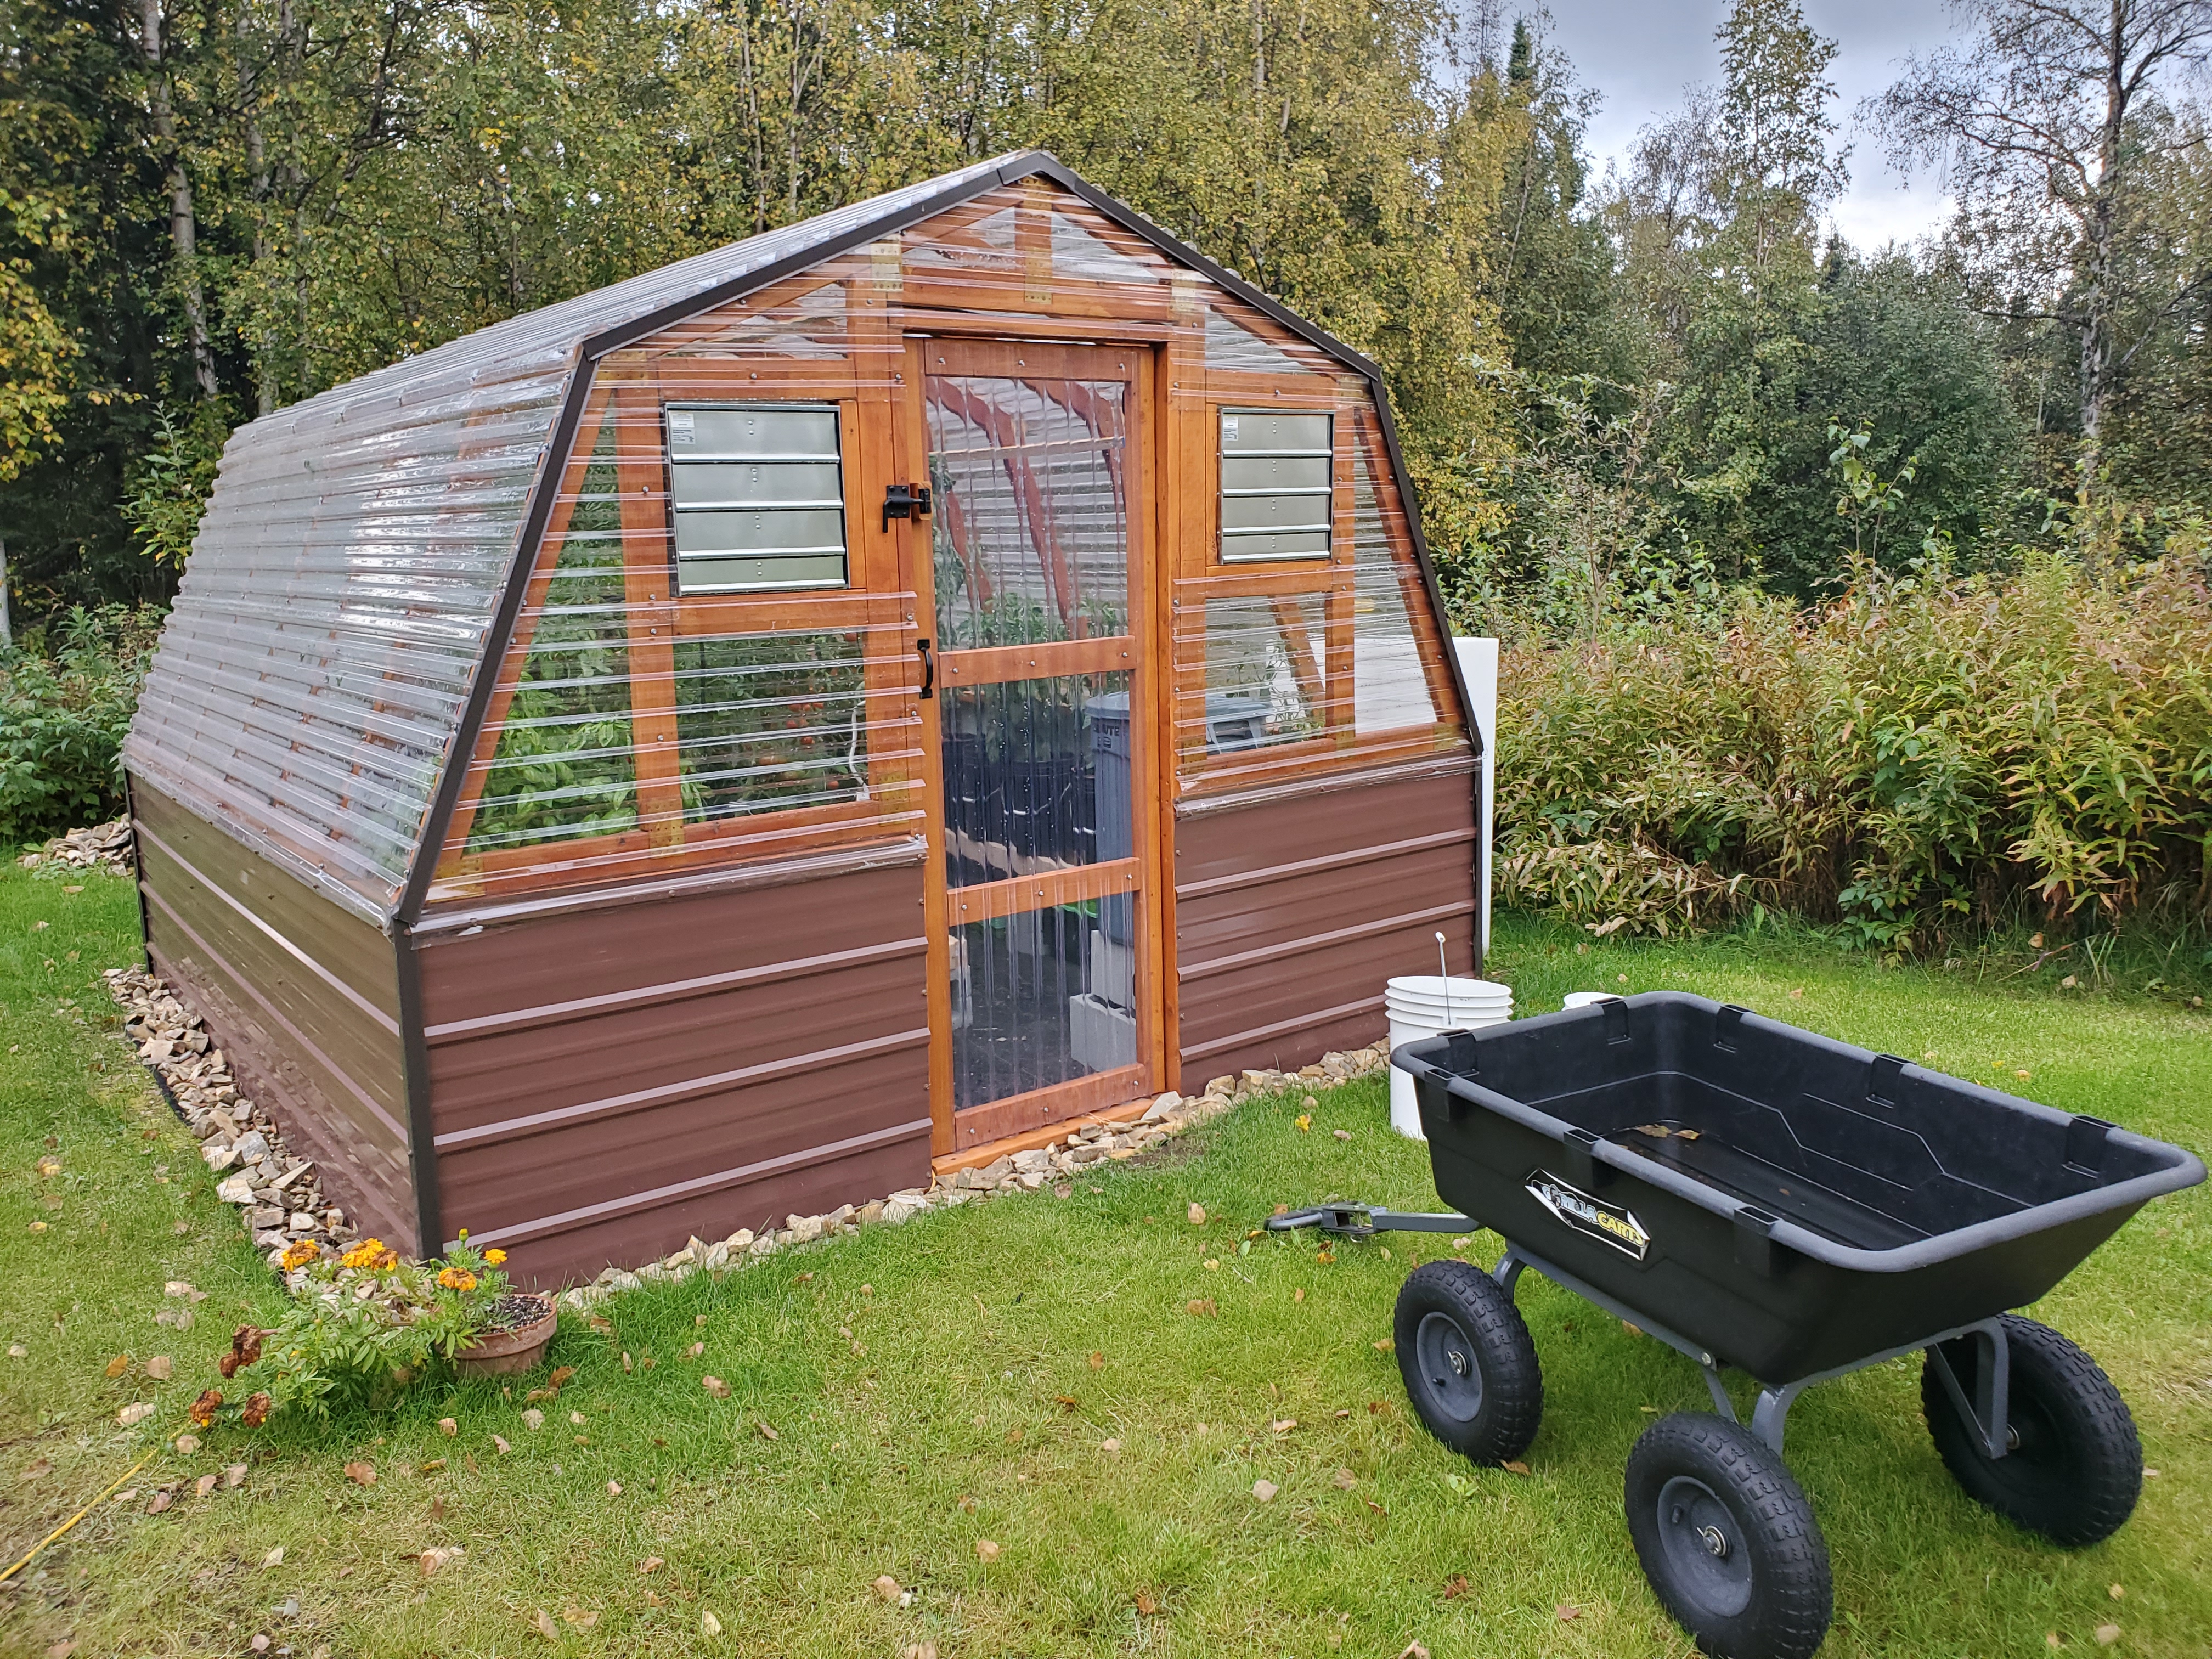
We decided to do the entire top of the greenhouse first, then move down the sides. We have a gambrel style greenhouse, so we had two roof angles to deal with.

As we continued to attach the cording to each stud with stainless steel staples, the job became easier and easier. We no longer had to fight the plastic to move around.
As we got the sides and corners of the greenhouse, there was a fair bit of work involved with folding the plastic so it would look nice. One of us would fold the plastic, the other was responsible for securing it with the cord and staples.
Stud by stud, we went through the greenhouse. We attached the plastic at every stud to reduce any sagging.
We went through a lot of staples that day, a box and a half to be precise!
Customizing The Greenhouse Plastic For Openings
Our greenhouse has several openings for fans, vents and a door.
After we had generally secured the greenhouse plastic to the studs, we cut out these designed holes. We used a utility knife to cut the plastic relatively close to the dimensions of the openings.

Again, we used the strap cord and staples to secure the plastic around these various openings. We wanted the seal to be “relatively good” but it didn’t have to be 100% air tight.
We had to get creative in a few places, but overall it was fairly straight forward.
Also, we didn’t really design the greenhouse with sealing it in this way in mind, so sometimes we had to come up with creative solutions to staple the plastic to the greenhouse.
Overall, this part of the process was reasonably easy. The hardest parts were getting the initial few staples into the cord and plastic, so we had more room to work with.
We Noticed An Immediate Difference
Once we had the greenhouse plastic installed, we noticed an immediate difference.
As the project continued, it became warmer and warmer inside the greenhouse. We could tell we were getting our intended effect.
It turned out, we had to take several breaks during the project as it was just getting too hot. We had turned off our ventilation during the installation, so it wouldn’t interfere with our work in progress.
Once we finished sealing our greenhouse interior, we pretty much knew that it was worth it.
Our greenhouse was instantly more humid and much warmer than it previously had been. Pretty much all drafts had ceased.
We were fortunately doing this on a relatively cool and cloudy day, which was probably a good thing. A hot day with intense sun would have been miserable.
Things To Consider About A Sealed Greenhouse Project
One of the big things to keep in mind is that our greenhouse was designed with ventilation.
If you did not have ventilation and proper temperature controls to regulate the conditions of your greenhouse, this project may not be a good idea.
We use relatively large greenhouse fans to cool our greenhouse.
Since we’re in a cool climate, we can use outdoor air to cool our greenhouse for the entire growing season. It’s almost always cooler outside our greenhouse than the conditions we want inside the greenhouse.
Sealing a greenhouse without appropriate ventilation and cooling potential will cause your greenhouse to warm up to very, very hot temperatures. Levels that will harm plants.
Although we haven’t tried, we could imagine that we could easily reach 140 to 150 degree temperatures (or more) if we didn’t use our ventilation.
Heck, even before we did this project we could reach 120 degrees in bright sun!
Measuring Performance Of Our Sealed Greenhouse
After we did this project, our growing season was quite good. We noticed an uptick in our tomato and pepper production.
We also noticed our greenhouse fans would kick on much more frequently, indicating radiant heat was being captured more effectively.
On cloudy days, we could maintain much warmer temperatures than we could previously. Humidity levels were also significantly increased.
These are all good things in a greenhouse!
If you recall, though, our primary interests in this project were more about brief season extension.
So, the following fall, we tested heating our sealed greenhouse using a basic 1500 watt space heater. We needed to get an idea of what might be possible before we put our plants on the line.
We found that we could easily maintain minimum temperatures like 40 degrees once outdoor temperatures started falling closer and closer to freezing.
Our testing continued well below freezing, too. We could still maintain 40 to 45 degree temperatures inside the greenhouse when outdoor temperatures were reaching the teens.
We tested it even further. However, the operational costs of the heating started to get exorbitant, quickly. Especially as we pushed into single digit outdoor temperatures.
We knew we had essentially achieved our goal. We’d know more the following season, when we used it for garden seedlings, but we concluded our testing and prepared our greenhouse for winter.
Designing A Permanent Heating And Cooling Solution For Our Greenhouse
With both of our heating and cooling needs basically solved, we could now approach our temperature control solutions in a more permanent way.
We thought about the principles we’d use over the winter. A few things came to mind:
- We had a maximum of 1500 watts to the greenhouse, since we were using a standard 15 amp circuit.
- We wanted heating redundancy, similar to how we had our greenhouse fans. Failure equals disaster and two is better than one. So, we wanted two heaters. This meant we’d need two 750 watt space heaters, not two 1500 watt space heaters!
- We power our greenhouse with an extension cord, since it’s entirely seasonal. Since we intended to use much more electricity than our fans did, it was essential we upgrade our power feed to a 12 gauge extension cord. (This is the minimum recommended gauge for that much power at a 50 foot distance.)
- We wanted to control both minimum and maximum temperatures. Most commercial temperature controllers use a temperature “offset” concept (or difference from a set temperature) and this doesn’t work well when your maximum is 80 degrees and your minimum is 40 degrees. This meant we needed at least two temperature controllers, one for cooling and one for heating.
- The temperature controllers we wanted to use were also limited to 10 amps. This meant we’d need two temperature controllers, one for each 750 watt heater, since each which would draw about 6 amps.
The following spring, we implemented exactly the above considerations.
Building Our Greenhouse Temperature Control Solution
We built a “temperature control board” that would be responsible for both heating and cooling of our greenhouse.
The cooling was essentially permanent, but the heaters could be disconnected over the bulk of the summer since they weren’t needed.

We selected two space heaters that could be adjusted between 1500 watts or 750 watts. Both were set to use 750 watts so they wouldn’t overload our power circuit or temperature controllers.
We set up our temperature controllers so one would kick on at a lower temperature than the other. One heater would try to maintain a minimum of 45 degrees, the second would maintain a minimum of 40 degrees.

This accomplished two goals. One, both heaters wouldn’t turn on at exactly the same time. This helps avoid problems with surge draws that can exceed the circuit size.
The second, we wanted to save costs whenever possible. An intermittent load of 750 watts is better than an intermittent load of 1500 watts. If one heater couldn’t keep up against the cold, the second one would turn on to help out.
We started putting our spring plants into the greenhouse in early April. To start with, we put out our most cold hardy plants (onions, celery, etc.) to minimize potential risk.
We easily maintained minimum temperatures of 40 degrees (with zero frost risk) throughout the season. We saw several days into the teens during our first run!
As we built up more and more trust in the system, more and more of our plants could be placed in our heated greenhouse.
We have used this for pretty much all plants, except for “warm loving” plants such as peppers and basil. These plants are sensitive to temperatures below 50 degrees and we don’t want to heat our greenhouse that high due to cost concerns.
Better yet, our second heater rarely has to kick on at all. The greenhouse is pretty much able to maintain a minimum above 40 degrees, all on 750 watts of heat!
What Does It Cost To Do This?
The most popular question is always, “What does it cost?”
To accomplish the entire project of sealing our greenhouse and preparing our heating wasn’t actually all that bad. Here’s the cost breakdown:
- UV Rated Greenhouse Plastic: $80
- Woven cord: $30
- Stainless Steel Staples: $25 (two boxes)
- Heaters: $60 (for two, buy them in the summer for best pricing!)
- Inkbird ITC-308 Temperature Controllers: $105 (for three, we had these on hand though)
Total Project Cost: $300
Not too bad for an entirely heated and cooled greenhouse! We were quite pleased with how it came in, it was cheaper than we expected it might be.
The real question, though, is about operating cost. To say we weren’t a bit concerned about running an electrical space heater (at 32 cents per kilowatt hour) to heat a greenhouse is an understatement.
Frankly, we didn’t know what to expect. We are usually willing to spend a little money on our plants. There is a line of what’s acceptable, though.
We rigged our greenhouse up with a “smart meter” to measure actual electrical usage.
The results blew us away!
Average daily heating costs, for the entire month before last frost, came in at about 75 cents per day. We saw slightly higher daily costs of $1.50 day when it was 20 degrees outside. An average 30-ish degree day would cost us about 25 cents.
The entire early season we’d use the heating comes in at less than $30 in electricity costs.
For a frame of reference, that’s CHEAPER than it costs us to run our highly efficient LED lights indoors. Considering our greenhouse can fit many, many more plants than our indoor growing setup, this was a sure fire win.
We answered the “big” question. Once you consider how many plants we can keep under daylight, it’s actually cheaper for us to heat our greenhouse with electricity than it is to raise our plants indoors under light!
Frankly, this result was exactly the opposite of what we expected.
How Has It Held Up And Expected Maintenance
Overall, we’ve been impressed with how well it has stood the test of time so far.
We’ve had no problems with the staples backing out or with the plastic coming loose. We are expecting this will hold up for years.
Since there’s very little actual exposure of the plastic to the outdoor elements in our greenhouse, there’s just not much that can go wrong. The biggest threat is usually ourselves. (And keeping clear tape on hand is a good idea for the occasional poke or tear!)
We do expect to have to replace the greenhouse plastic every so often. In hoophouse applications, the rating is usually every 3 to 6 years. We will likely be able to squeeze more out of it, since it’s not actually exposed.
Eventually, though, the sun UV will break down the plastic and it will become more brittle. UV rated plastic simply means you have more time.
Since we didn’t use adhesives, it should be easy to tear out the cording and staples by hand. We can simply remove the securing mechanisms, remove the plastic and replace everything.
We’ll update this post once we do our expected maintenance and let you know!
Further Upgrades To Our Greenhouse Insulation
For several years, this was our only greenhouse insulation upgrade. In 2025, we decided to also insulate the lower portion of our greenhouse as well.
For this, we used standard two inch insulating foam. It didn’t need to be clear in this case.

Surprisingly, this effort provided us with very little additional benefit and was not worth the cost!
We noticed almost no shoulder season performance gains from this additional insulation. There was “maybe” a little bit of gain in the summer, but it was difficult to measure and marginal in its contribution.
The UV rated plastic was doing ALL the heavy lifting!
At this same time, we also sealed up some of the “gaping holes” that we had around our greenhouse door. For this, we chose pretty standard weather seal of an appropriate size.

This did actually make a difference, eliminating the last few drafts we still had in the greenhouse. We now have few, if any, opportunities for outdoor air exchange.
The Best Thing We’ve Done To Our Greenhouse, Other Than Building Our Greenhouse!
Overall, this has been the best thing we’ve done to our greenhouse. It made such an astonishing impact that we can’t imagine not having done it.
Between extending the seasonal use of our greenhouse and improving the overall summer performance, it was completely worth the upgrade.
We hope it starts turning some gears for you and makes you think about how you might achieve a similar thing.
Should you have any questions, thoughts or other ideas, be sure to slap a comment down below!
That’s All We Wrote!

Having a good time? Learn something? We have an ever growing list of insightful and helpful subarctic & cold climate gardening articles, just like this one!
- Cold Climate Gardening Basics 👉
- Growing Your Garden From Seed Indoors 👉
- Advanced Cold Climate Gardening Techniques 👉
- Plant Specific Cold Climate Growing Guides 👉
- Subarctic Perennial Food Forests & Foraging 👉
- Indoor Garden Lighting & Grow Rooms 👉
- Greenhouses & Temperature Control 👉
- Harvesting & Food Preservation 👉
- Solving Cold Climate Garden Problems 👉
- 700+ 1 Minute Reads 👉
- 180+ Gardening Topics! 👉
FrostyGarden.com is 100% ad-free, junk free and we do not use affiliate links or sponsorships! This resource is voluntarily supported by our readers. (Like YOU!) If we provided you value, would you consider supporting our mission?
I’m learning SO much from you and your detailed explanations make it so easy to get my husband on board to help me! We built a greenhouse several years ago to get a jump on the season, however, the roof has windows that open up and that was a design flaw for sure, and don’t seal tight, so impossible to heat efficiently. The roof also has a gap where it meets the sides below. (Maybe I should just take he top off and start that over with your design!) However, if I line the INSIDE with plastic like you did, maybe this can be fixed. I am wondering how you managed the door when you put the plastic inside? I am wondering if I ‘cut out’ the door, will that be too drafty then? Maybe I make another door inside (kind of screen door idea) covered in the plastic? Thanks!
Excellent! I’ll try to break down the concept of what’s at play here as I think it’ll affect your situation. You may still need to deal with that air gap in the outer layer.
The second layer of plastic is not what provides the insulation. It’s the air gap in between that is insulating the inside. The temperature change of the actual materials happens very quickly, but it takes time to heat up (or cool) the air gap in between. If the outer seal is not “relatively” air tight (it doesn’t have to be perfect, but not leaking like a sieve) then the insulation barrier will not work quite as effectively.
As for our door, we didn’t insulate it. More importantly, I want to put in some wood to act as a door stop that I can apply weather strip to that will create a better air seal for the exterior of our door. That’s currently our weakest link. We also want to put 2″ foam insulation in between the studs at the bottom of our greenhouse. We might do these things this year if we have time. Then, it might make sense for us to put plastic on our door. You lose the overwhelming majority of heat at the very top of the greenhouse, not further down, so that’s the most important area to insulate.
Also, one last thought. When we eventually resheathe our greenhouse, I am going to put plastic on the outer layer as well and then sheathe over it. (So, basically two layers of plastic.) This will make an even better airtight seal and will make it work even more effectively.
Hope that helps!
Thank you for your details about installing the plastic sheeting inside your Ana White design greenhouse! I have just finished building mine and I was looking for additional ways to insulate the polycarbonate panels and did a search for greenhouse sheeting and your website popped up! I’ve run the row down the middle, but came back to see how you went around the gussets and see you did not use Ana’s gusset design, so I’ll need to figure that out. I also installed 2″ foam foil lined insulation behind the metal, all in hopes of not needing to run a heater. I’m also going to fill the 100’s of plastic containers I’ve been saving with water, and hope that will heat the greenhouse enough during the Kansas cold winters. I do have a heater for a backup plan. Yes, it gets very hot under that plastic when you are trying to get it in place. LOL
Thanks for finding us & your detailed comment! I’d probably start with the fact that many new greenhouse owners overestimate what it can do for heat retention. I’d tell you, having done both the UV plastic insulation and foam barrier (recently as of this year), that the UV plastic makes way more of a difference in heat retention. Neither are a miracle against cold outdoor temperatures, though, and the tendency for things to equalize with outdoor temperatures is strong. However, the insulation does ensure that whatever external heat you do provide is reasonably effective and not is not just paying to heat the outdoors.
Our gusset decision was mostly based around comparative cost, ease of creation/installation and effectiveness against the snow loads we needed to protect against. (Usually exceeding 7-12 feet of annual snowfall.) The plywood gussets are fine, and likely would even work well in our circumstance. For me, though, it’s a matter of trusting steel more than I trust wood. Thus why we bolstered several aspects of the design with steel and various fasteners. I just don’t want to wake up one day and realize my building was crushed by snow! (Which is not an uncommon thing where we live!)
Hope you enjoy your new greenhouse! Ours is still working great, many years after building it. It’s a vital piece of our kit and the investment has easily paid for itself! Thanks for the comment and checking us out!