
Listen To This Article!
Many people’s understanding of celery is the bland, tasteless variety that you get in a grocery store.
When it comes to growing your own celery in your home garden, that vastly changes. Home grown celery is incredibly flavorful and much more enjoyable.
It almost becomes a wonder how commercial growers manage to make store bought celery so tasteless!
There was a time when we didn’t think it was “worth” growing celery. After we tried it, though, it’s now an annual staple of ours that we will not miss.
This post is going to delve into what’s important when growing celery from seed and how to get a great celery harvest from your home garden!
Pretty Much Any Variety Will Do
We have had good success growing celery in our subarctic climate. It’s generally fairly tolerant of our cooler summers and short season.
There are some really interesting varieties of celery out there.
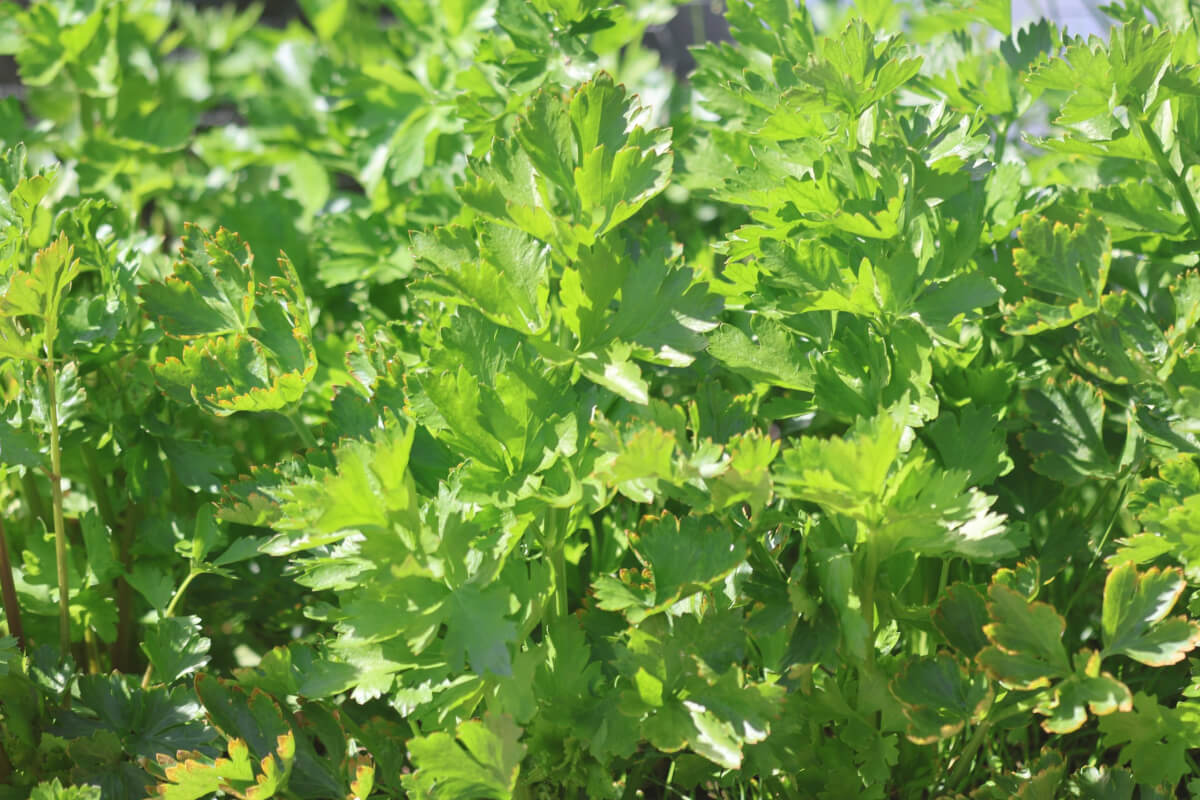
Utah variety is probably the most commonly grown variety in the home garden. This is a pretty standard, green celery and it’s very good.
But, there’s also pink celery. And red celery. There are even white colored varieties of celery!
From our experience, all of these varieties will be quite flavorful. So, if you want to grow a fun color of celery, feel free to do so!
If you’d like to harvest celery root, that’s what celeriac is for. This is basically the same genus as celery, but it has been bred to produce a much more substantial root.
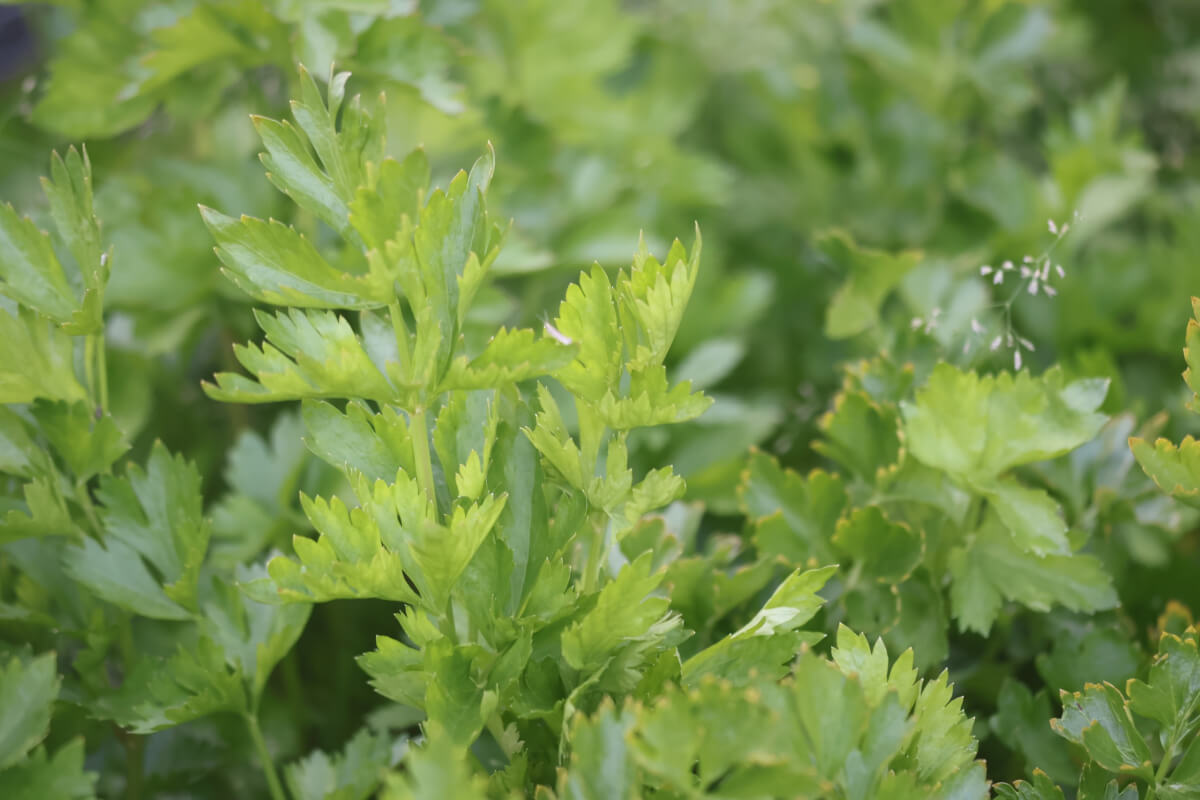
Although not related to celery, you can also find Seasoning Celery. This is an herb that very much tastes like celery.
Start Those Celery Seeds Early
Celery can take quite a long time to grow. Similar to onions, celery is a crop that takes nearly six months to fully mature.
In cold climates, this means we have to start our celery seeds indoors, since conditions are usually not good enough for outdoor growing. (Even in a greenhouse.)
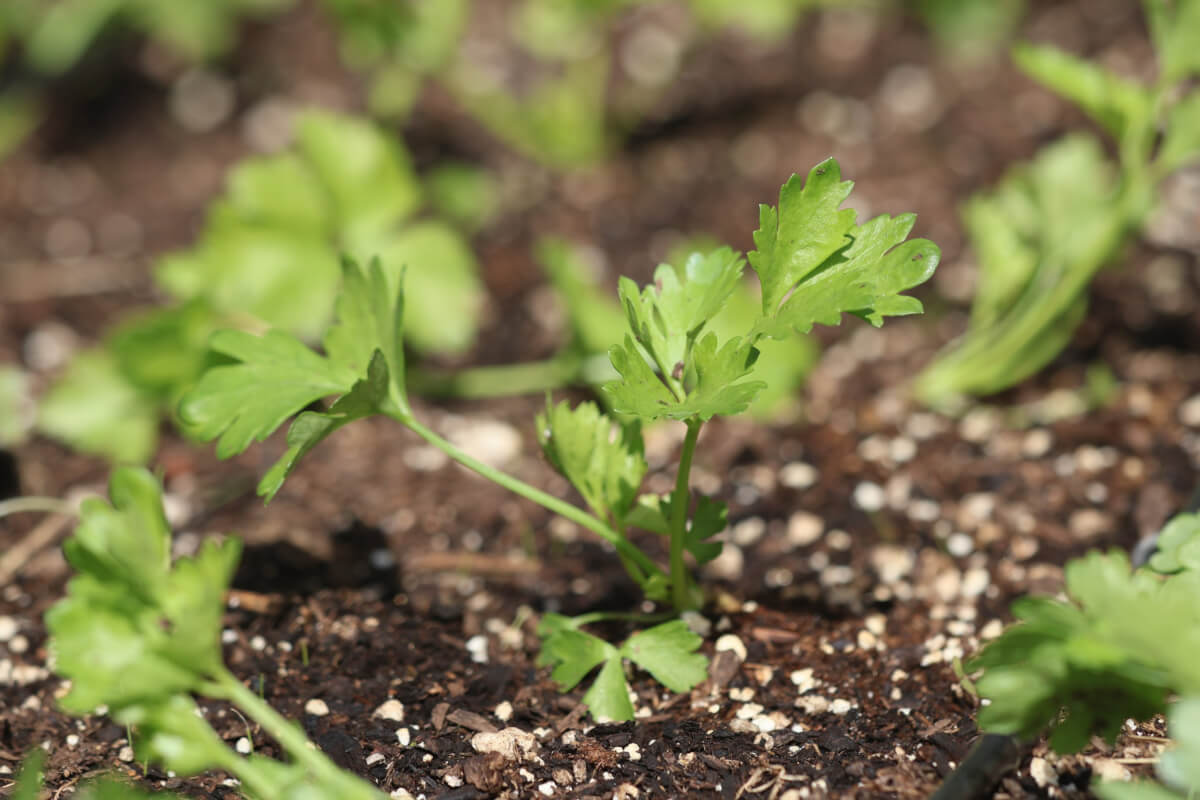
Celery is best started about 10 to 12 weeks to last frost.
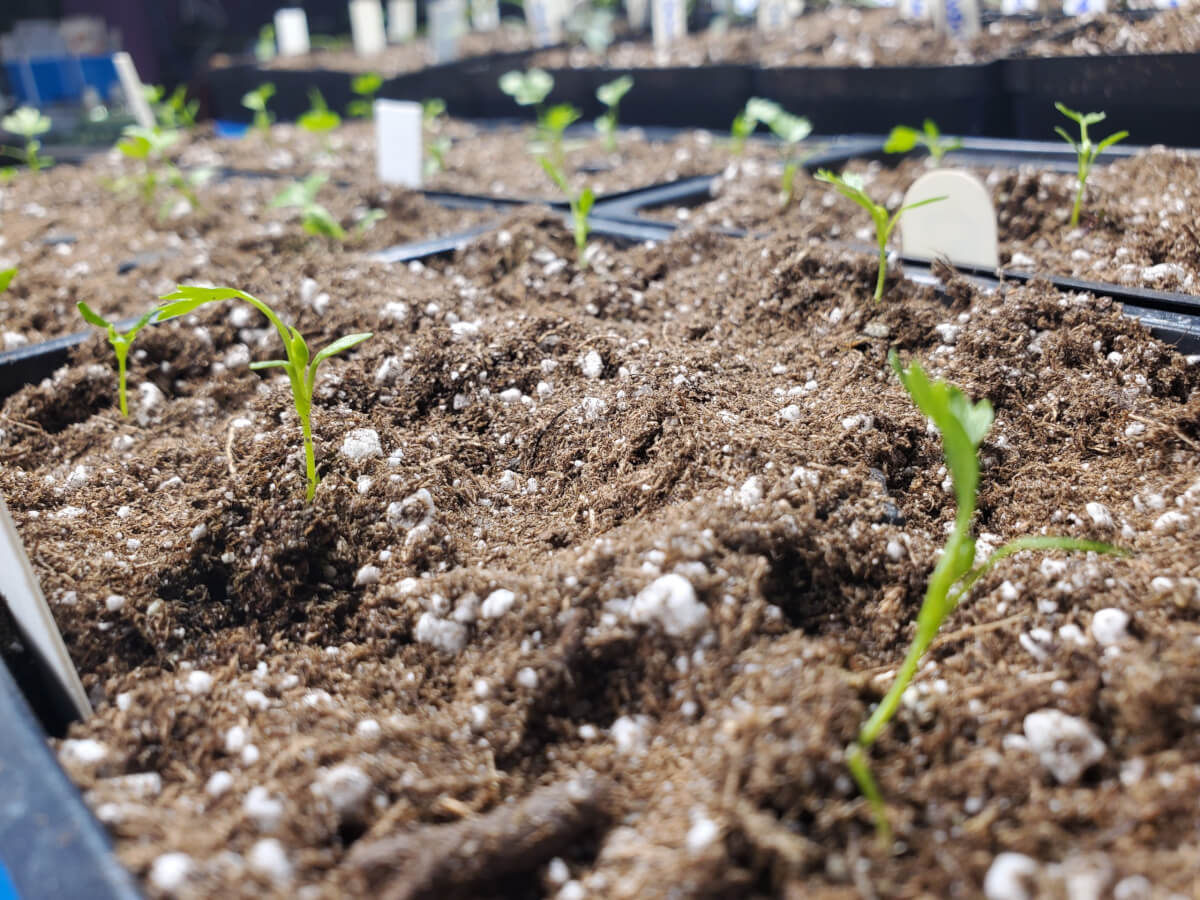
When you start celery around this time, the plant will be a nice 3 to 4 inch tall garden start, perfect for transplanting into your garden!
Since celery is such a long term crop, it is not viable to use winter sowing techniques. While technically you “can” use the technique, its likely your celery will not mature by the end of the season.
Celery Is Painfully Slow To Grow
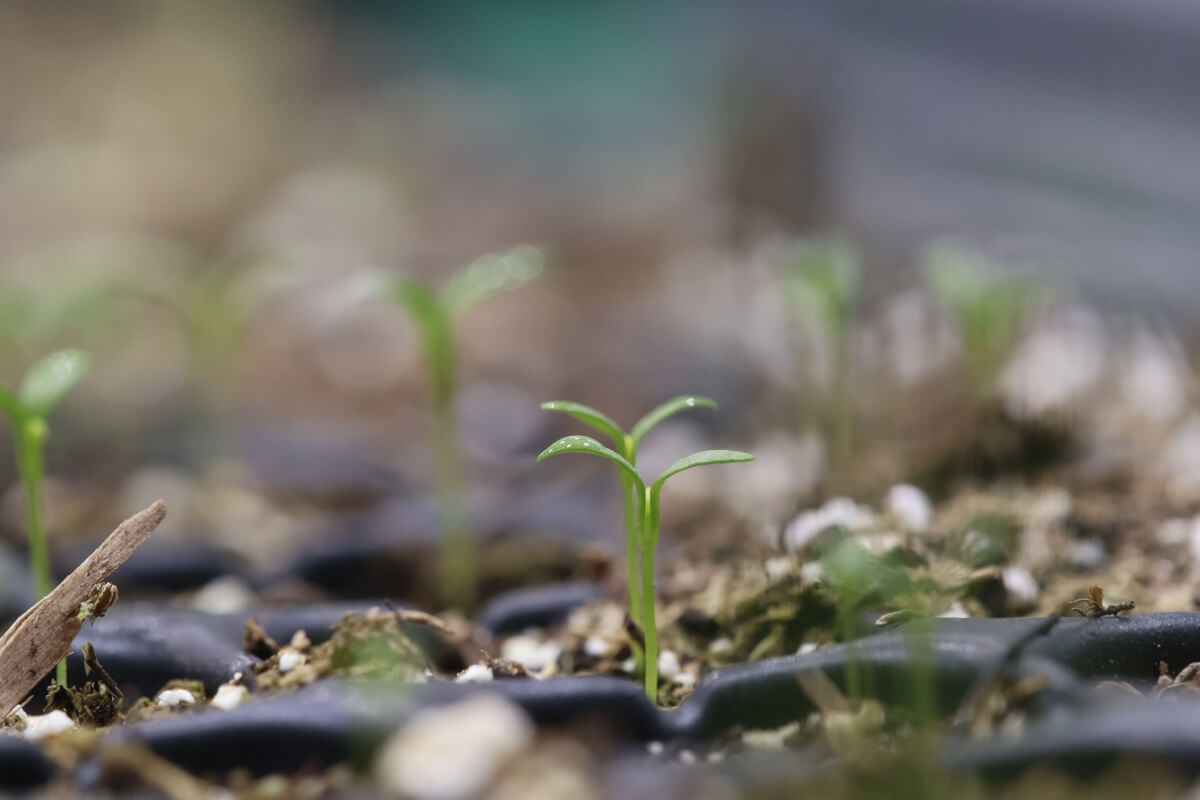
One thing you’ll observe about celery is that it’s a notoriously slow grower. It’s slow to germinate and slow to grow.
Unlike a lot of plants, celery can take 2 to 3 weeks to germinate! It might seem like things aren’t working, but you have to be really, really patient.
Even after this slow germination time, the celery plant is extremely slow to grow.
If you’re starting celery seeds in a germination tray, like we do, it’s likely going to take at least another few weeks before you can transplant them out to larger containers.
The typical timeline from sowing to our initial transplant is often about a month to six weeks!
The good news is once the plant becomes a little more substantial, the growth will really pick up. It seems to go from super slow to turbo mode overnight.
Ideal Celery Seed Starting Conditions
Celery generally prefers a somewhat warmer initial climate for germination. Temperatures between 65 and 75 degrees Fahrenheit are optimal.
If you’re germinating in a somewhat cooler location, such as a semi-heated garage, it will likely be necessary to use a heating mat to get your celery seeds to germinate.
The soil should generally be continually moist. This is an often obscure concept to newer growers, but it basically means somewhere in between soaked and dry. It shouldn’t be waterlogged, nor dried up.
Lighting can be set to somewhere between 12 and 16 hours per day. More light will eek out a little bit more growth, but will also cost a little bit more. We split the difference and use 14 hours.
Transplanting Celery To A Larger Container
If you sowed into a germination tray, you’ll eventually need to transplant into a larger container.
We use a common 606 Jumbo six pack insert for all of our celery. We’ve found this to be an ideal size to reduce watering labor and that provides enough soil to promote an excellent celery start.

Using this size, the root mass will take up the entire container and not become root bound prior to transplanting into your garden.
There are other size containers that will work, but this is what we do and also recommend.
Care & Feeding Of Celery Plants
One of the important things to know about celery is that they generally prefer a moist environment. They are heavy drinkers and will appreciate regular access to water.
Ensuring access to water is important throughout the plant’s lifecycle, during the seedling stages and also into the plant’s maturity.
As for nutrition, a well balanced all purpose fertilizer is a good choice for celery. You can also focus on “nitrogen leaning” fertilizers as these will ensure good plant growth.
We start to fertilize our celery starts once they get about 2 inches tall. This is usually about six to eight weeks into the growing process.
As for fertilization in the garden, we generally also recommend a similar (or identical) fertilizer for growth in the garden itself. The plant should be fertilized according to the manufacturer’s direction.
Water soluble fertilizers are generally best for early plant (seedling) growth. Granular fertilizers are an option for celery once they are planted in the garden, but you can also continue using water soluble fertilizers as well.
Transplanting Celery Into The Garden
Celery is fairly cold hardy, so it can often be transplanted into the garden up to two weeks prior to last frost. You can also wait until your typical last frost.
If you are expecting any adverse conditions such as snowfall or freezing, it’s likely best to wait until these conditions pass.
Even then, celery will survive these conditions just fine!
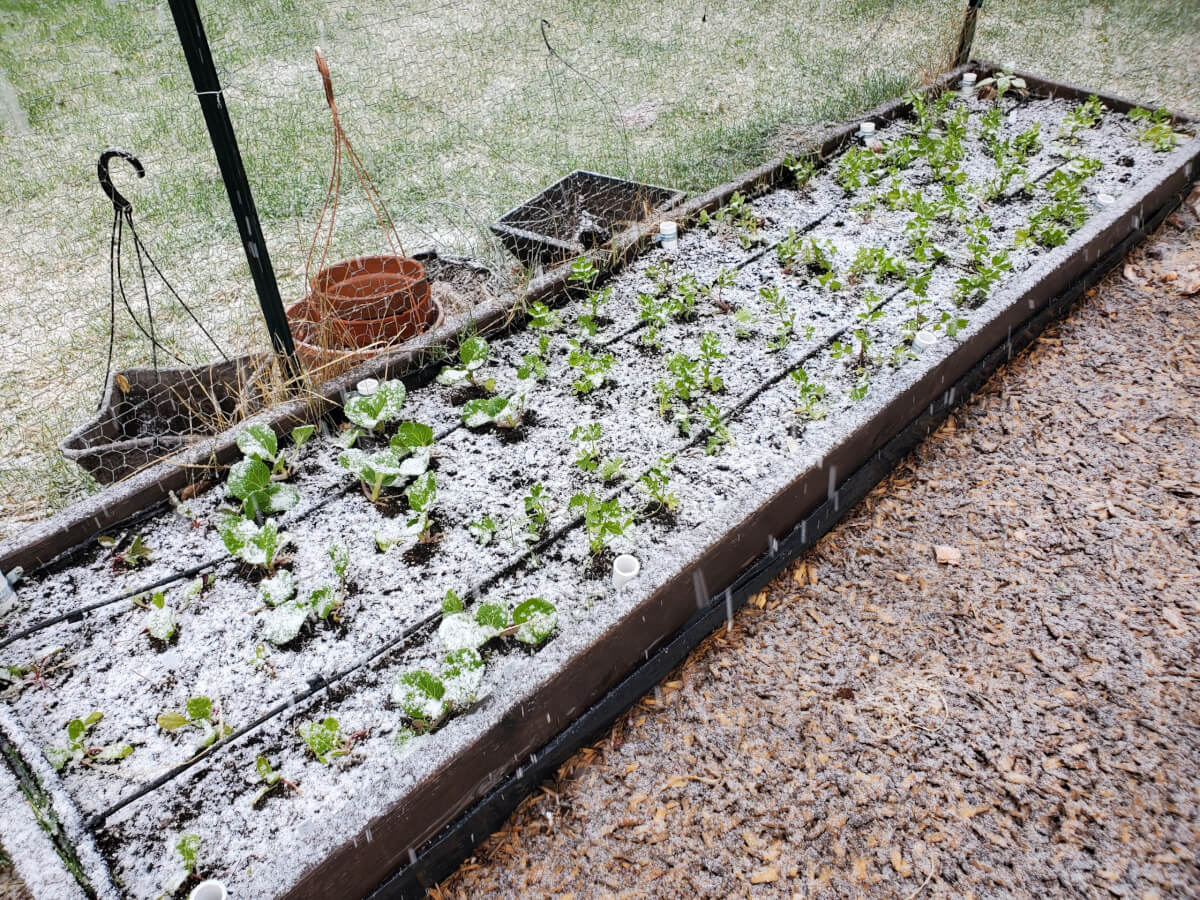
We’ve had seasons where we’ve received late snowfalls and our celery pulled away with no harm done. So, if that happens to you, there’s no need to panic!
The transplanting process is straight forward, just like any plant. They are not particularly sensitive to being transplanted, although all plants will go through a bit of transplant shock afterwards.
Celery Plant Spacing & Plant Size
One thing that we’ve observed is that there’s a correlation between plant spacing and plant size.
Celery does lend itself well to intensive growing techniques, such as square foot gardening.
When you grow celery using square foot gardening spacing guidelines, of four plants per square foot, your plants will generally be smaller.
Celery does appreciate a little bit of space. If you’re wanting larger celery stalks, it’s worth increasing the plant spacing. One plant per square foot will give you maximum growth.
However, there is still wisdom to using square foot gardening guidelines!
Overall, you’ll get more celery (in weight) from four smaller plants than you will from one larger plant.
Using Celery Through The Season
Celery is generally a long term plant. As we mentioned, it’s going to take about six months from seed to a fully mature, final harvest.
For us, we generally aim for a meaningful, end of season harvest that we can then preserve for long term use.
However, you can use your celery throughout the season, if so desired.
We generally recommend harvesting a single stalk or two across multiple plants when you need it.
This will ensure that you retain at least some of the plant for full maturity. That’s assuming you want some of your crop for an end of season preservation, that is.
If you find yourself harvesting an entire plant’s worth, this is likely a sign that you should be growing more celery plants.
Honestly, we don’t blame you! Once you discover the flavor of home grown celery, you’ll be addicted! We continually increased our celery crop until we had enough for a meaningful, final harvest.
Harvesting Your Celery
Celery is fairly cold hardy, so it can be harvested around or shortly after your first frost. It will withstand early frosts, so celery isn’t on our “urgent” harvest list.
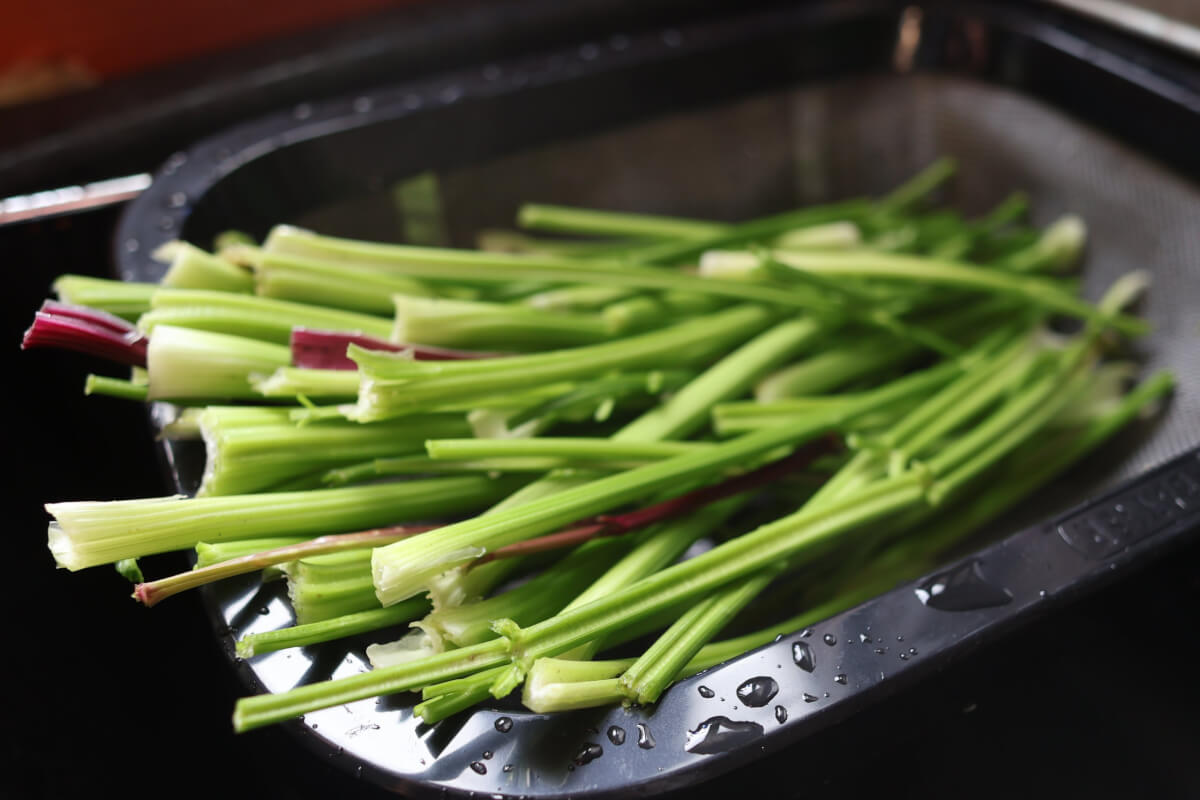
To harvest your plants, simply use a cutter to slice off the bottom of the plant. You can also uproot them and then cut, but cutting is a little bit easier. Kitchen shears also work.
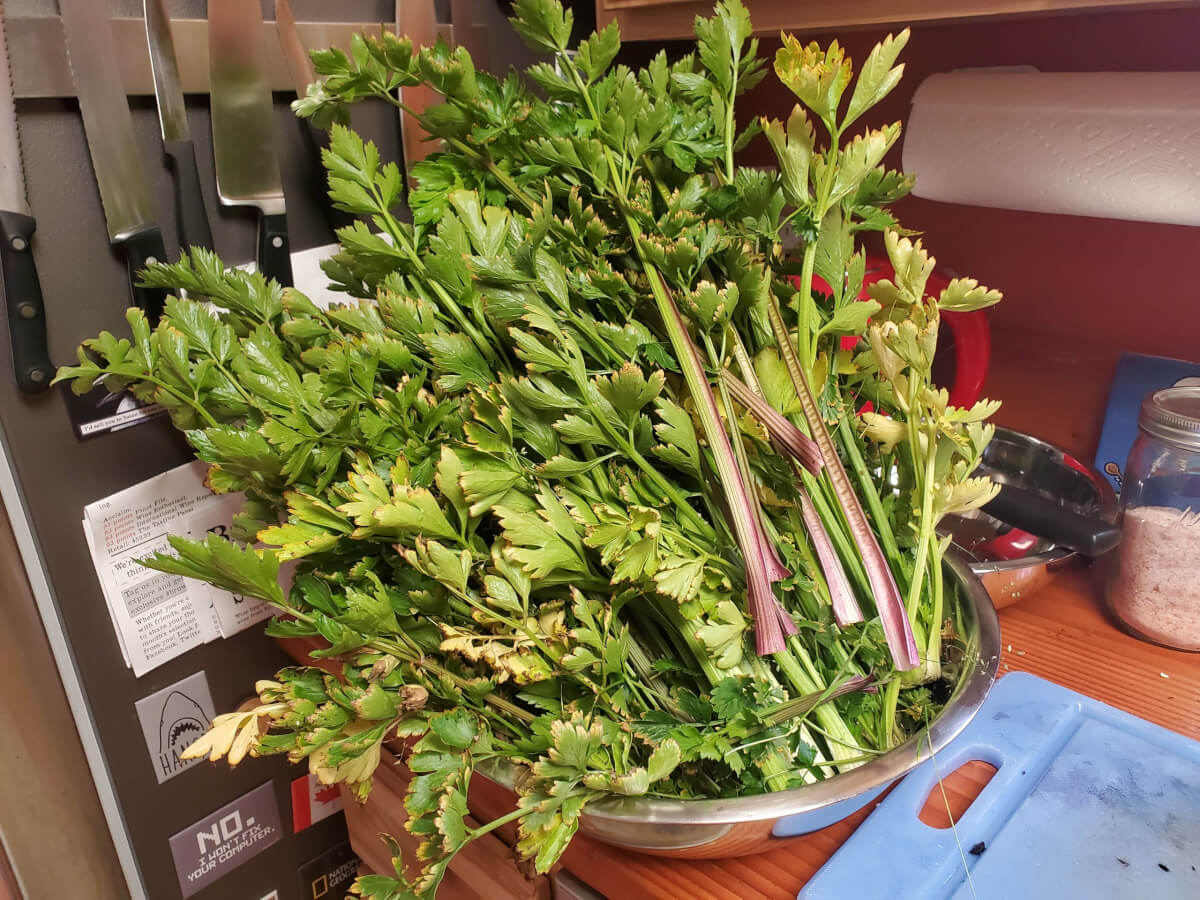
Your celery should be well washed prior to using it. Even if you’re using organic techniques, celery can get a little dirty and will benefit from a wash.
Once your celery is harvested and washed, it can be used in any dishes or set up for preservation.
Fresh celery will last for 2 to 3 weeks, when stored in your refrigerator’s “crisper” drawer. After this, it’ll become a little limp and lose its crispness. The key is high humidity and cool temperatures around 40 degrees Fahrenheit.
There are some techniques you can use to extend the lifespan of refrigerator stored celery out there.
Preserving Your Celery
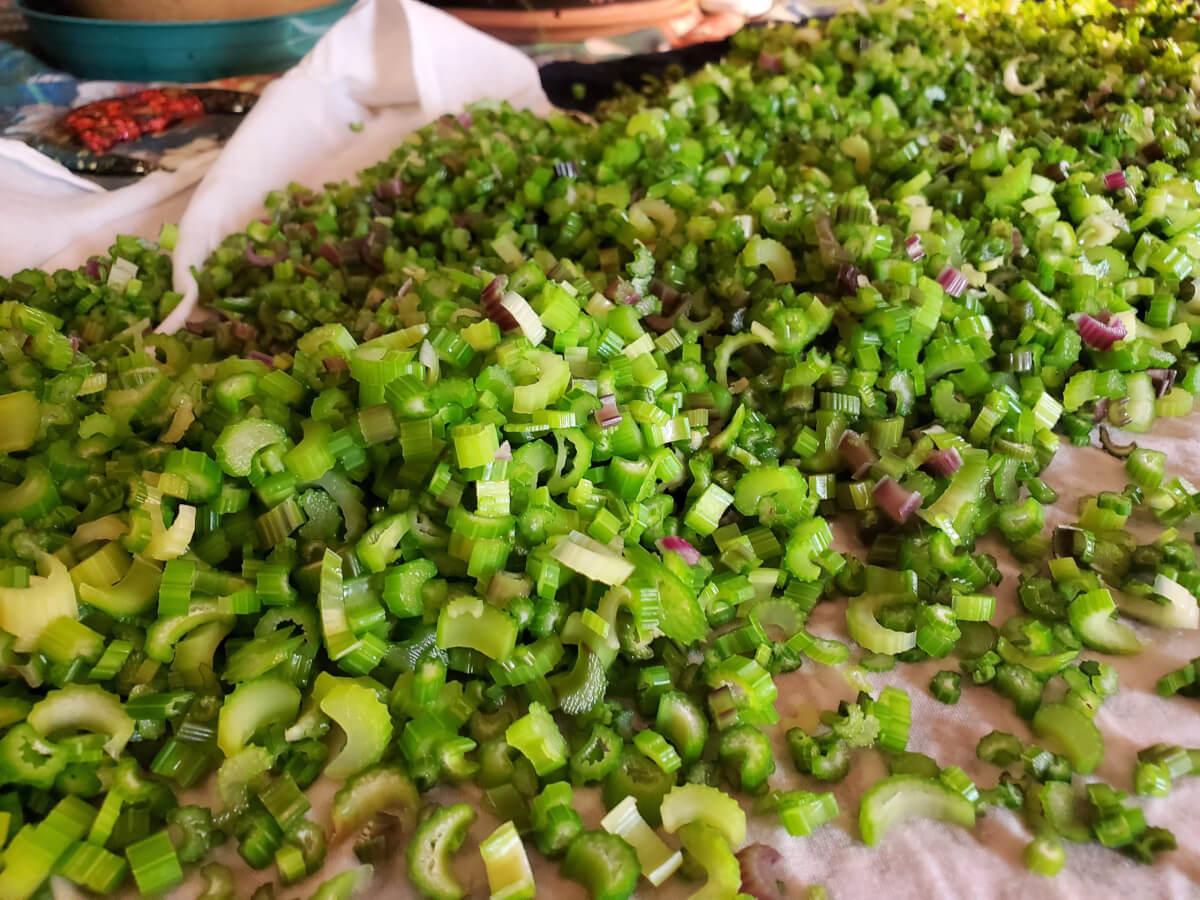
We use our favorite food preservation technique, blanch and freeze, for preserving our celery.
Since we use most of our celery in chopped/diced form, we simply use a food processor to dice up all of our celery in one go. This definitely makes short(er) work of a hard job.
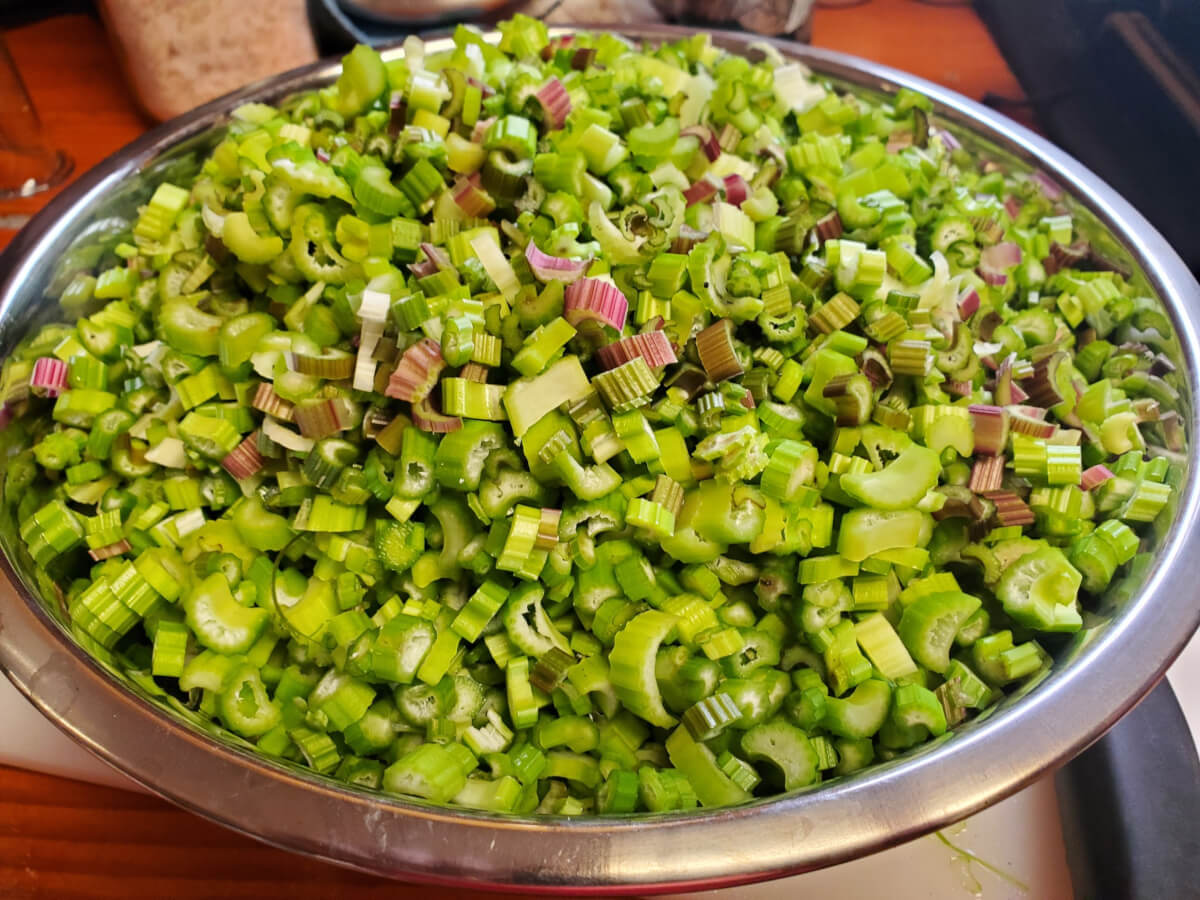
From here, we blanch our celery for 3 minutes. Remove the celery from boiling water and then dunk into ice cold water. Dry out the celery, pack into freezer bags and then freeze.
The linked article above goes into much more detail about this preservation technique and also includes a video on the process.
We can usually get at least a year of storage of our home grown celery using this technique. If you don’t first blanch your celery, you can expect it to start degrading after three months or so.
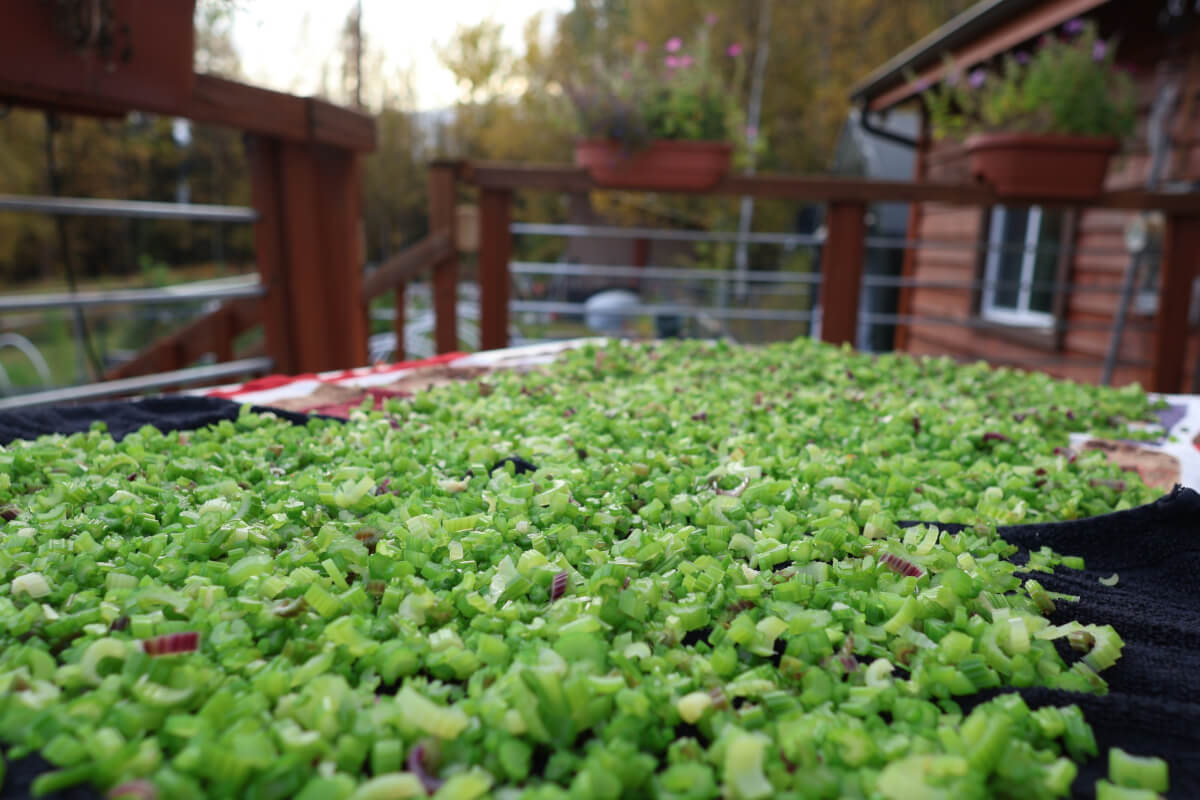
Celery does lend itself well to dehydrating as well. Blanching first is still recommended. Without blanching, it will dry to a rather unappetizing white color. Since we have to blanch anyway, freezing is a slightly better storage method for us and is more flexible overall.
Celery can also be used in a number of canning recipes. It is rarely canned as a single ingredient. It is much more common to see it added into other canning recipes.
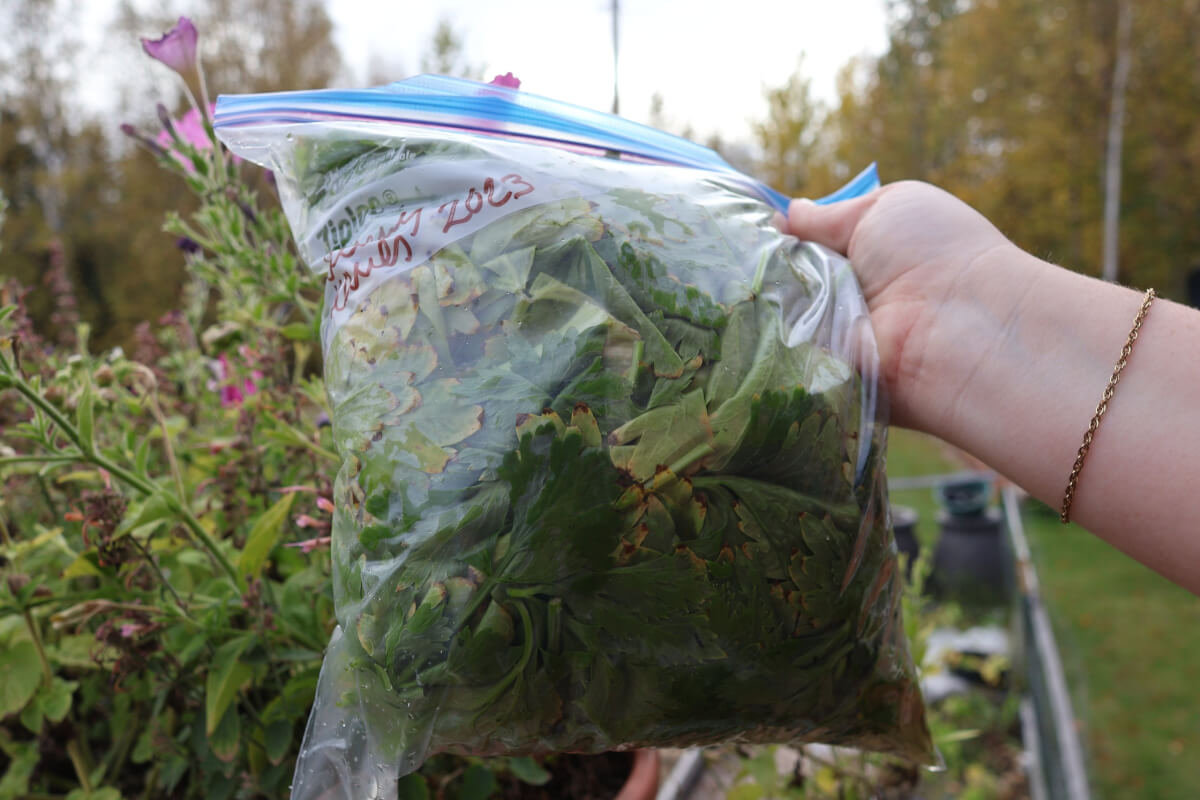
Lastly, pro tip! Save your celery leaves! They are super useful in making vegetable or meat stock, giving you great celery flavor without dipping into your valuable celery supply! (You don’t need to blanch them, but use them within three months for best results.)
Go Forth & Make Much Celery
Growing our own celery has been one of the most rewarding things we’ve done in our gardens. It truly surprised us just how good celery could be!
We hope that you decide to take it on! And that you find a similar passion for it.
As always, should you have any thoughts, questions or comments, feel free to put a comment down below!
Thanks for reading!
That’s All We Wrote!

Having a good time? Learn something? We have an ever growing list of insightful and helpful subarctic & cold climate gardening articles, just like this one!
- Cold Climate Gardening Basics 👉
- Growing Your Garden From Seed Indoors 👉
- Advanced Cold Climate Gardening Techniques 👉
- Plant Specific Cold Climate Growing Guides 👉
- Subarctic Perennial Food Forests & Foraging 👉
- Indoor Garden Lighting & Grow Rooms 👉
- Greenhouses & Temperature Control 👉
- Harvesting & Food Preservation 👉
- Solving Cold Climate Garden Problems 👉
- 700+ 1 Minute Reads 👉
- 180+ Gardening Topics! 👉
FrostyGarden.com is 100% ad-free, junk free and we do not use affiliate links or sponsorships! This resource is voluntarily supported by our readers. (Like YOU!) If we provided you value, would you consider supporting our mission?