One of the keys to successful gardening is being able to preserve your food for the long haul.
We use almost all of the various food preservation techniques out there, but as we’ve gotten more into food preservation, one particular technique stands out in front of all the others.
That particular preservation technique is called Blanch and Freeze.
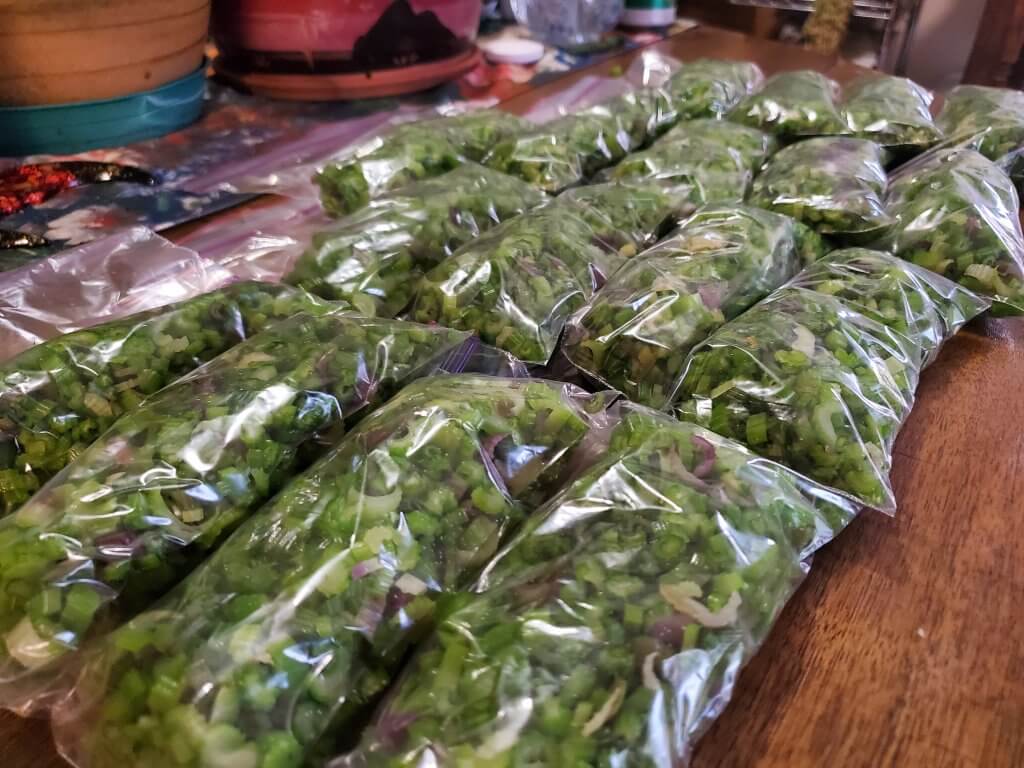
This post will help you learn about the process, how to treat certain foods and also provide you with some “official” resources for University led, cooperative extension service research.
What Is Blanch & Freeze Food Preservation?
Blanch and freeze is a technique that is used to freeze various foods for long term storage in the freezer. Many vegetables can be preserved this way, often allowing upwards of a year of preservation.
You can effectively think of the technique as a DIY version of your grocer’s frozen vegetable selection!
In most cases, if you just freeze food, the shelf life of that frozen food will be quite short. Often the shelf life is measured in 1-2 months. The process we discuss here can get that range into nearly a year when properly prepared and stored.
While there’s a fair bit of science behind the blanch and freeze process, we’ll leave that deeper level research to you. At a basic level, blanching (or, briefly boiling or steaming) your food will deactivate enzymes that are responsible for food spoilage, color loss and texture loss.
Most importantly, the blanch and freeze technique helps you retain the available nutrition in your foods better than many other preservation techniques.
Should you enjoy video form, we put together a video on this topic that will run you through all of the details in this article as well:
Once your food is blanched and cooled, it can be stored in the freezer for fairly long periods of time. It is common to see 8 to 12 months of viable shelf life from this technique.
What Is Blanching, Anyway?
Blanching is a cooking process that involves briefly heating, but not fully cooking, your foods.
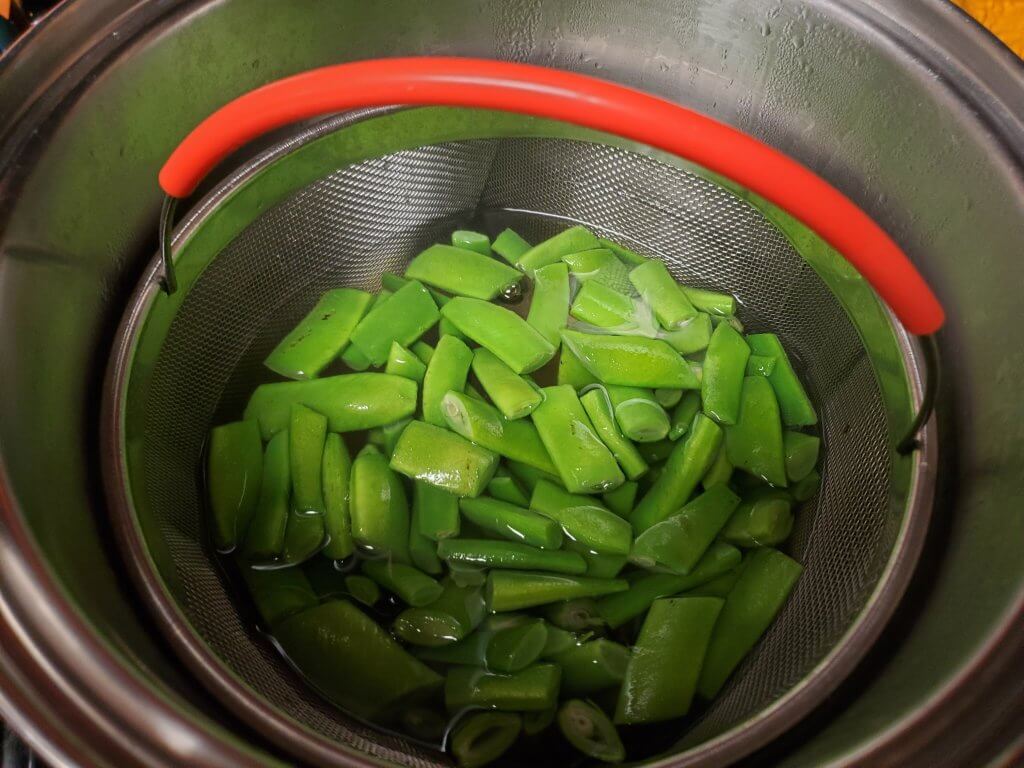
Blanching can typically be done with either boiling water or steam. In some cases, steam is not a recommended process, but it can be a bit easier than boiling water in many cases.
A key to the blanching technique is that the food is immediately placed in ice cold water afterwards, ceasing the cooking process quickly.
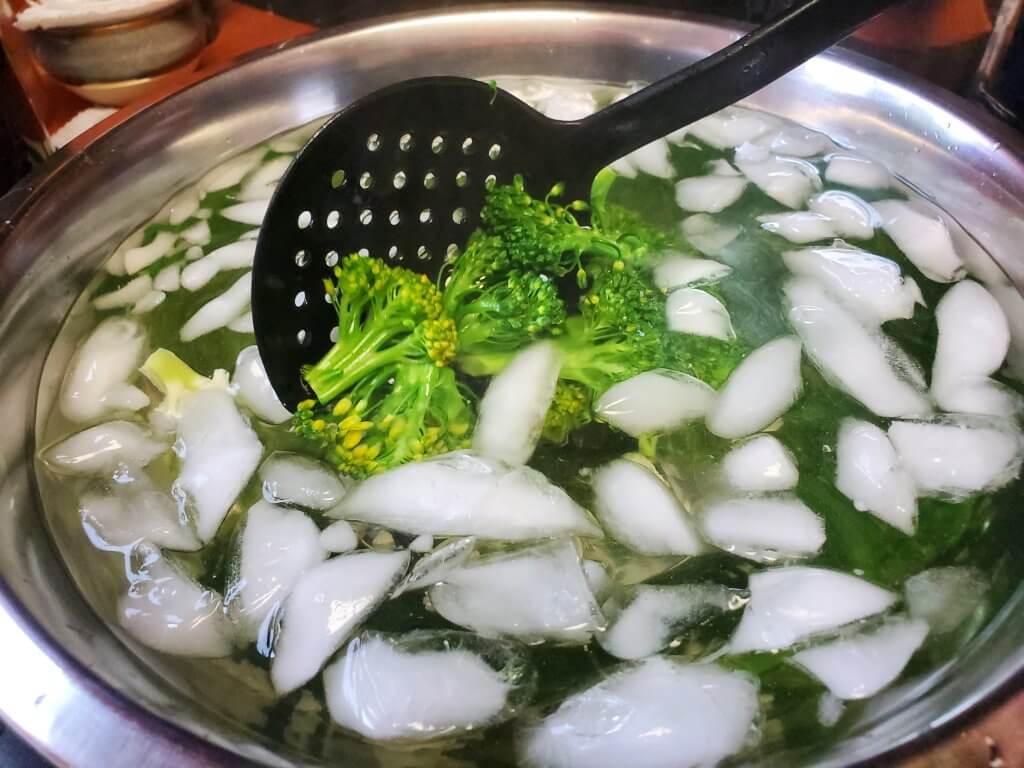
We like to use an ice bath to cool off our blanched veggies. It’s also possible to just use cool water. If using cool water, be sure to extend your cooling times to adequately extinguish the cooking process.
The time you need to blanch the food will vary. If you are using boiling water to blanch, the amount of time is actual boiling time.
When you add food to boiling water, there will be a brief period where the temperature of the water is brought below boiling. Start your times when boiling has returned. It doesn’t need to be a “roiling boil,” just the basic signs of water boiling being present.
Why We Like Blanch & Freeze Preservation
As mentioned, we’re well versed in most food preservation techniques. In most seasons, we utilize all of the various techniques to preserve our garden.
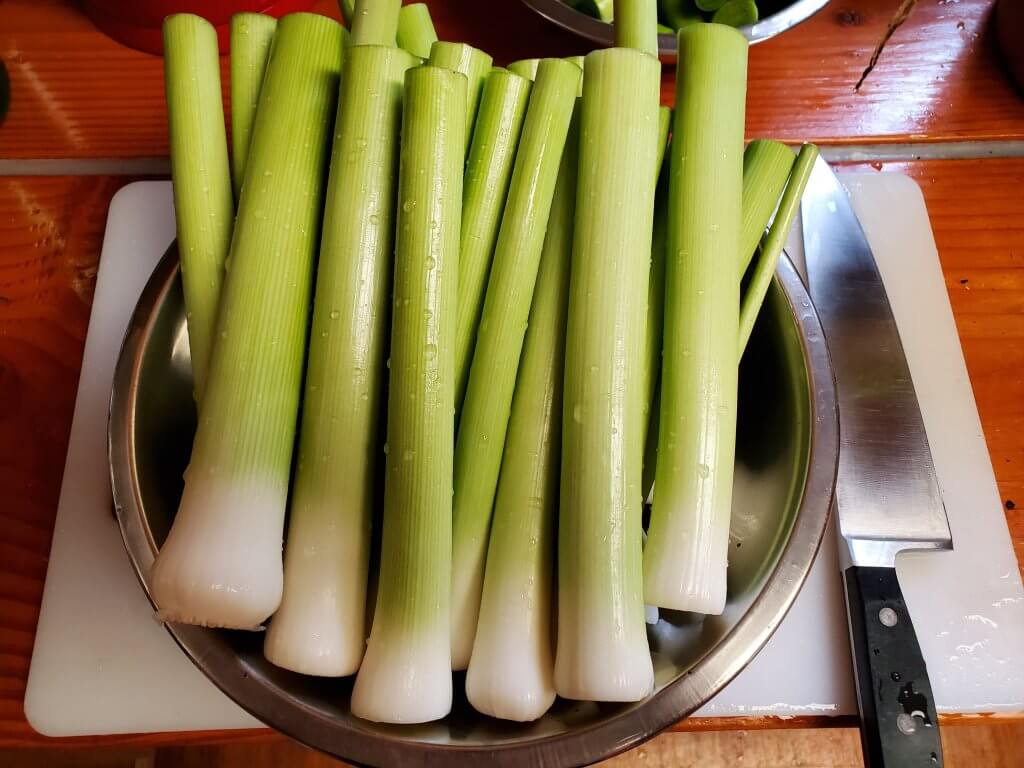
Most often, though, we’re using the blanch and freeze technique. It has some great benefits and very few drawbacks:
- Relatively fast preservation technique.
- Least amount of labor involved compared to other preservation techniques.
- Preserves the natural texture, color and flavors of your food.
- Maximizes the nutritional value of your food, especially compared to most other preservation techniques.
- Final product is stable for “long enough” with typical shelf life of around one year.
- Requires very little specialized equipment to practice.
- Allows for “mixing” of some kinds of foods, such as a “California mix” even if your harvests aren’t available at the same time.
- Allows for “serving size” portioning very easily, minimizing any waste from your preservation.
- Minimal food safety knowledge is required, especially compared to techniques like canning, dehydration and fermentation.
As for overall drawbacks to the blanch and freeze preservation technique, there’s really only a few:
- The food is not shelf stable, requiring below zero degree Fahrenheit storage for the long haul.
- Freezer space is often at a premium, plus it costs money to keep your food preserved.
What Is Involved With Blanch & Freeze Preservation?
At the core, blanch and freeze preservation involves the following process, regardless of the foods that you are preserving:
- Clean and prepare your foods as desired for preservation (slice/dice/etc.). Sometimes this involves sorting prepared foods by size, like small, medium or large.
- Blanch the food in boiling water for a specific amount of time. The blanching time will vary based on what you are processing and sometimes how it is prepared or the size of the particular vegetable.
- Immediately remove from heat and dunk in ice cold water to arrest cooking processes, typically keeping them submerged for the same amount of time the food was blanched. (Except whole corn, discussed below.)
- Dry the blanched food out, ensuring moisture is largely not present.
- Pack the food into freezer bags, removing as much air as possible. Sometimes we use what is called the “flash freezing” technique, which we’ll describe a bit further later.
- Freeze the food, maintaining temperatures below zero degrees Fahrenheit.
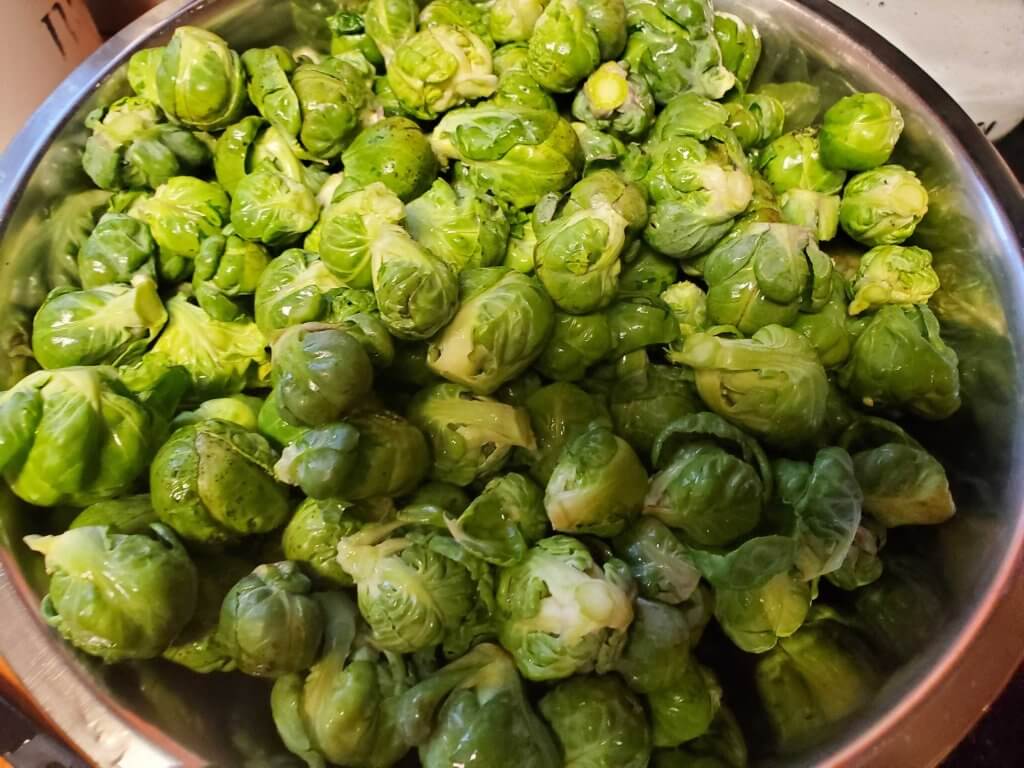
We have preserved many foods this way and invariably, the basic processes described above are all there is to it.
There are a few “special things” to keep track of, but they are few and far between. We discuss these later in this post.
The Basic Tools Of The Blanch & Freeze Technique
For many years, we just got by with what we had.
We’d often just toss whatever foods into a large stock pot, fish them out with a slotted spoon and dry them out on whatever surfaces we had available.
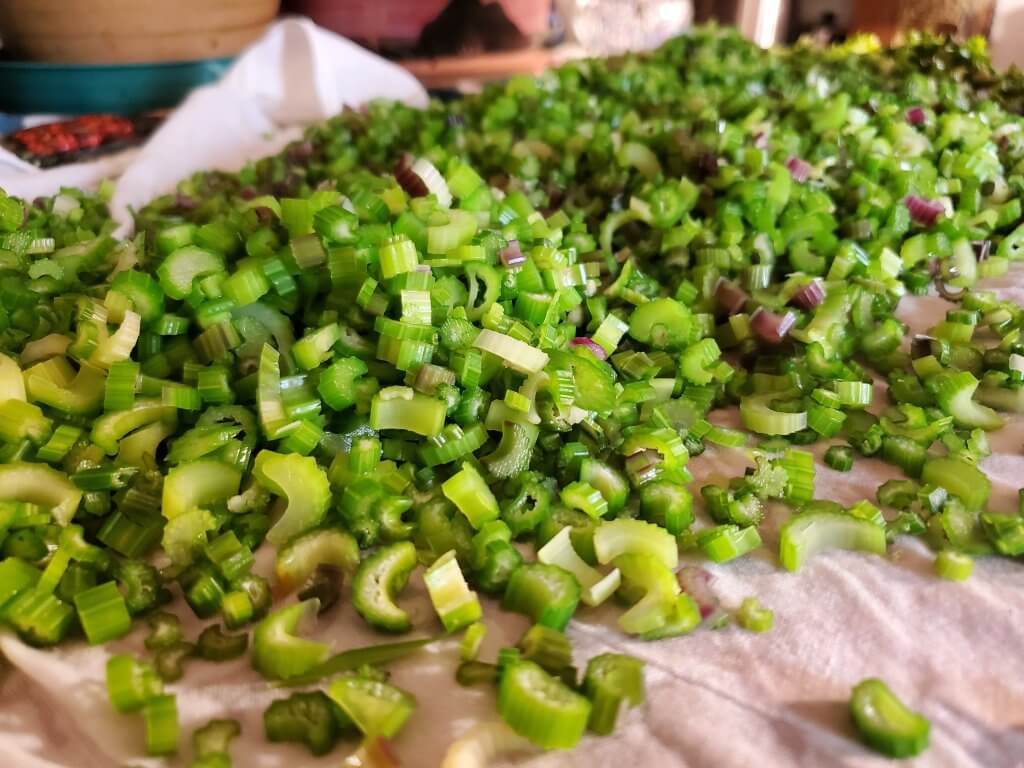
At a minimum level, you’ll need the following basic kitchen related items:
- Stock pot or just any regular pot
- Slotted or strainer spoon/ladle, or some way to remove the blanched food
- Kitchen towels to dry your foods off
- Bowls (several are very helpful, multiple sizes)
- If you want to practice steam blanching, a steamer basket
- Zip lock bags (freezer grade)
As we’ve increased our usage of this preservation technique, there’s a few things we’d add to this list that make things more convenient:
- 6-8 quart mesh blanching insert
- Sheet pans (for flash freezing)
- Parchment paper (for flash freezing)
The mesh blanching insert mentioned above has been a huge upgrade. It easily allows us to remove everything from the boiling water at once. This is especially helpful for smaller foods like diced celery, hashbrowns and peas.
What Foods Can Be Preserved And How Long To Blanch Them For?
It’s important to know that not all foods can be safely preserved using the blanch and freeze preservation technique.
As with all food preservation, there are still aspects of food safety involved. There is also the matter that not all vegetables handle freezing well.
As mentioned above, the amount of time that you blanch the food for will depend on the food and sometimes how it is prepared.
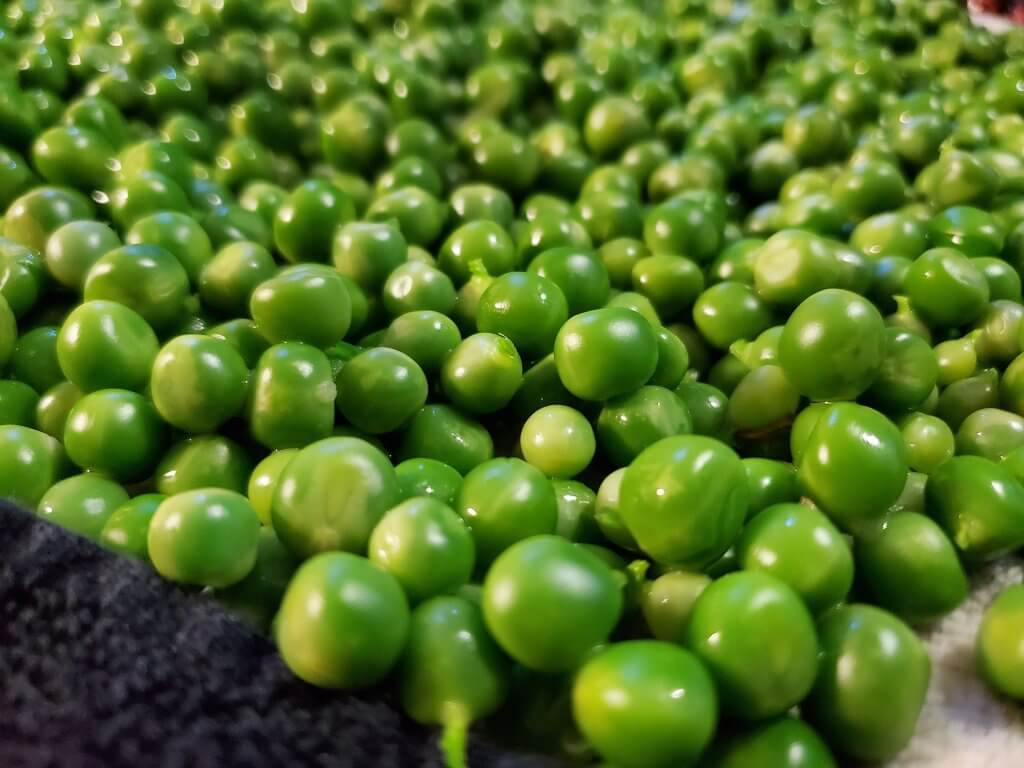
Some foods, like peas, are inherently uniform. If vegetables are not so uniform, it’s a good idea to blanch them in separate batches. Larger veggies require more time in the blanching process.
We do recommend you always check current “official” sources for information, just in case requirements change in the future. We highly recommend the University of Minnesota’s extension service for great detail on this subject!
Below, you will find various foods and preparations, along with their respective blanching times:
| Vegetable: | Preparation: | Blanching time in boiling water (minutes) | Blanching time in steam (minutes) |
|---|---|---|---|
| Asparagus | Small stalk | 2 | 3 |
| Asparagus | Medium stalk | 3 | 5 |
| Asparagus | Large stalk | 4 | 6 |
| Beans (snap, green, wax) | 3 | 5 | |
| Beans (lima, butter, pinto) | Small | 2 | 3 |
| Beans (lima, butter, pinto) | Medium | 3 | 5 |
| Beans (lima, butter, pinto) | Large | 4 | 6 |
| Bok Choy (Pac Choi) | Chopped | 40 seconds | Not recommended |
| Broccoli | Flowerettes, typically 1-1/2 inches in size | 3 | 5 |
| Brussels sprouts | Small heads | 3 | 5 |
| Brussels sprouts | Medium heads | 4 | 6 |
| Brussels sprouts | Large heads | 5 | 7 |
| Cabbage | Wedges | 3 | Not recommended |
| Cabbage (also Chinese cabbage) | Shredded | 1-1/2 | 2-1/2 |
| Carrots | Small, whole | 5 | 8 |
| Carrots | Diced, sliced or strips | 2 | 3 |
| Cauliflower | Florettes, typically 1 inch | 3 | 5 |
| Celery | Diced | 3 | Not recommended |
| Corn | Whole, small ear | 7 | 10 |
| Corn | Whole, medium ear | 9 | 13 |
| Corn | Whole, large ear | 11 | 16 |
| Corn | Kernels, also cream style | 4 | 6 |
| Eggplant | 4 | 6 | |
| Greens, collards | 3 | 5 | |
| Greens, all others | 2 | 3 | |
| Kohlrabi | Whole | 3 | Not recommended |
| Kohlrabi | Cubed | 1 | Not recommended |
| Komatsuna | Chopped | 40 seconds | Not recommended |
| Leek | Sliced 1/4"-1/2" | 30 seconds | Not recommended |
| Leek | Whole | 2-3 | Not recommended |
| Okra | Small pods | 3 | 5 |
| Okra | Large pods | 5 | 8 |
| Onions | Whole | 3-7 (until center is heated) | Not recommended |
| Onions | Rings, diced | 10-15 seconds! | |
| Parsnip | Sliced, diced or strips | 2 | 3 |
| Peas | Whole pod | 2-3 | 4-5 |
| Peas | Green, shelled | 1-1/2 to 2-1/2 | 3-5 |
| Peppers | Halved, typically sweet peppers | 3 | 5 |
| Peppers | Strips or rings | 2 | 3 |
| Potatoes | Diced or strips, 3/8 inch | 3 | Not recommended |
| Rutabaga | Diced, 1/2 inch | 3 | 5 |
| Squash (summer only) | 3 | 5 | |
| Turnips | Diced, 1/2 inch | 3 | 5 |
Some Foods Require Cooking & Freezing Or Special Handling!
Beyond the information presented in the above table, there are a few more foods you can freeze. These require “special” handling.
The following foods must be fully cooked prior to freezing. There is no safe method that allows you to blanch these foods:
- Beets
- Pumpkin
- Sweet potatoes
- Winter squash
There’s one other “special case” to be concerned about. Tomatoes!
Tomatoes can be blanched and frozen as well. However, they need to be placed in boiling water for 30-60 seconds. Once blanched, cool and remove the skins prior to freezing. They can be further prepared once they are blanched, such as dicing, slicing or puree.
Onions store well at room temperatures, but can be blanched and frozen as well. For full size onions, the blanching process must be conducted until the center of the onion is heated.
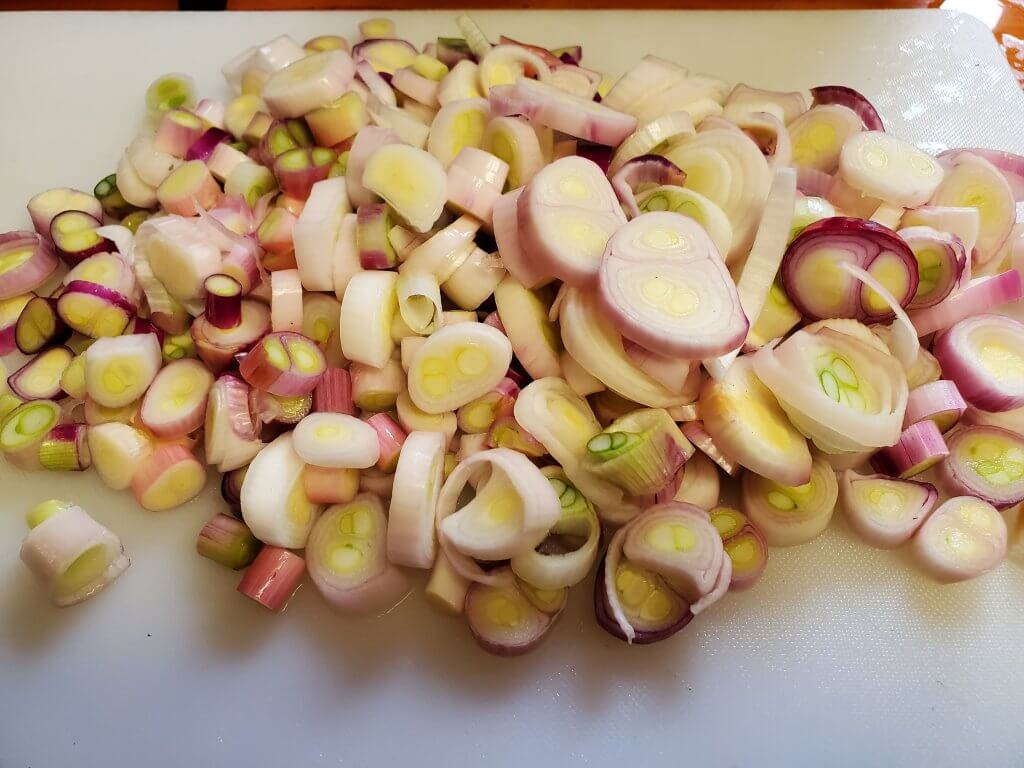
Onion rings are exceptionally fast to blanch! Typically, your blanching time is going to be only 10-15 seconds!
When it comes to whole corn, there’s also a special consideration. It’s important to fully cool the corn cob. Typically, it’s recommended to keep these in ice cold water for twice the amount of time you blanched them for.
How To Store Your Blanched Food For Freezing
This is one of the more flexible aspects of this particular preservation technique.
We generally use freezer grade zip-lock brand bags to store our blanched food for long term storage. It is important to get the freezer rated bags (as opposed to storage rated) as these will reduce long term problems.
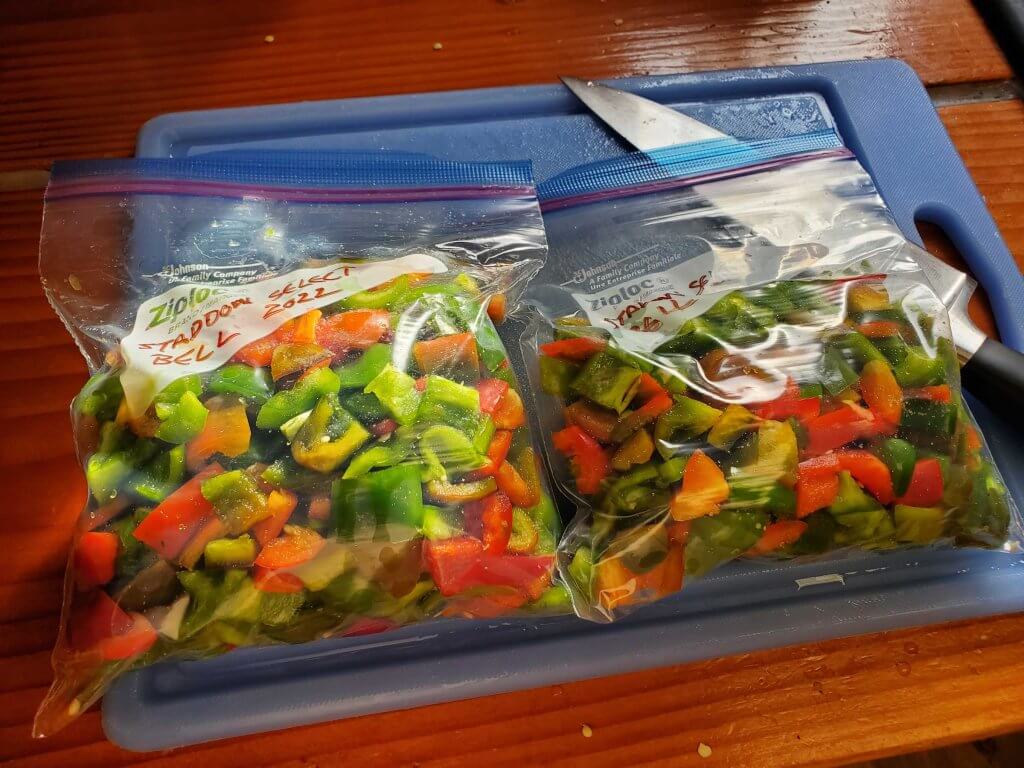
You can also use vacuum sealed bags, as well. This will get you a little bit of additional shelf life in the freezer.
We often measure out specific amounts, to our particular preferences. This might be a 1/4 cup, 1/2 cup, 1 cup and so on, depending on the food and how we typically use it in our cooking.
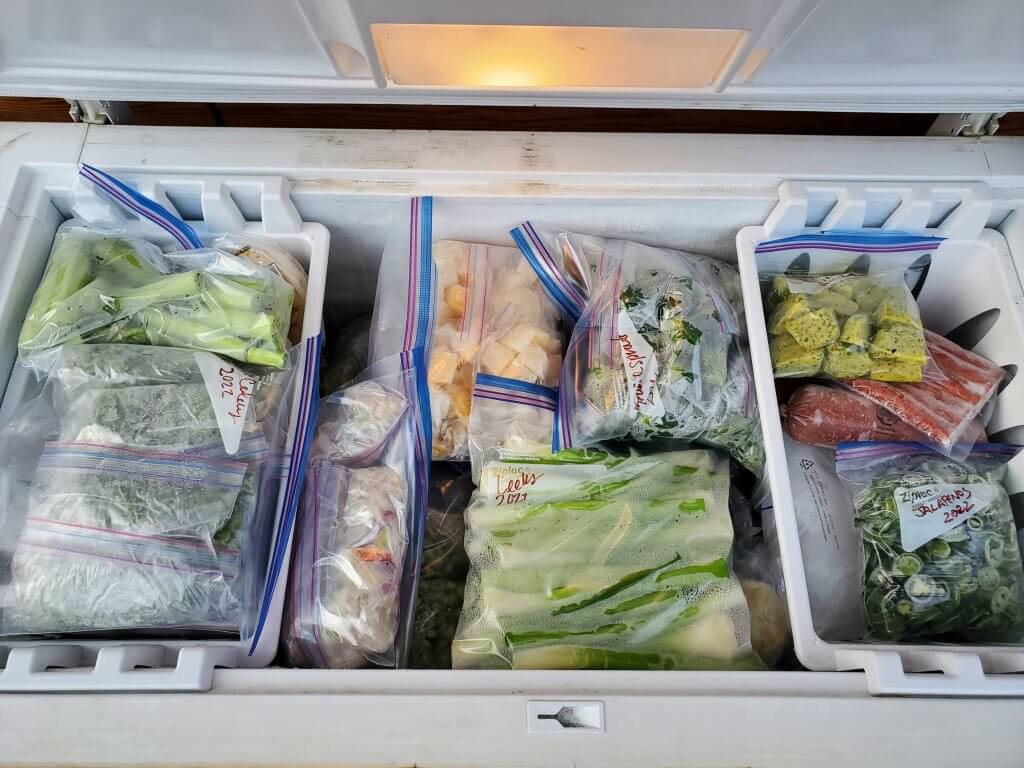
One technique we often use is storing smaller amounts of a particular food in a (cheaper) sandwich bag, which then gets stored in a large freezer rated bag.
This is really helpful for things like celery, where you typically need smaller amounts.
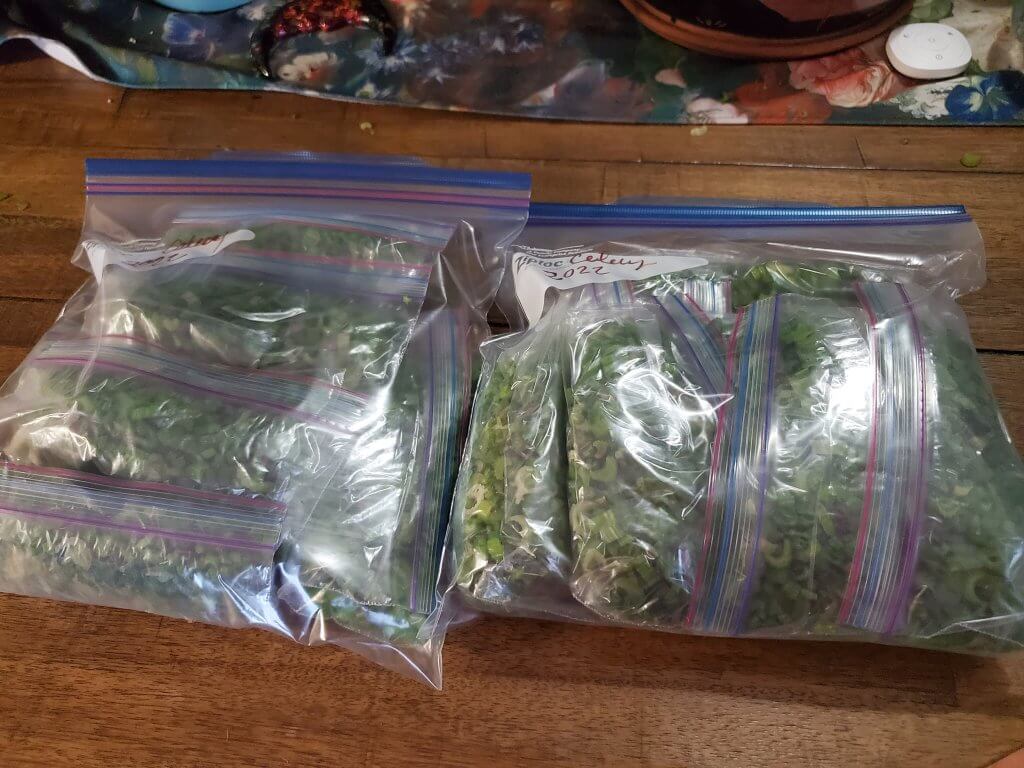
This “storage inception” helps with organization, reduces waste and generally makes using your frozen foods much more convenient.
We also label our bags with the food and the date that we blanched it. This allows us to keep track of when something might be expired, should it accidentally be lost or hidden in the freezer.
What’s All This About Flash Freezing?
Flash freezing is a process where you actually freeze your foods prior to storing them in zip-lock bags or vacuum seal bags.
Flash freezing prior to storage will reduce the tendency of the food to “clump and freeze” together.
It’s not a technique we use every time, but for some particular foods and preparations, it can be rather helpful. If we need a food to not be all clumped together (such as french fries), we implement flash freezing.
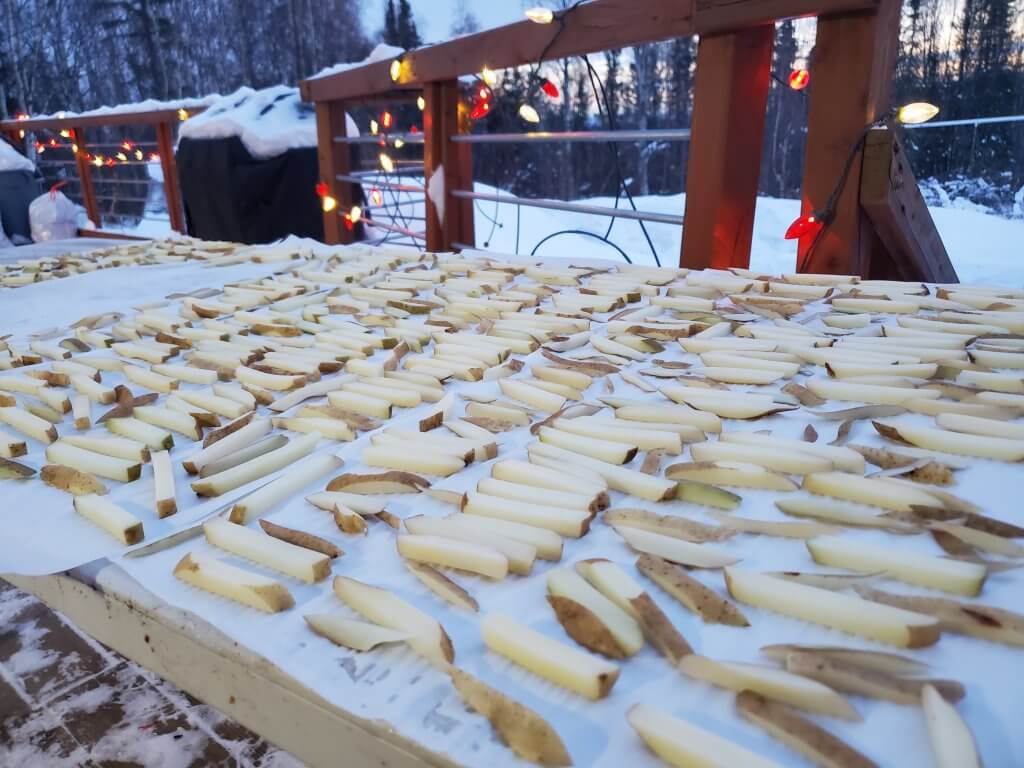
We often process our potatoes for freezing over the winter. This allows us to conveniently flash freeze them outdoors! Fries take up a surprising lot of space.
We typically will place our dried, blanched food on a sheet pan lined with parchment paper. Care is taken to minimize the contact between each piece of food. This entire sheet pan is then placed in the freezer.
Once the food is properly frozen, it can then be placed into bags as desired and put back in the freezer.
Getting Creative With Blanch & Freeze Techniques
Sometimes, we like to create various mixes of our veggies.
A popular example of this is something like a California mix. This particular blend includes broccoli, cauliflower and carrots.
At least in our gardens, we can’t always guarantee that we have all three of these available when we perform the blanch and freeze.
We only mention this because it’s entirely possible to “blend” your foods after the fact. You can preserve them when they come into maturity, then create your more complex foods when it’s convenient for you.
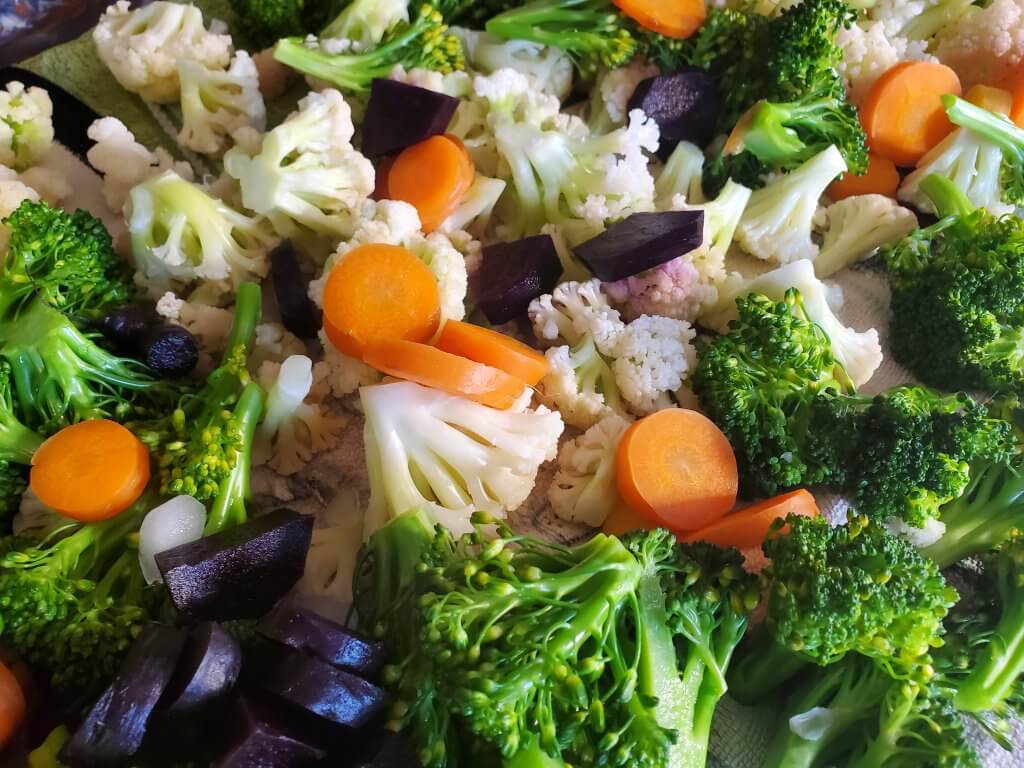
If you decide to do this, just take care not to thaw out your previously frozen food, so work quickly. It’s generally not safe for food to be frozen, thawed and then frozen again.
This is also a time where flash freezing is helpful, so you can properly mix your vegetables at a later time!
How Do We Use Our Blanch & Freeze Foods?
The answer is, frequently!
Given that we take the time to portion out our preserved foods into meaningful sizes, it’s really easy for us to use them. We can just grab a pre-measured bag of carrots, celery, broccoli, cauliflower or whatever else we have on hand, any time we need them.
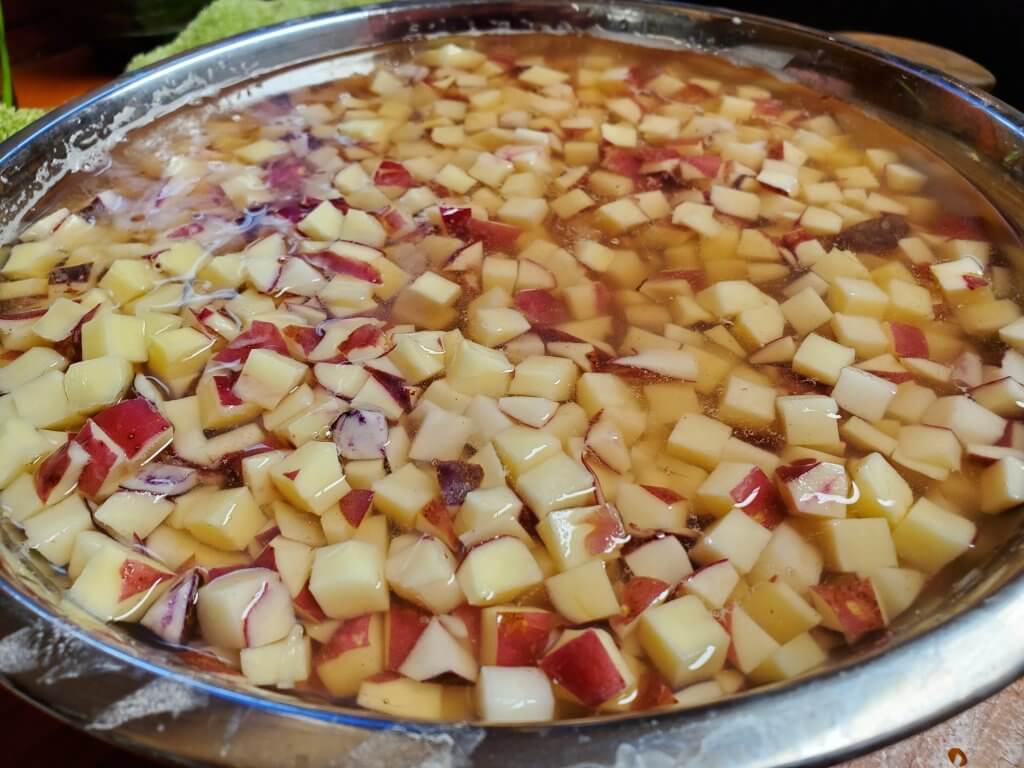
This are our hashbrown mix, made from our home grown red, blue and purple potatoes. It’s super easy to pull out a bag for breakfast. Simply heat on the stove top, add spices & other veggies and you’ve got a great potato hash!
It isn’t even necessary to thaw your foods prior to cooking with them. We usually allow the cooking process to thaw the foods.
You might need to slightly adjust your “normal” cooking to deal with frozen foods, but it’s really not all that difficult to figure out.
There aren’t really any limitations to cooking techniques, either. Your frozen veggies can be pretty much used how you would normally use them, it’s exactly like using frozen vegetables you buy at the grocer.
Wrapping Up On Blanch & Freeze Techniques
We hope that you found this article on our favorite food preservation technique helpful.
As we’ve delved more into it, it’s become our “primary” option for food preservation.
Yeah, we had to buy another freezer to make it work. But, we have freshly preserved, great tasting veggies that are “ready to go” all year round.
As always, if you have any comments, thoughts, ideas or questions…slap a comment down below!
That’s All We Wrote!

Having a good time? We have an ever growing list of insightful and helpful subarctic & cold climate gardening articles, waiting out there for you!
- Cold Climate Gardening Basics 👉
- Growing Your Garden From Seed Indoors 👉
- Advanced Cold Climate Gardening Techniques 👉
- Plant Specific Cold Climate Growing Guides 👉
- Subarctic Perennial Food Forests & Foraging 👉
- Indoor Garden Lighting & Grow Rooms 👉
- Greenhouses & Temperature Control 👉
- Harvesting & Food Preservation 👉
- Solving Cold Climate Garden Problems 👉
- 1 Minute Reads On Tons Of Garden Topics 👉
FrostyGarden.com is 100% ad-free and we do not use affiliate links! This resource is voluntarily supported by our readers. (Like YOU!) If we provided you value, would you consider supporting us?
